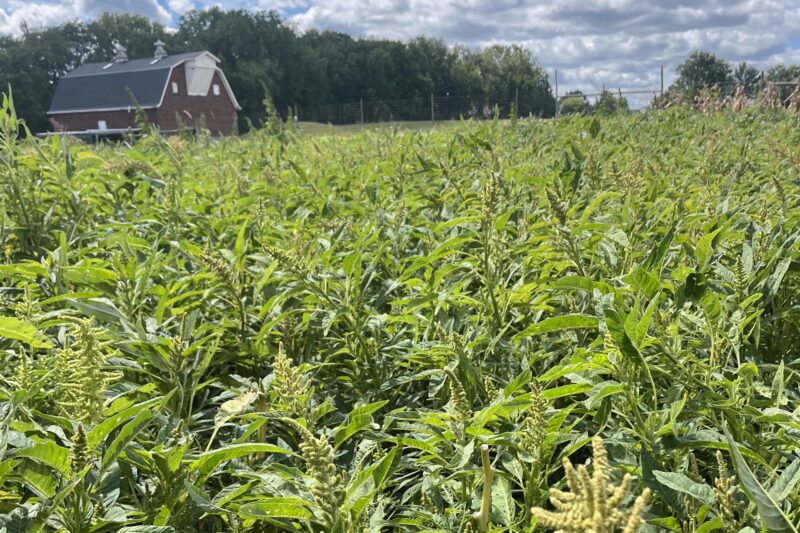
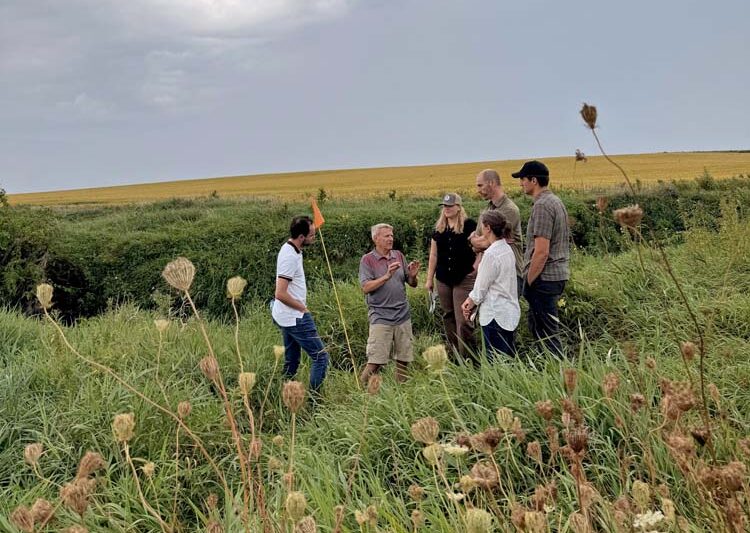
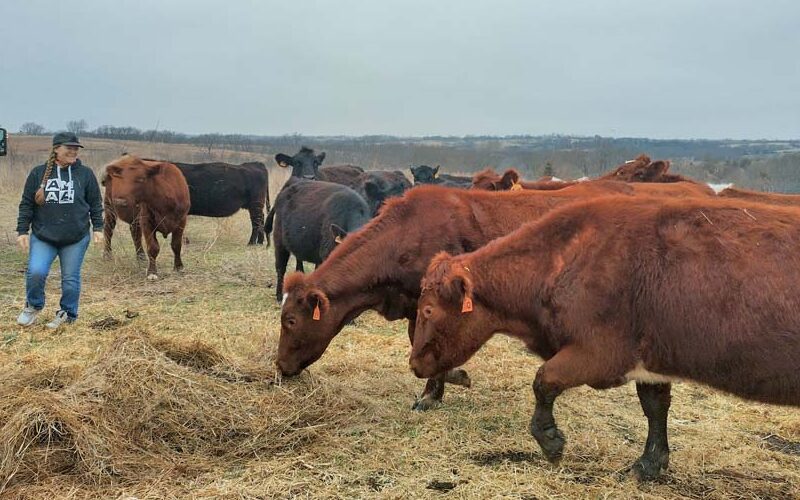
Jack Smith, Ted Smith and Nick Smith of Epworth, Iowa, seed cereal rye into corn stalks for additional cattle forage. Wanting to reduce extra time and resources to seed cover crops post-harvest, the father-son duo built a cover crop seeding method that allowed them to seed cereal rye as they combined: a combine air seeder. Seeding while they harvest enables an earlier seeding date for the cereal rye to capture additional growth from the cover crop.
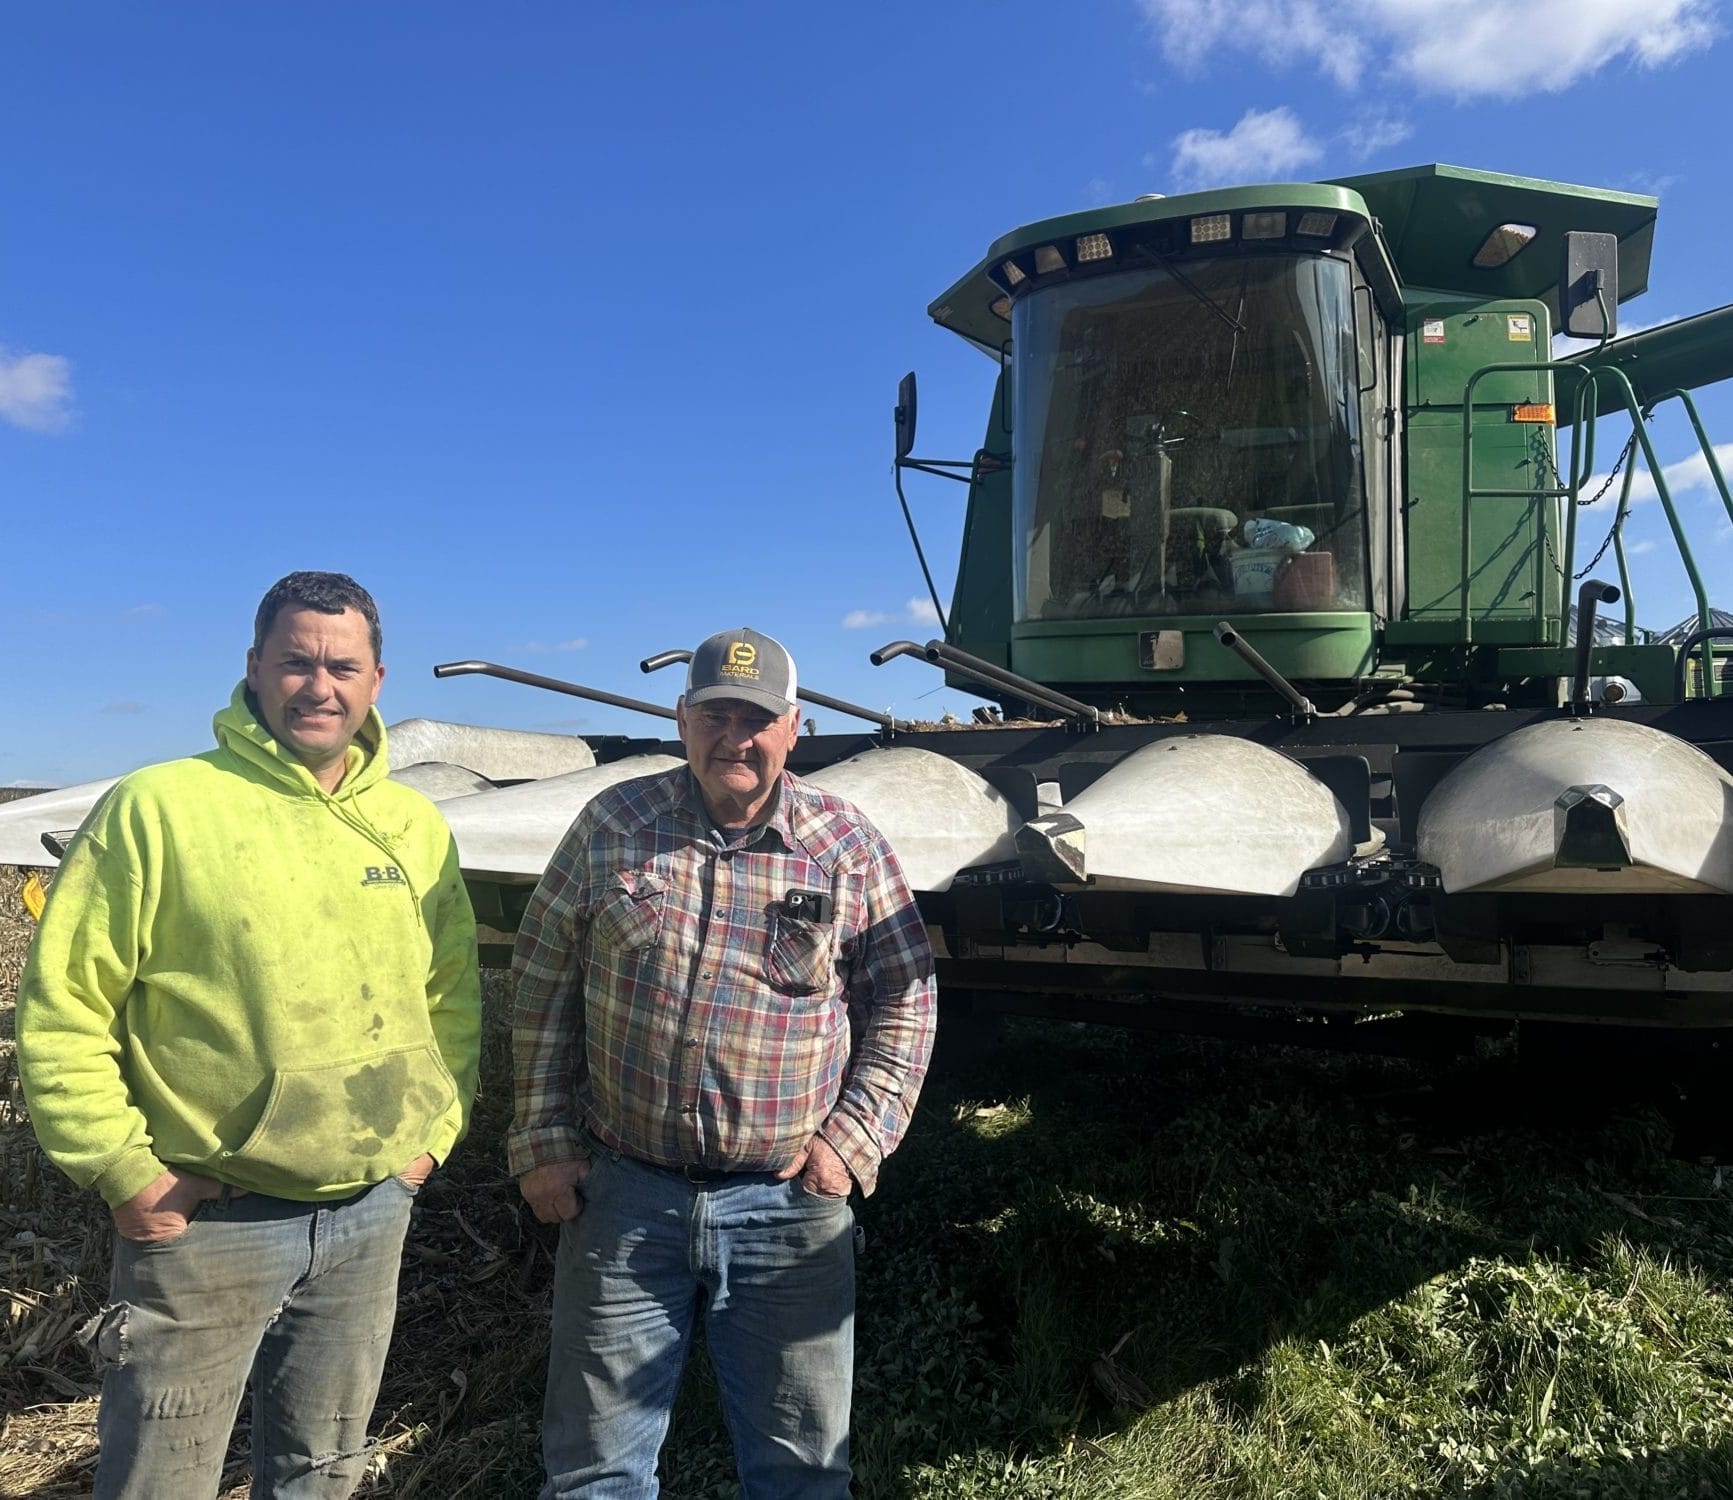
Jack and Nick use the air-seeding combine to apply about a bushel of cereal rye into corn rows ahead of the combine's corn head. Based on their past experience, they know that every nine acres, they'll need to refill the air seeder.
Watch this video from our "Practical Cover Croppers" series to view footage of the combine air seeder in action.
Keep reading to see the four steps the Smiths used to build their combine air seeder, plus learn how this system adds value to their farm.
1. Choose an air seeder
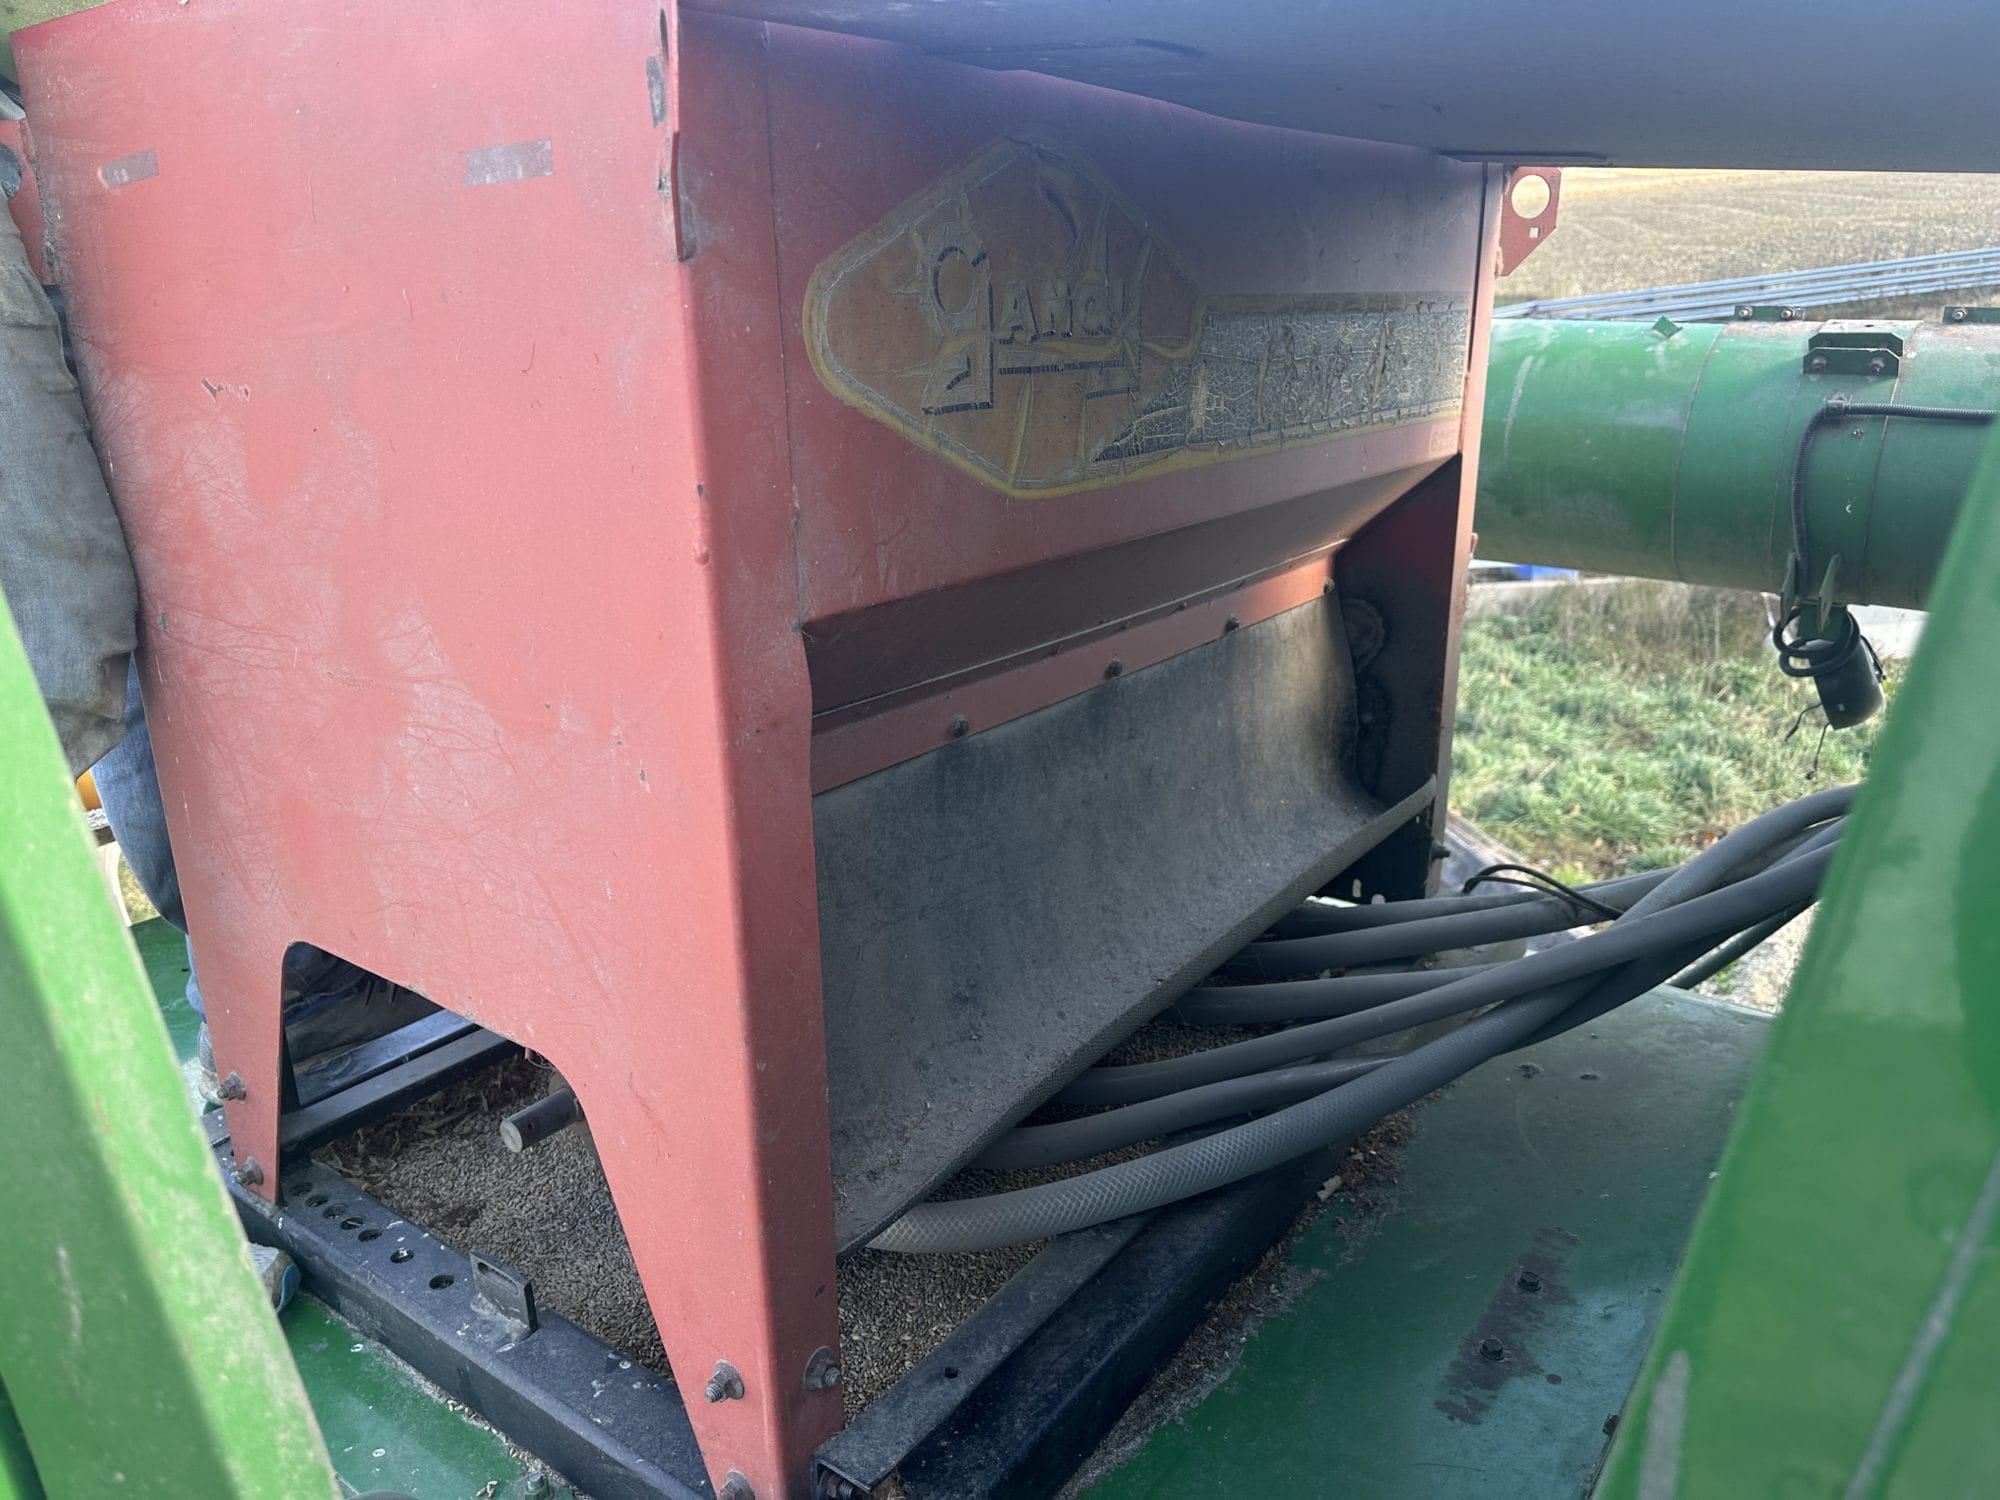
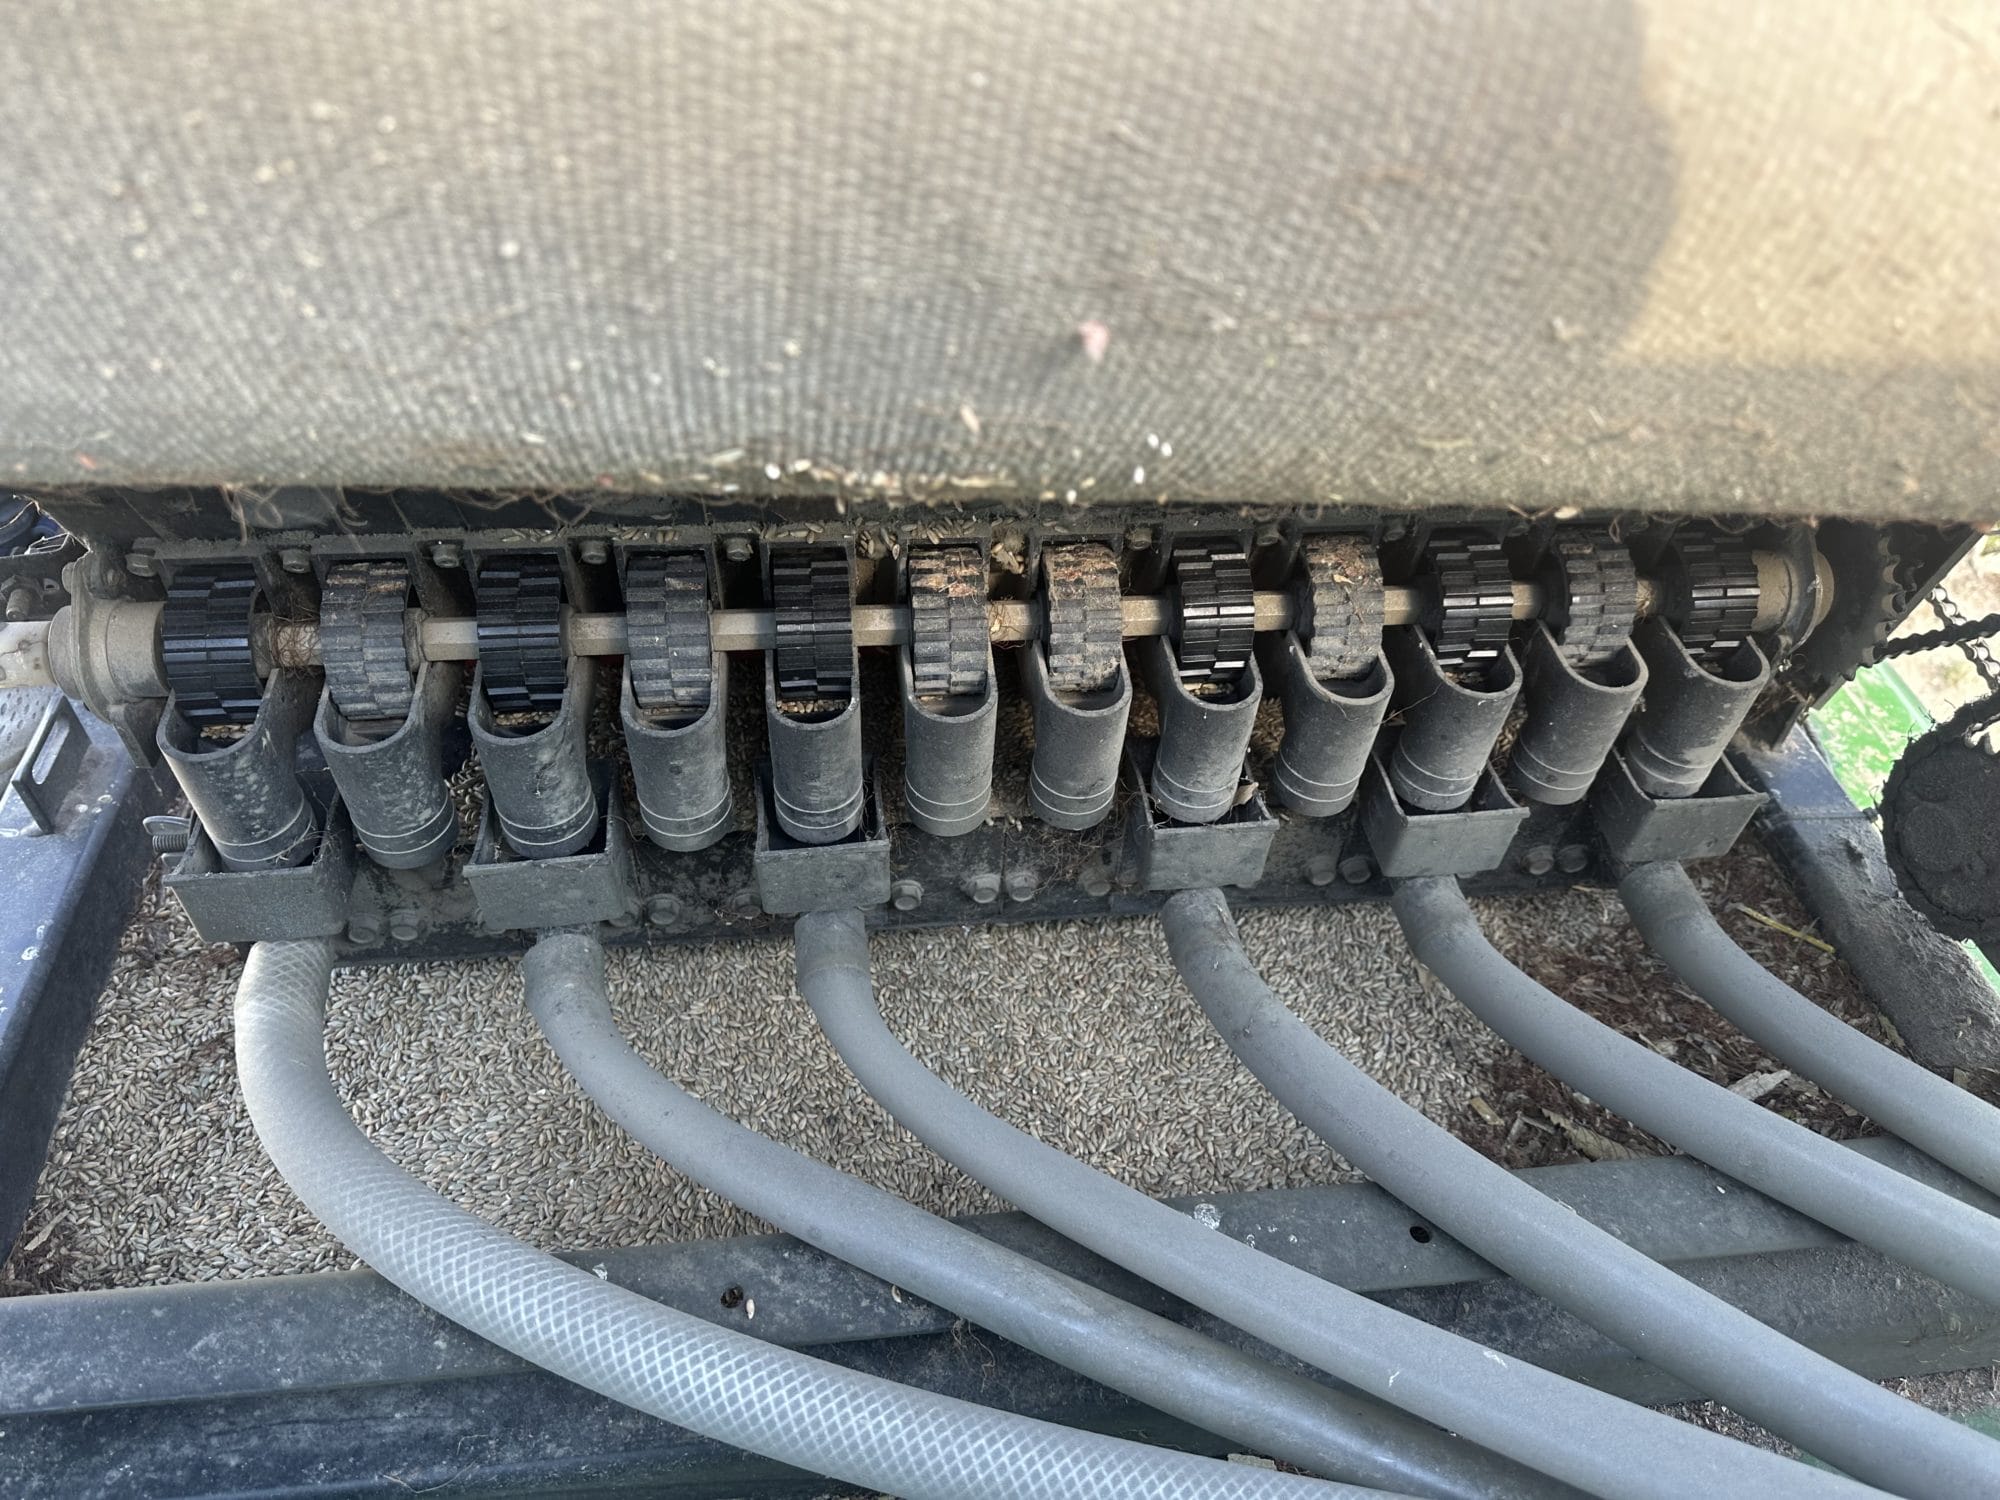
The first step is to select an air seeder that will work well for your operation. The Smiths chose a Gandy air seeder with a 10-bushel hopper to attach to their combine. This was their first air seeder experience, and they found this model easy to use. The air seeder is the primary cost for a cover-crop seeding setup at approximately $5,000. They have replaced a few bearings for maintenance but otherwise, the air seeder has performed well.
2. Decide where to mount the air seeder
After you've selected your air seeder, find a sturdy spot on the combine to support its weight, plus the cereal rye seed, that also allows easy access for loading seed in the hopper.
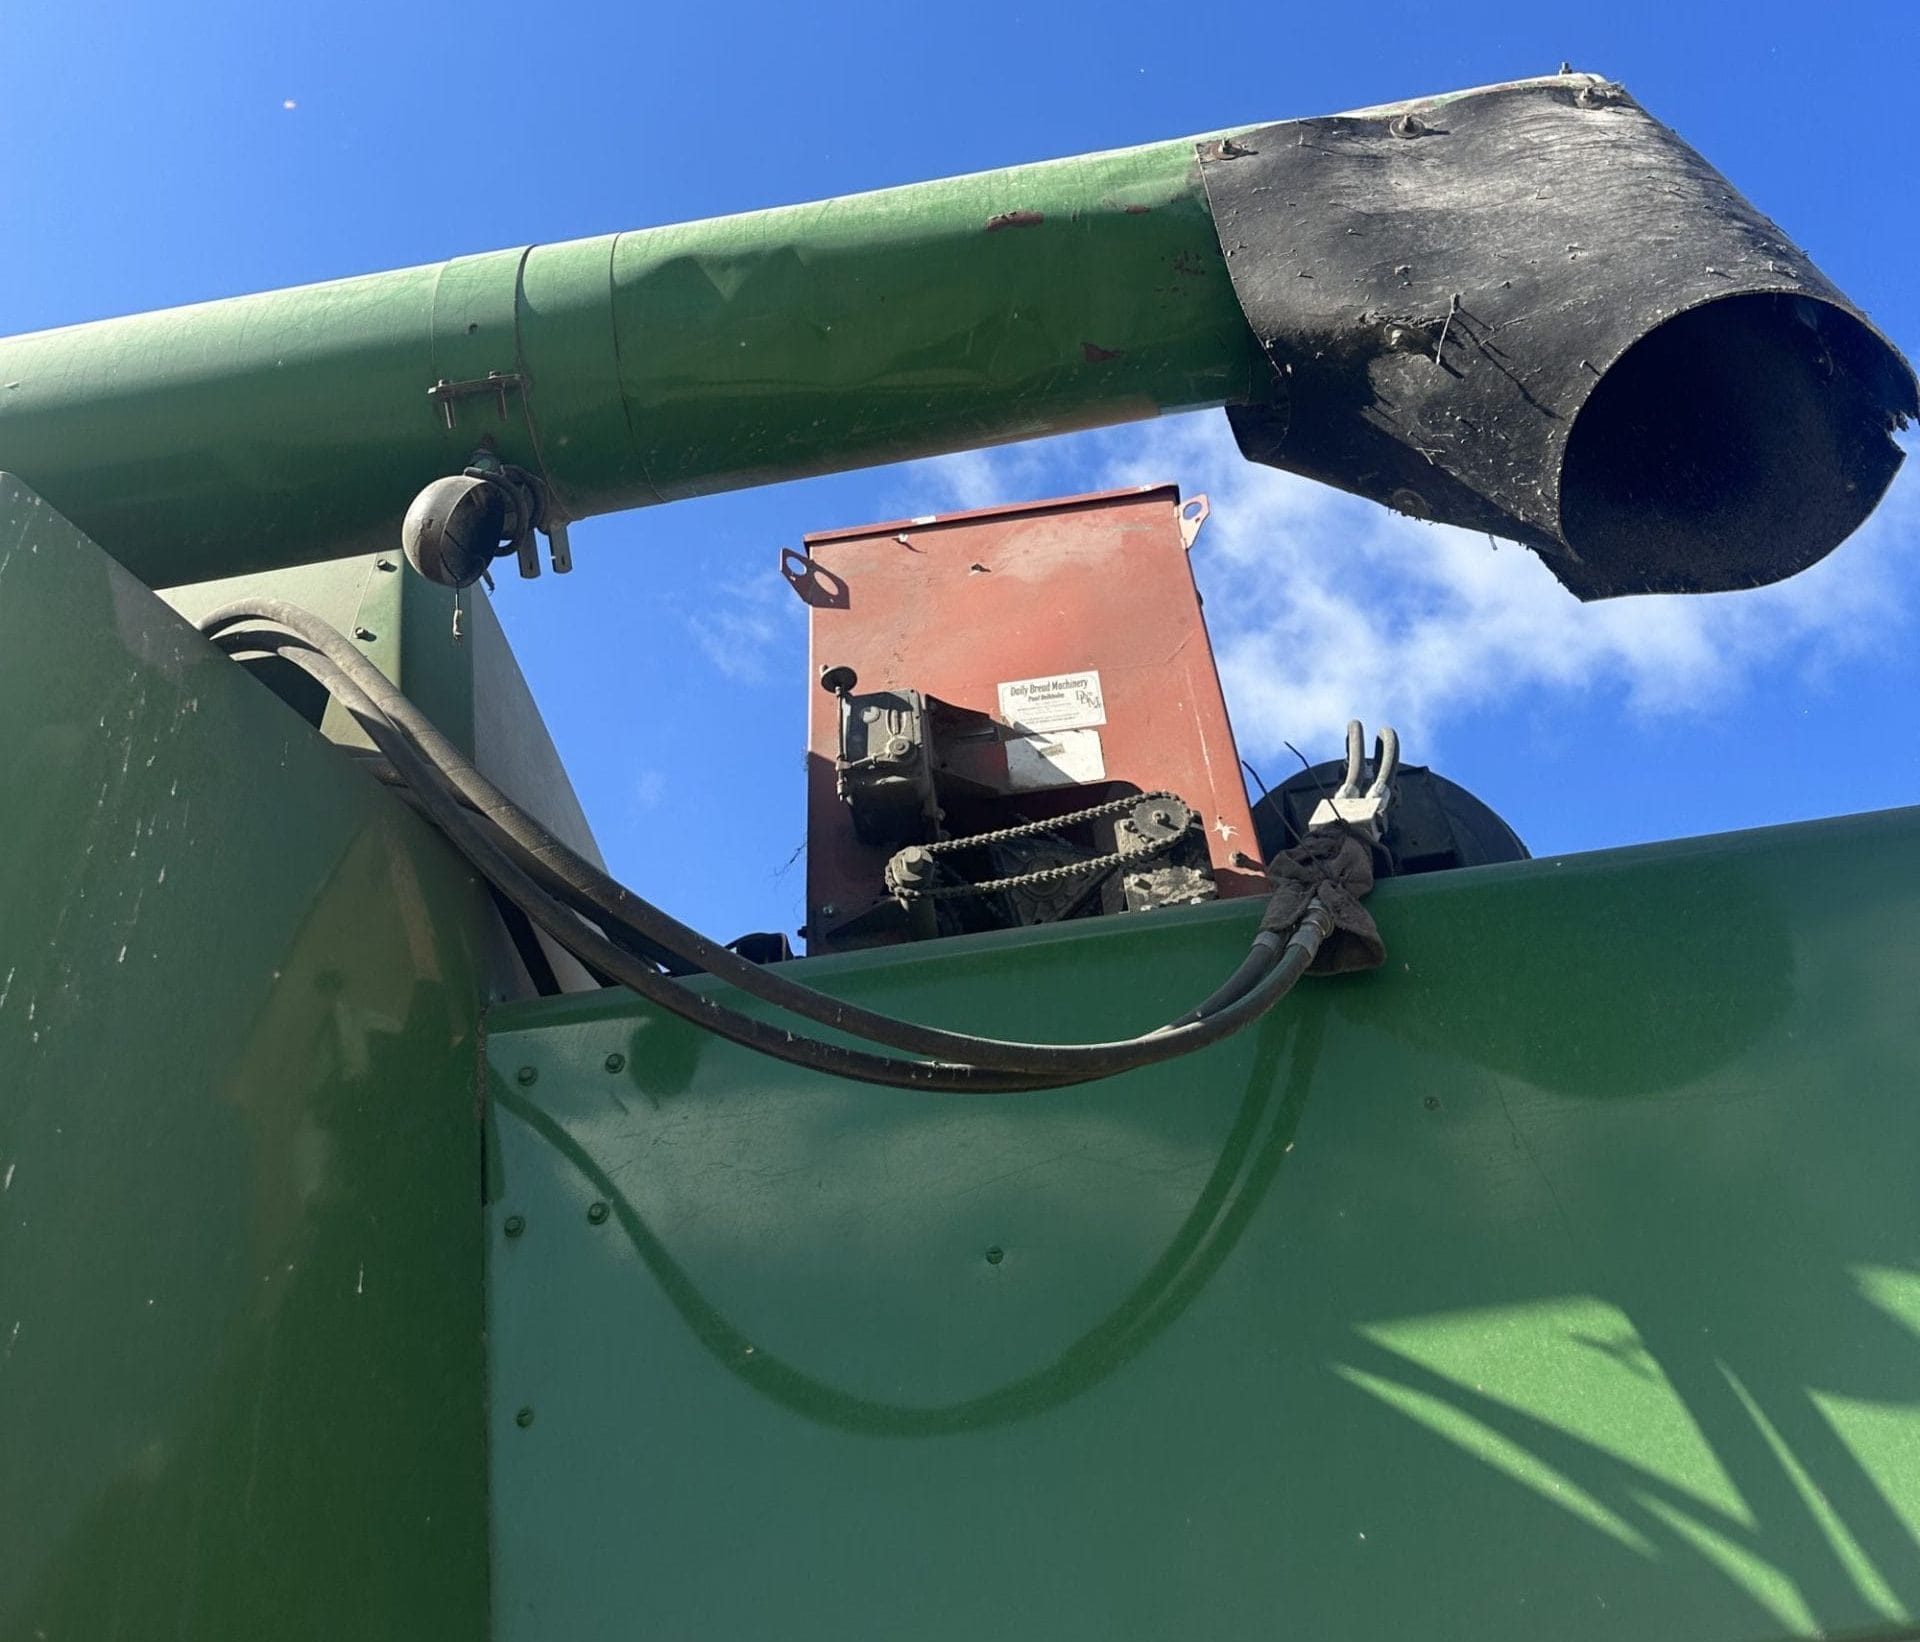
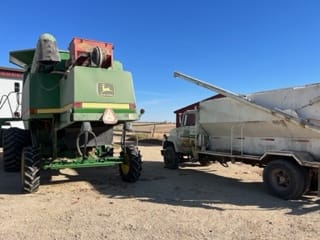
The Smiths chatted with a local welder who suggested the air seeder should be secured on top of the discharge mount. The Smiths use a tall bulk truck to carry seeds and to refill the hopper. The higher mounted location for the hopper works, but it makes filling the hopper a two-person job.
If they wanted to build out the system so that only one person was needed for refilling, they would use a side-mounted seeder paired with a seed tender box to refill the hopper.
3. Run seed lines from the air seeder to the application point at the front of the combine
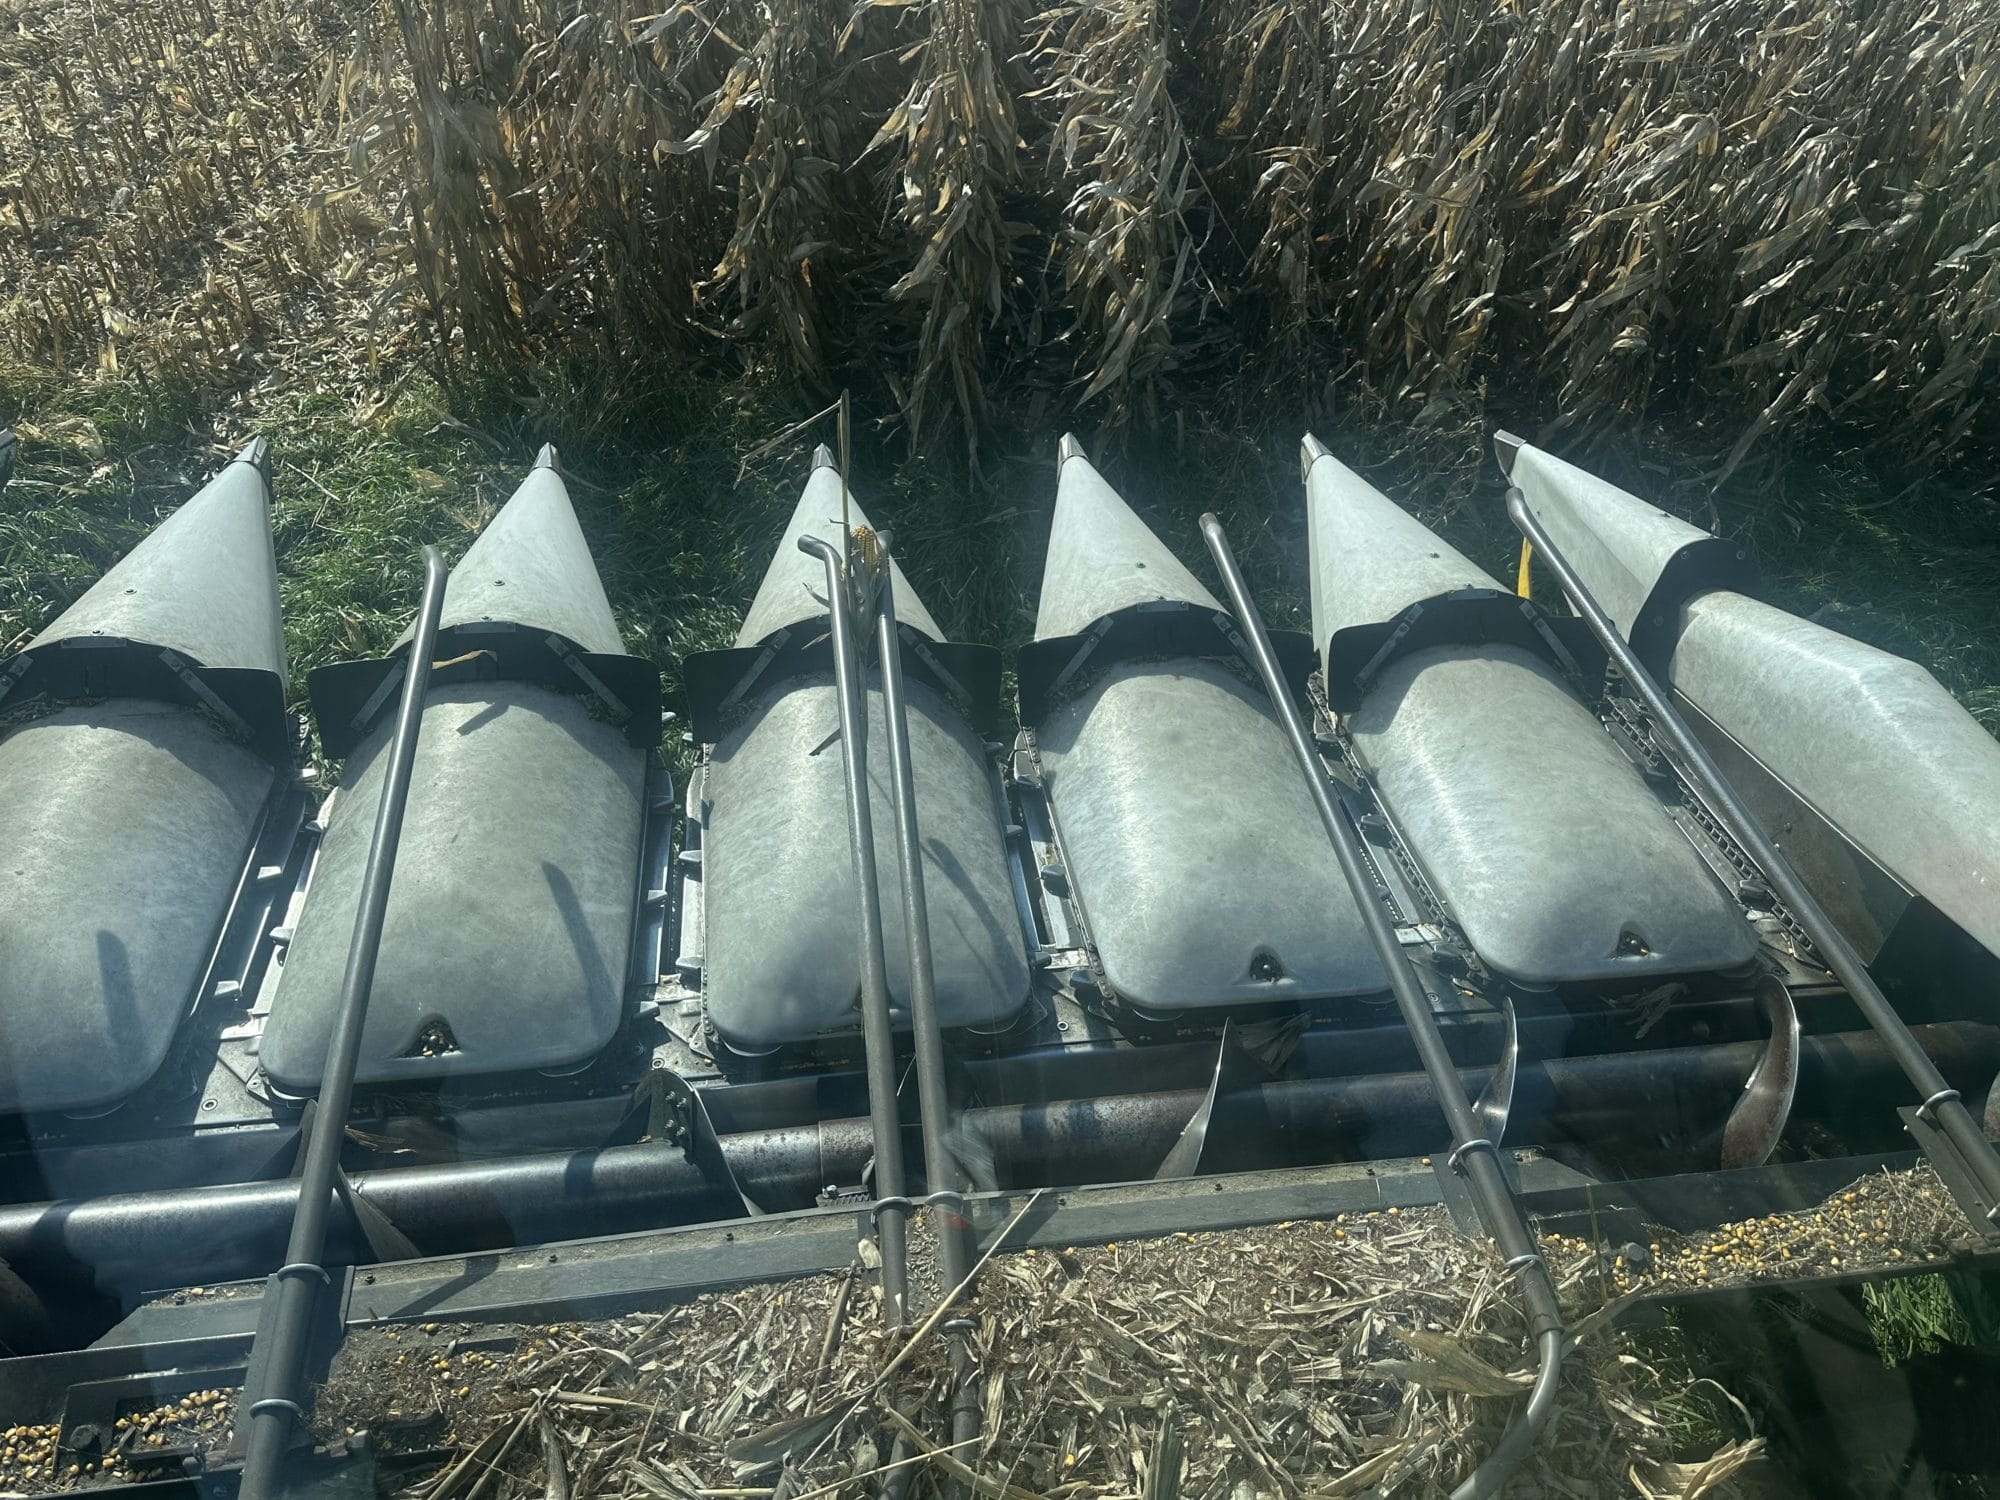
The next step is to select which area of the combine you want to serve as your seed application point. Jack and Nick wanted the cereal rye seed to be applied at the front of the combine head, directly into the corn rows. Putting the seed at the front of the combine helps get the seed closer to the soil surface and buries it with residue. Ted also noted how crucial it is for their operation to drop the seeds in a row so the cows do not walk or lay in the new seeding.
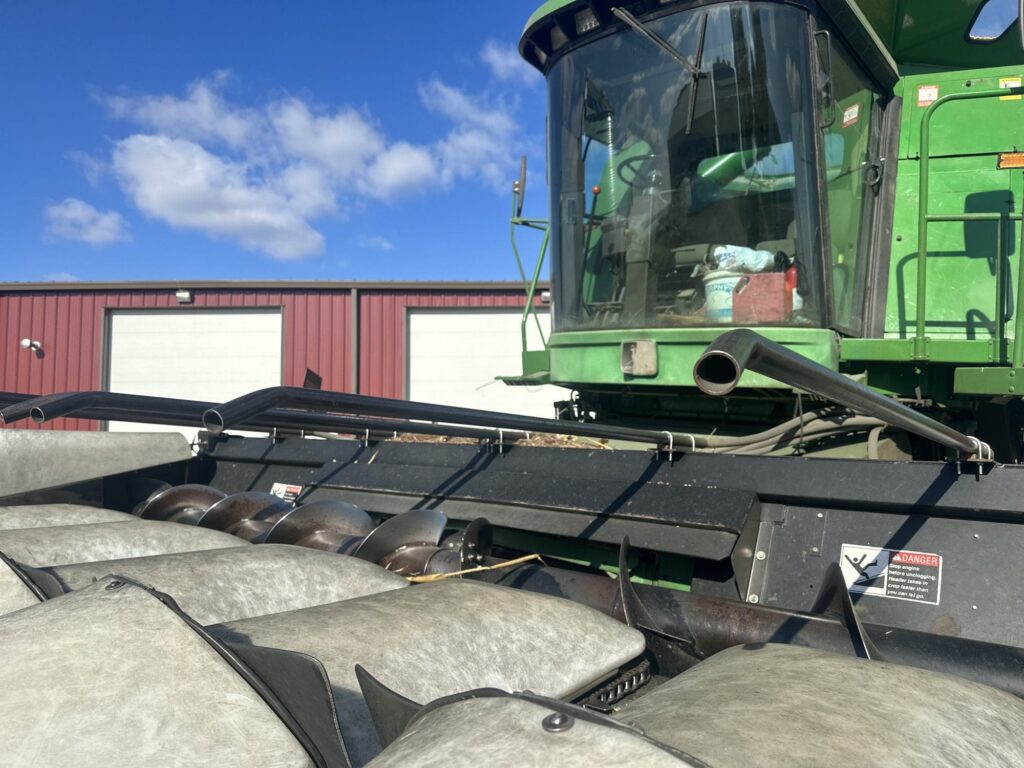
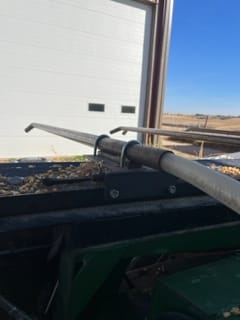
To get the seed from the air seeder to the corn head, the Smiths ran plastic tubes secured with zip ties along the hydraulic hose on the side of the combine. They connected the plastic tubes to standard steel pipes directly before the corn head.
The Smiths bent the steel pipes with a twist at the discharge location to help the seed disperse over the rows. The steel pipes are connected to a plate with U-bolts and are hinged so they move with the head. The steel pipes are on 30-inch spacings to line up with the corn row spacing. They want the seed to hit the snout so the seed gets thrown right onto the corn rows.

4. Connect a power source for the air seeder
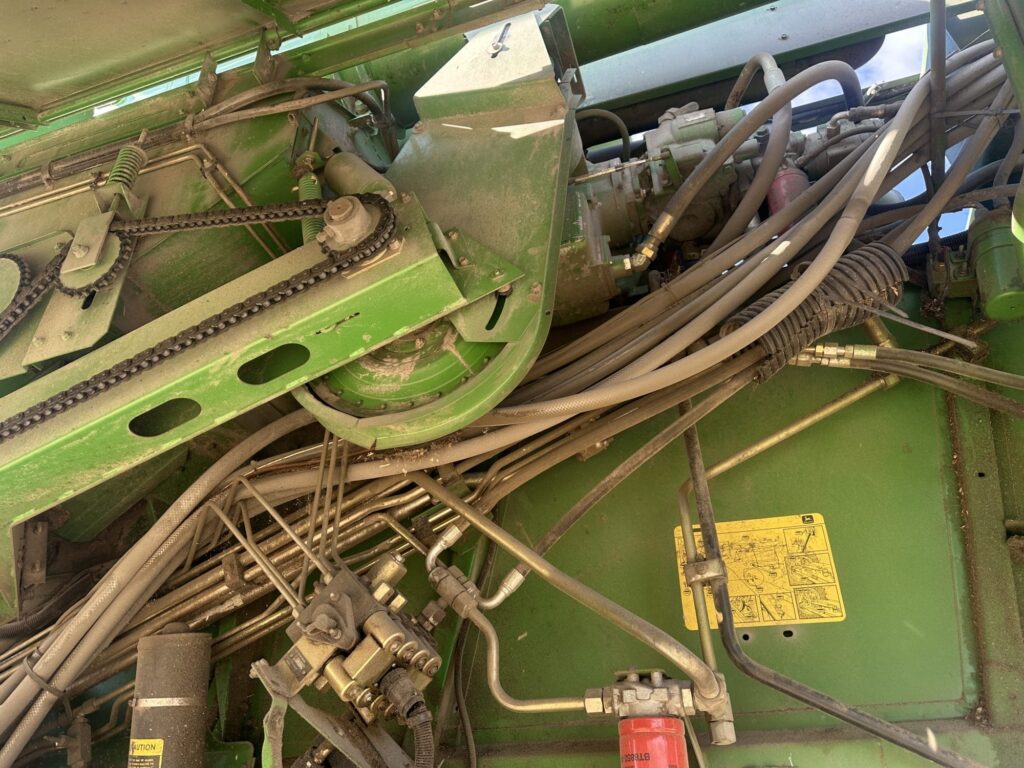
When the Smiths were building their air-seeding combine, they decided the best power source for the air seeder was to tap into a hydraulic valve drive that controls variable speed for the corn head. As the combine head goes down, the power on the hydraulic valve drive initiates the hydraulics to start the air seeder.
When they are combining corn but do not want to seed cover crops, the drive can be turned off with an electric switch on the head control.
Why go to the work of building out a combine air seeder?
Time and fuel savings were the biggest motivators for the Smiths to explore making a one-pass harvest and cover crop application. The Smiths spent about $5,000 building out this system. Iowa State University Custom Rate Survey's average cost for custom cover crop drilling is around $20 per acre, so the Smiths conservatively estimated that the combine air seeder
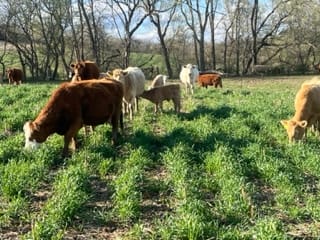
Moving up cover crop seeding in the fall – relative to drilling – also provides additional time for cover crops to grow, meaning more forage for their cows. Grazing their cows on cornstalks and the cereal rye cover crop reduces their hay spending. In the spring, the Smiths have 40 to 45 days of grazing before they plant corn. Letting the cows graze cover crops also gives their pastures time to recover and grow.
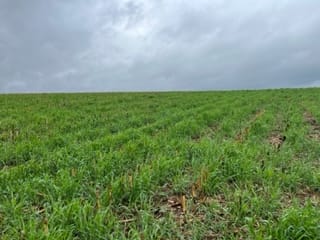
Ted shares that excellent germination rates are one of the benefits of using the combine to air-seed their cereal rye. A plant physiologist told him that harvesting and immediately planting cover crops helps stimulate germination because the soil microbes signal seeds to help cover the soil. Ted notes that due to the precision of the application, and the additional growth stimulation, sometimes the growth from their air-seeding application will catch up to the growth of some of the early-season aerial applications in the area.
Additional Resources
Interested in learning more about cover crops?
Get resources delivered straight to your inbox by signing up for our free “Practical Cover Cropper” email newsletter.
Check out our “Practical Cover Croppers” video series on YouTube.
Or peruse our cover crop resources webpage.