
Bahrenfuse/Castello Field Day
WARNING! This blog contains pictures that are not friendly to squemish stomachs. This field day included poultry slaughter, and we will show pictures of the process.
Approximately 35 people gathered on a rainy Friday to get a tour of Barney Bahrenfuse and Suzanne Castello’s farm near Grinnell. They raise cattle, sheep, hogs and chickens on their predominantly pasture based farm. Per month, they direct market 2 cows and 2 hogs. They also sell calves and sheep to the commodity market. Their hogs are marketed through Eden Farms, and all of their approximately 600 chickens per year are processed on farm and sold directly to consumers.
Our day started with standing in their shed for approximately 2 hours hearing about the farm, the farm’s goals, and how they got started with rotational grazing.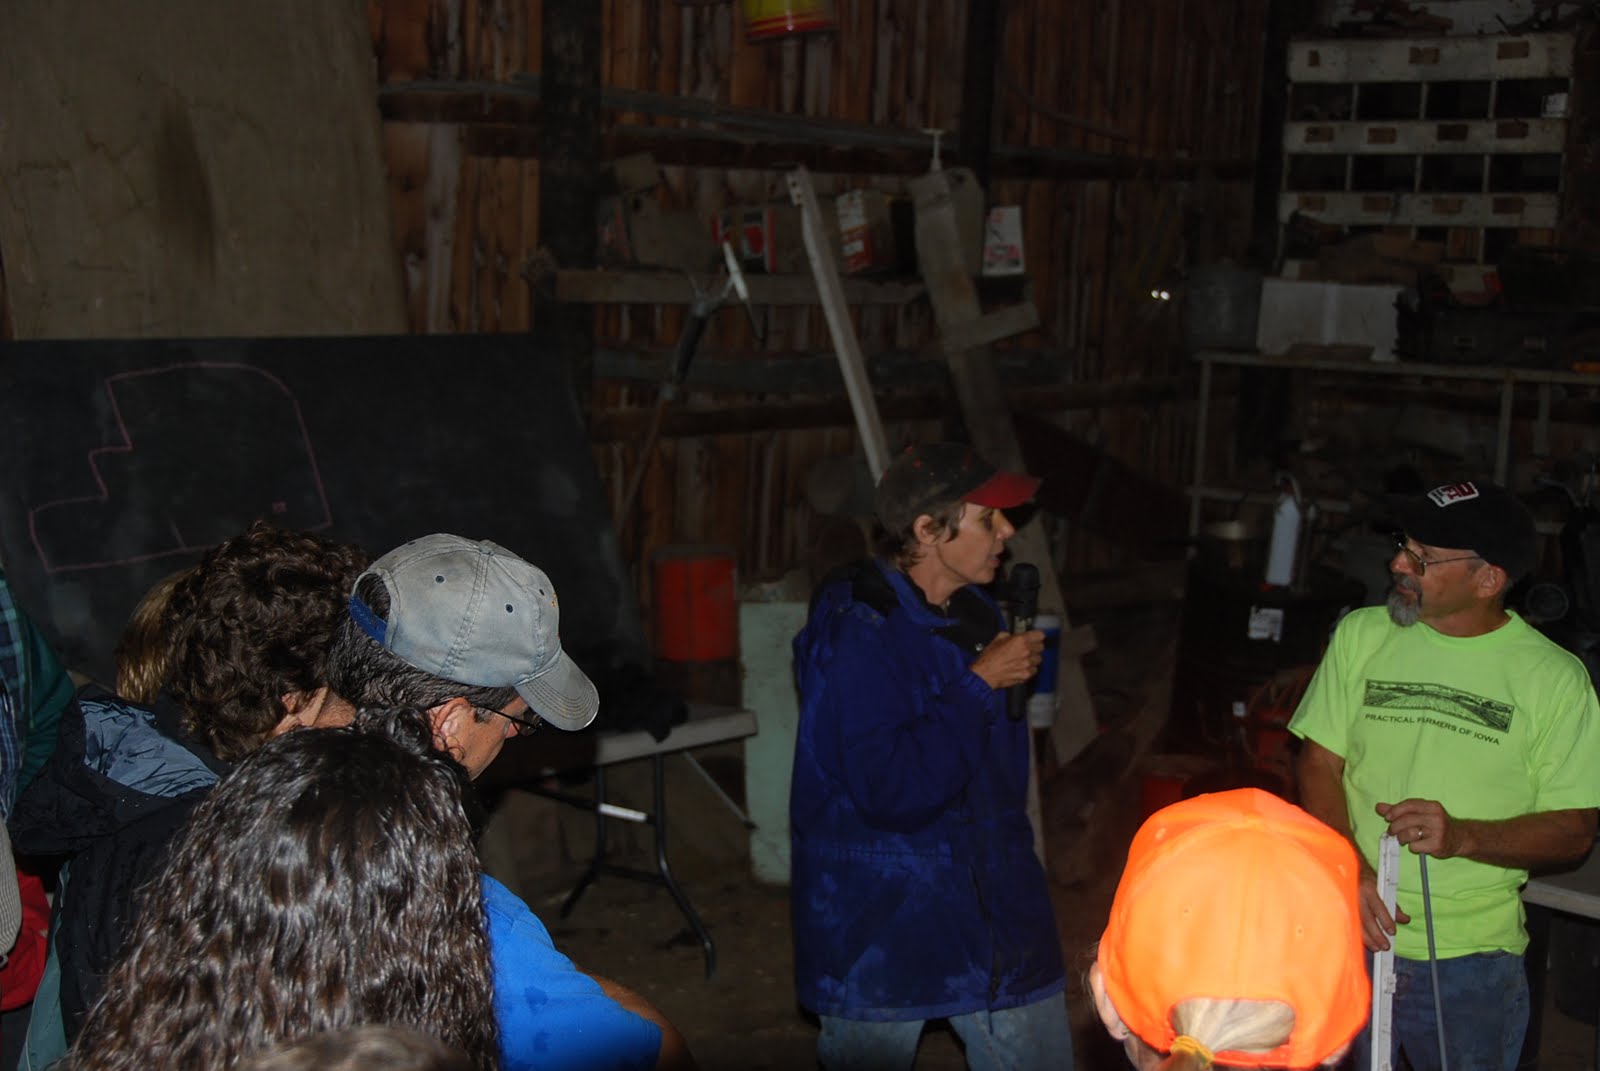 After the rain cleared up a bit, we ventured outside to see their grazing setup. This year they started moving cattle every day to a new paddock. In the pasture we saw a cattle move, and were able to see what a few paddocks looked like after the cattle have been off the area for a few days. They discussed the desire to have all of their animals in one herd but struggle between direct marketing, the commodity market, and genetics in two different herds. Barney and Suzanne also mention how they really enjoy multiple species grazing (cattle and sheep), and that makes it difficult to have only one animal group.
 Their poultry operation is based on the pen style popularized by Joel Salatin. The pen is low to the ground and has sheet metal on 3 sides and wire on three sides. These “Chicken tractors” are moved daily or twice daily to fresh pasture and can hold approximately 50-75 birds in a 10×12 area.
 Often the complaint with these pens is the weight and difficulty when moving them daily. Barney and Suzanne seem to have solved this problem. They have welded what looks like a dolly with a wide base, and a wire (with a piece of hose over it for easy handling) is attached to both sides of the pen. When they are ready to move the pen they put the dolly under the pen then go on the other side and lift/pull on the wire a bit at a time to move the pen forwards.
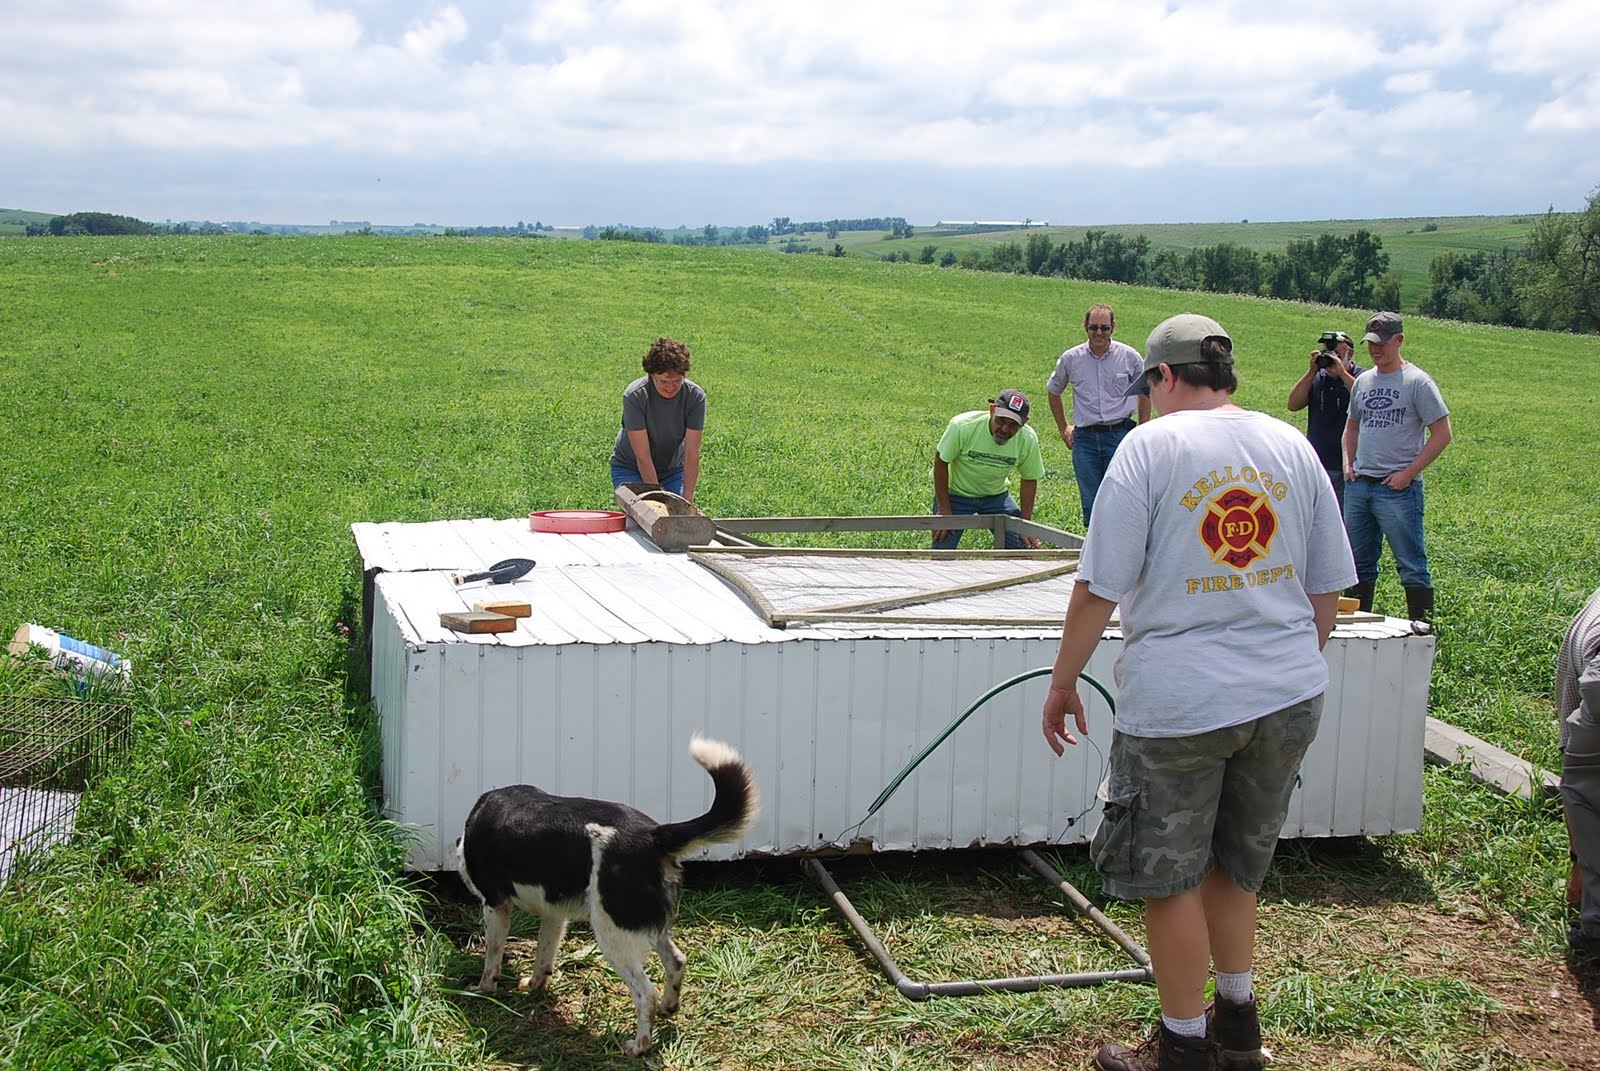 The birds are a Cornish Cross purchased as day old chicks from a local hatchery. On pasture and continuous feed the grow to slaughter weight in approximately 8 weeks. The chickens then are caught and moved into the barn where processing takes place.
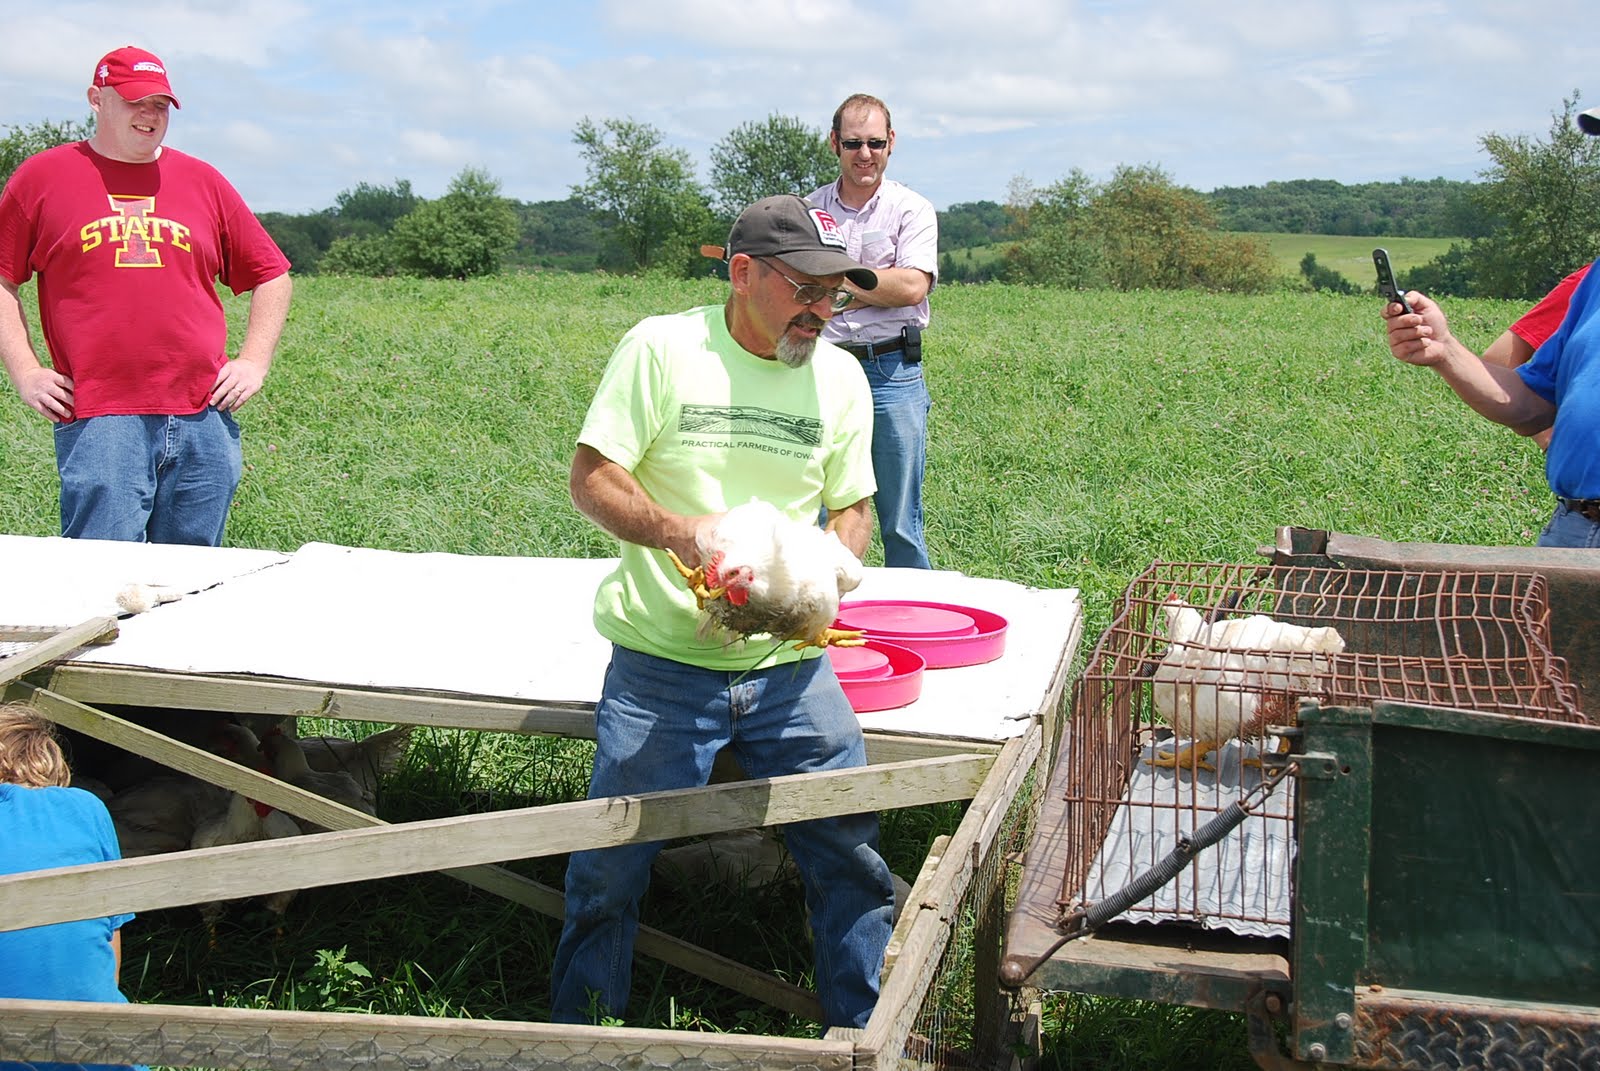 As far as processing facilities, Barney and Suzanne have a clean building for evisceration, and then the killing, scalding and plucking take place in the barn.
Buckets are placed under the killing cone, next to the plucker, and by the head and feet removal place. These buckets are regularly emptied to keep the whole process cleaner.
To start the process, the chicken is put head first in a cone that is attached to the wall. The feet are clamped together (to prevent the bird kicking out of the cone) and the head is pulled out the open bottom of the cone. Pull the head down, find the general wind pipe area, then insert a sharp knife into the windpipe and cut quickly to the right. Barney and Suzanne generally kill 2 at a time and let them bleed out to make the rest of the processing more efficient. There are four cones attached to the wall of the barn, allowing for four birds to be in cones at one time.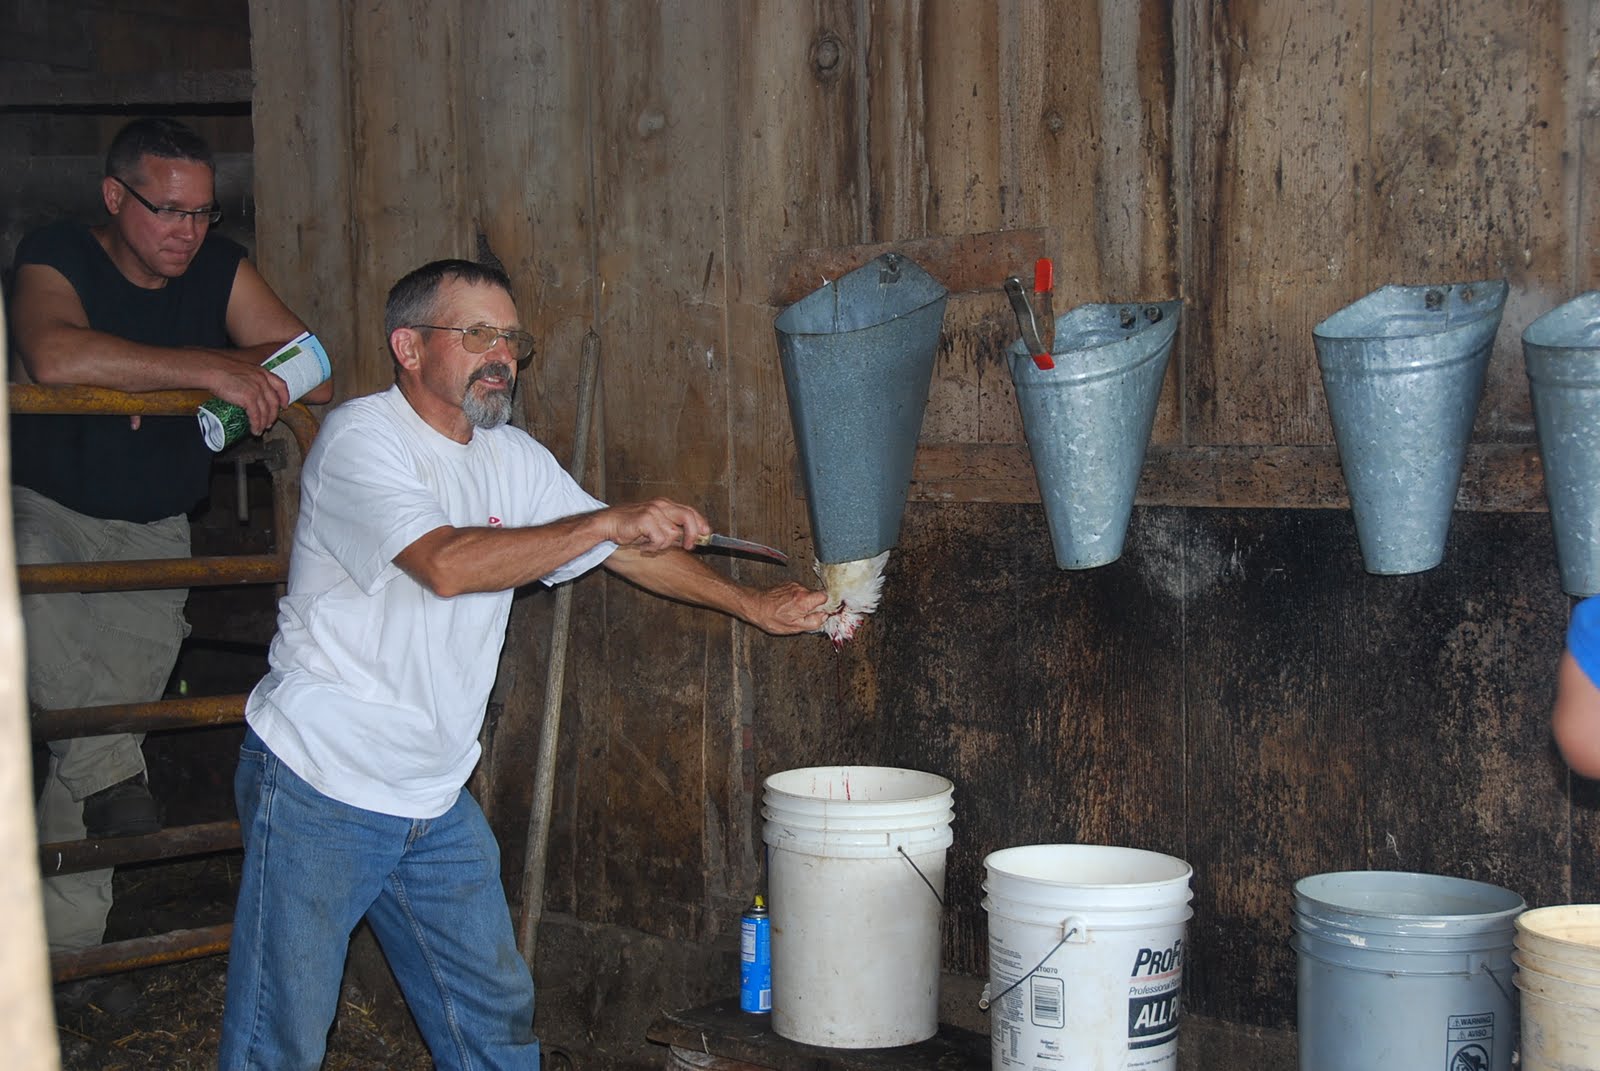 After the birds are allowed to fully bleed out, they are moved in pairs of two on to the scalder. The scalder is water kept at exactly 150 degrees, and the birds are dunked and moved around (being held by their legs) for one minute. Barney and Suzanne have a water pot that has a flame and temperature regulator on it, run by a propane tank. The propane can be either turned up or down depending on temperature needs.
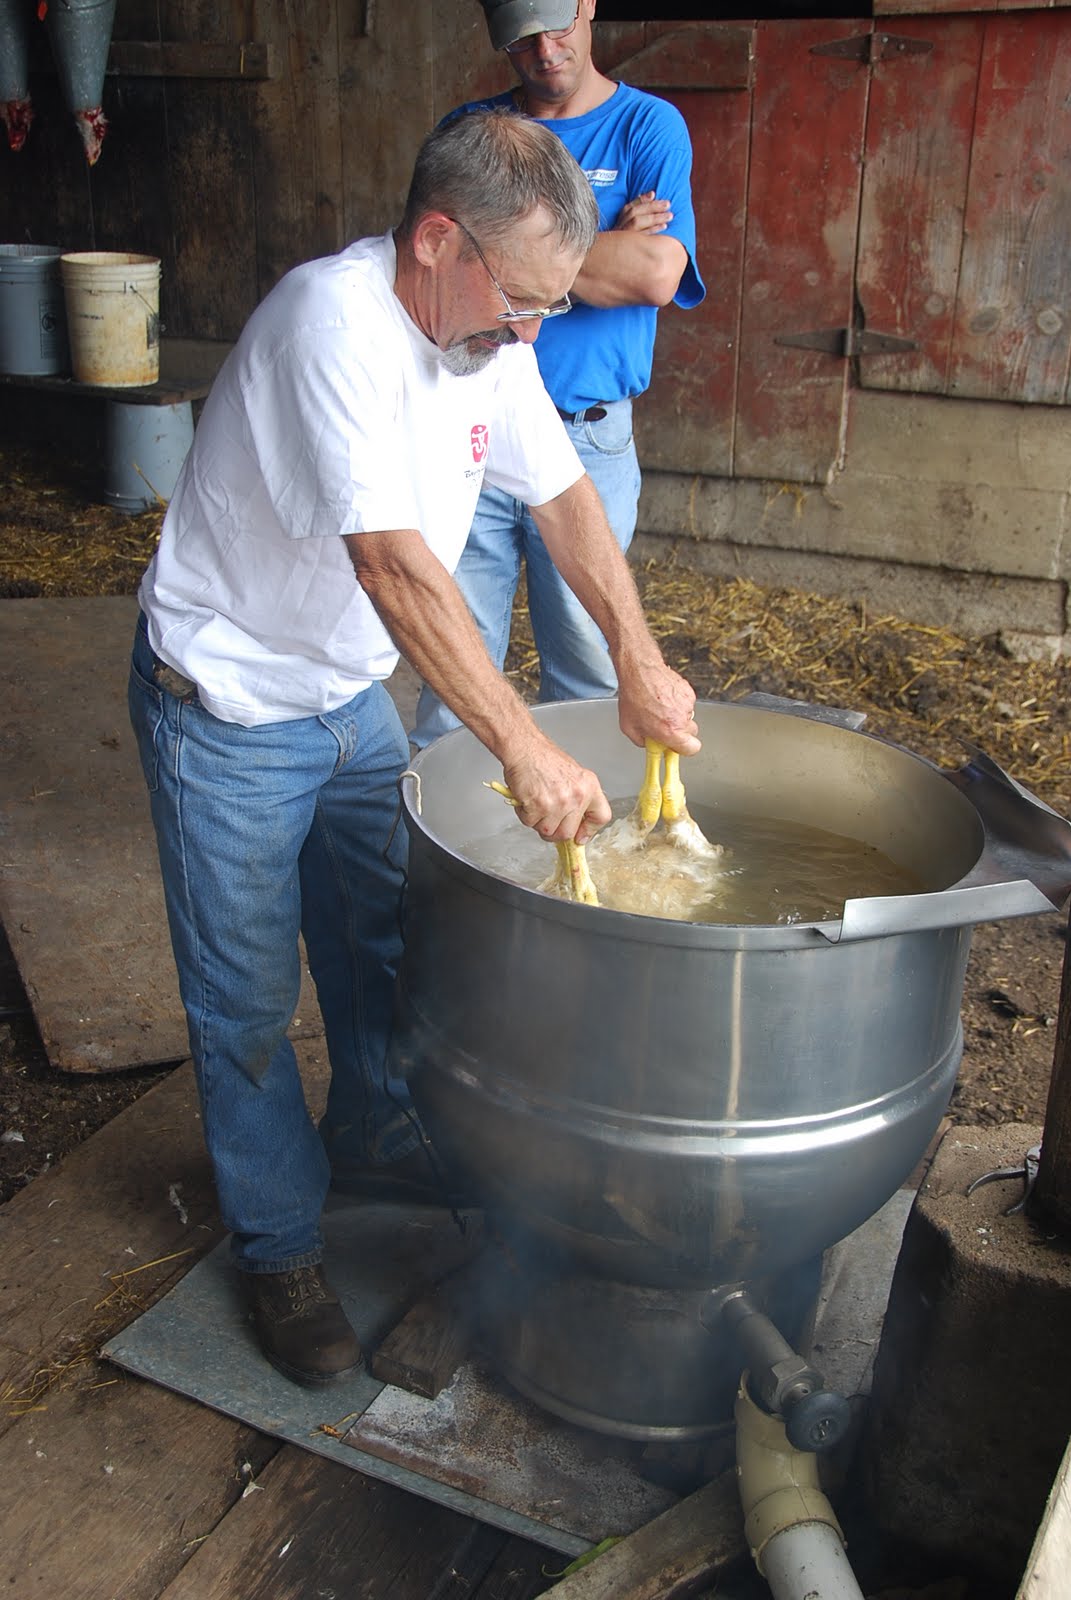 The birds then go into the plucker. Barney and Suzanne purchased this plucker with a group of other farmers. The model they use is a Featherman Pro from Featherman Equipment Company (http://www.featherman.net/). Both birds go into the plucker, a flip is switched and water turned on, and the birds are very clean after only 30 seconds. This piece of equipment makes a job that could very easily be not fun quite enjoyable. The last few tail feathers are removed with a pliers, then the bird is moved onto the next stage.
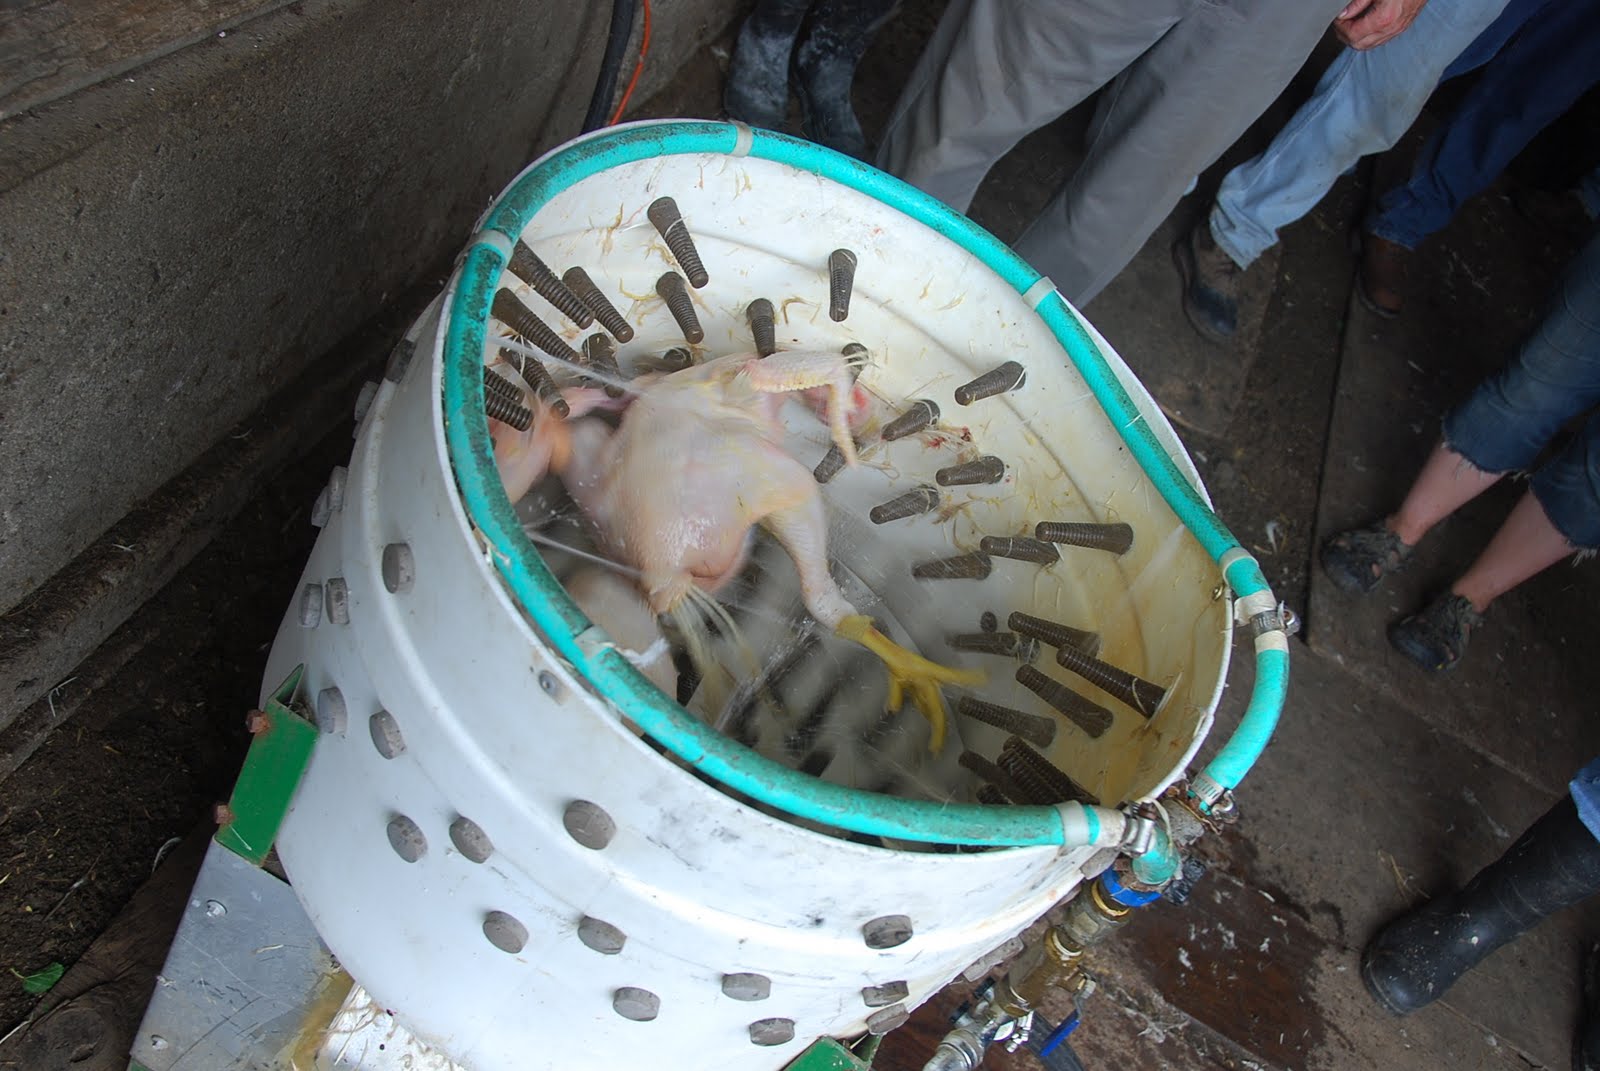 Next the head is moved. Barney noted that he got this idea from a friend. They have a small welded triangle piece of metal that is attached to the wall. You place the chicken’s head on the inside of the triangle, then pull up quickly and the head comes off and drops into the gut bucket below the triangle. Kinda neat!
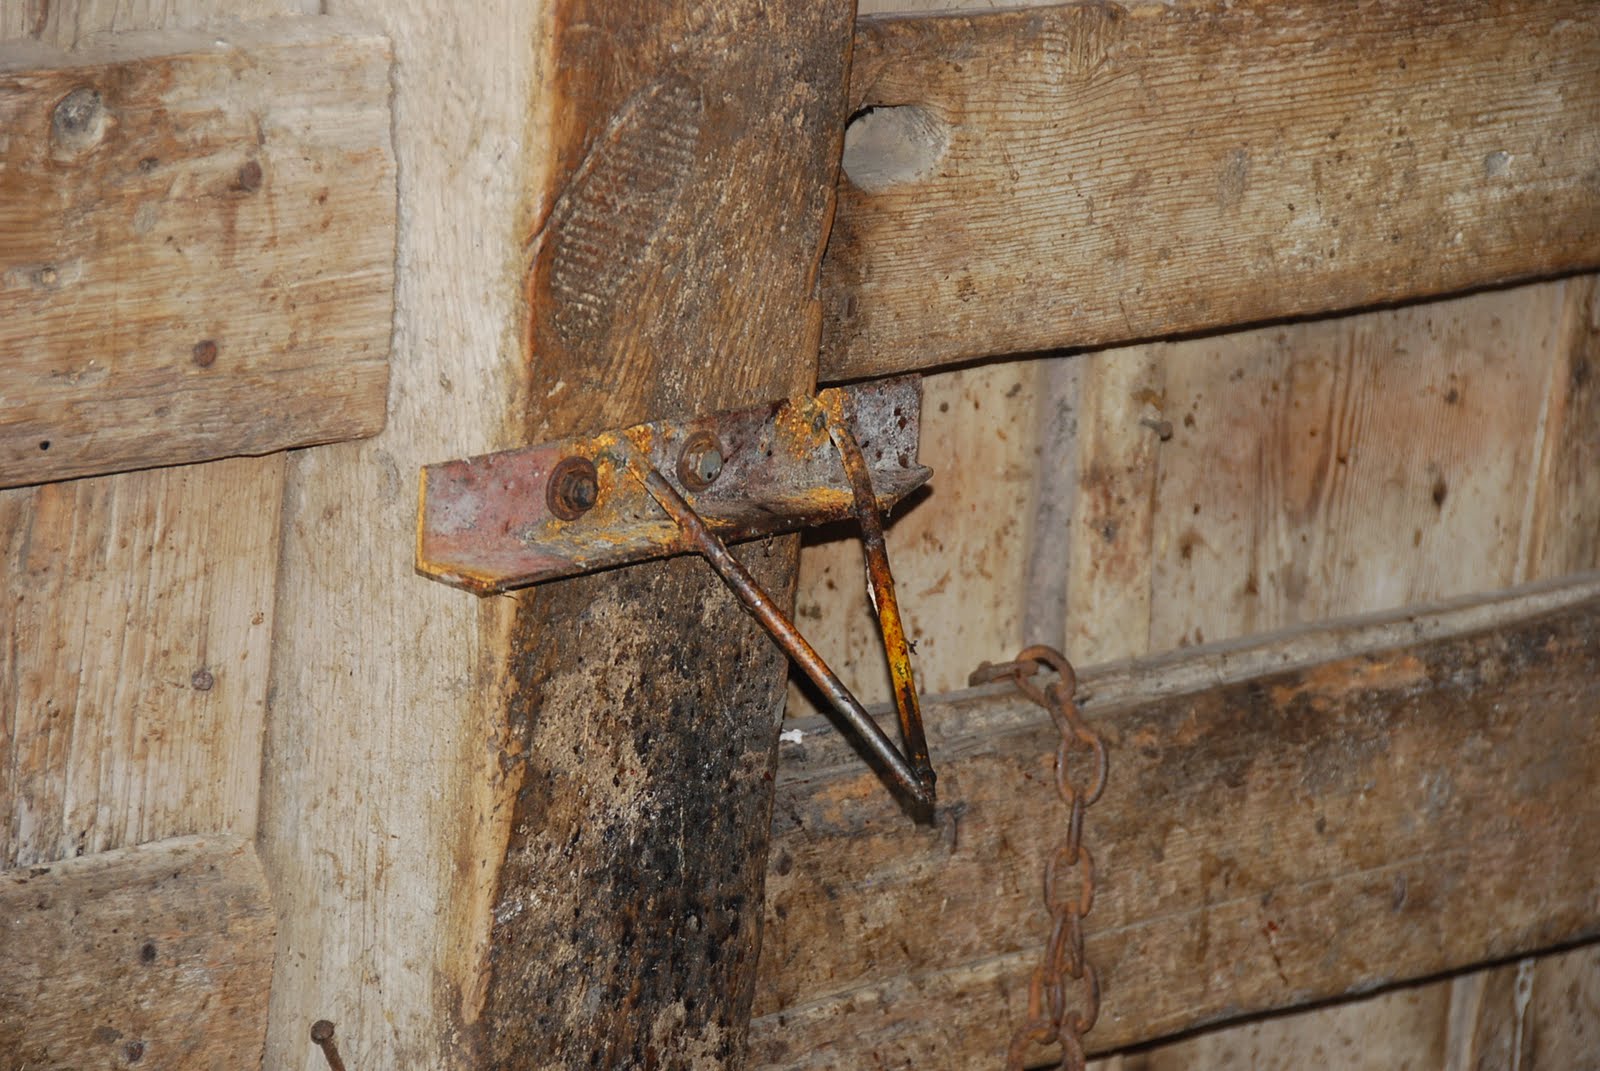 The legs are then cut off. The chicken is placed on it’s back in a small tub. Then the leg joint gets bent back slightly and you make a few cuts at the top of the joint and further down until the leg is free. It is important to have a sharp knife at this stage.
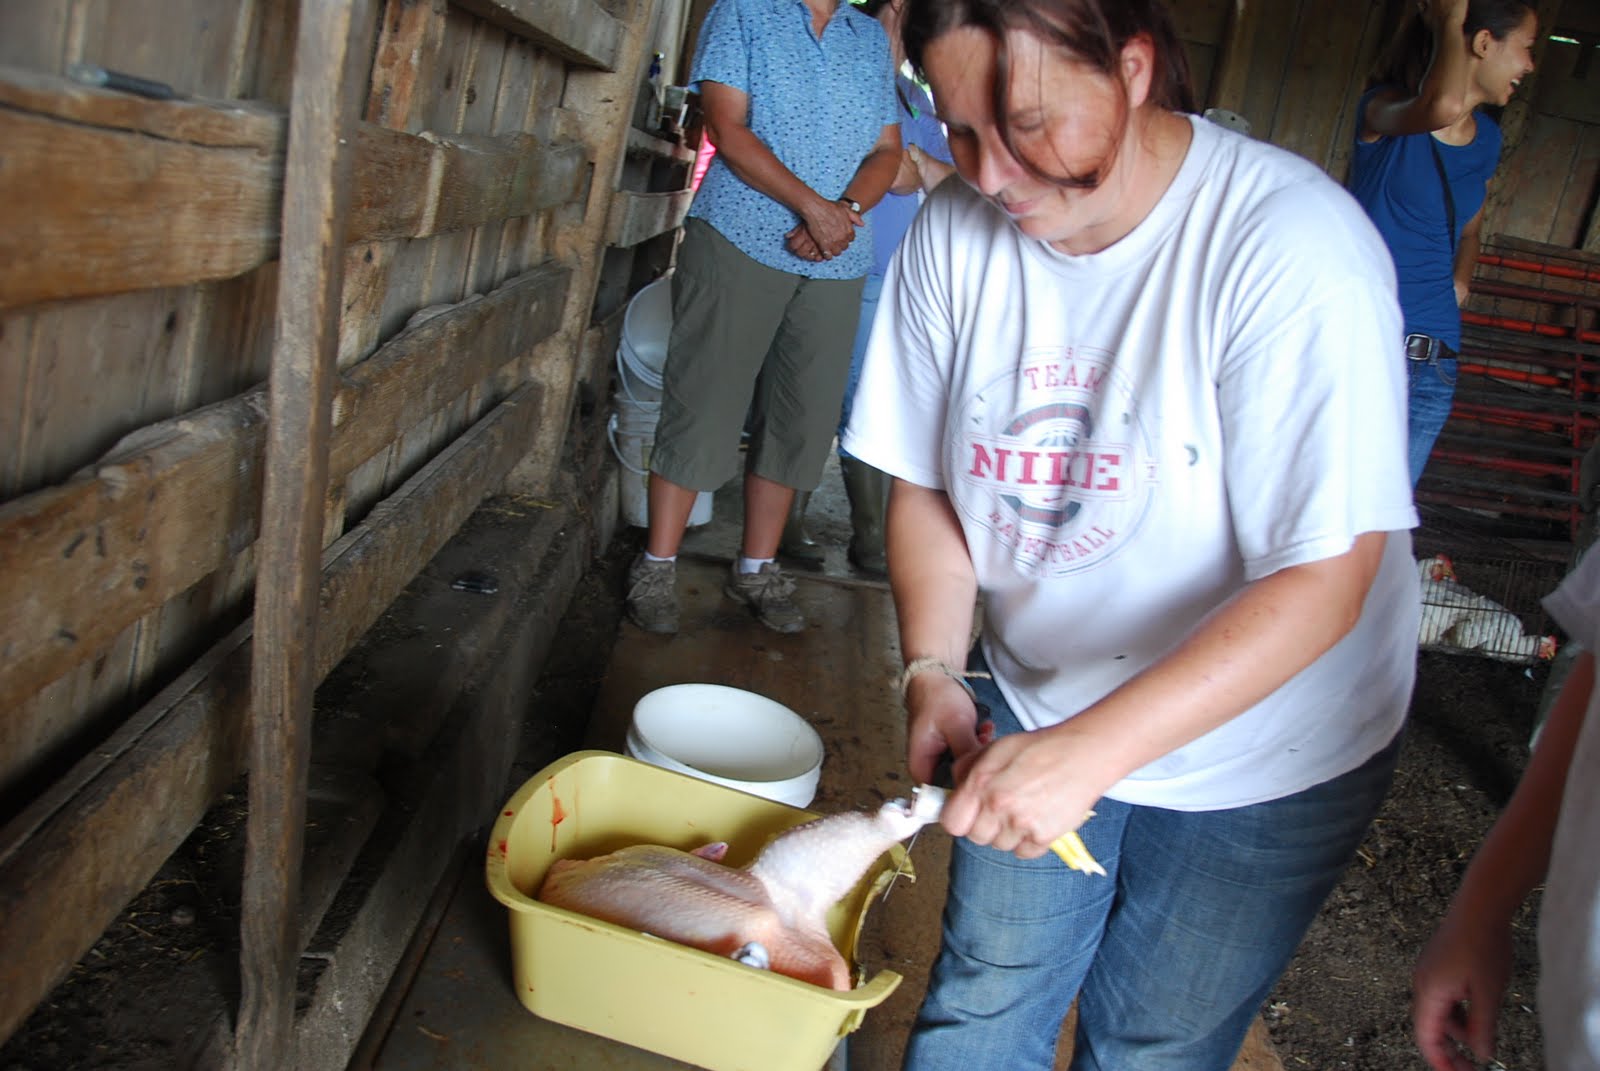 The chicken is then moved into the clean room for evisceration. This room is kept clean with bleach solution, and all surfaces are stainless steel. There are also hoses hooked up near the sinks in this room to have immediate access to water for cleanup and sanitation.
The first step in evisceration is to remove a small gland above the tail. Cut horizontally at approximately the second row of tail feathers (when the bird is sitting on their stomach) then cut upwards until the small piece is cut out.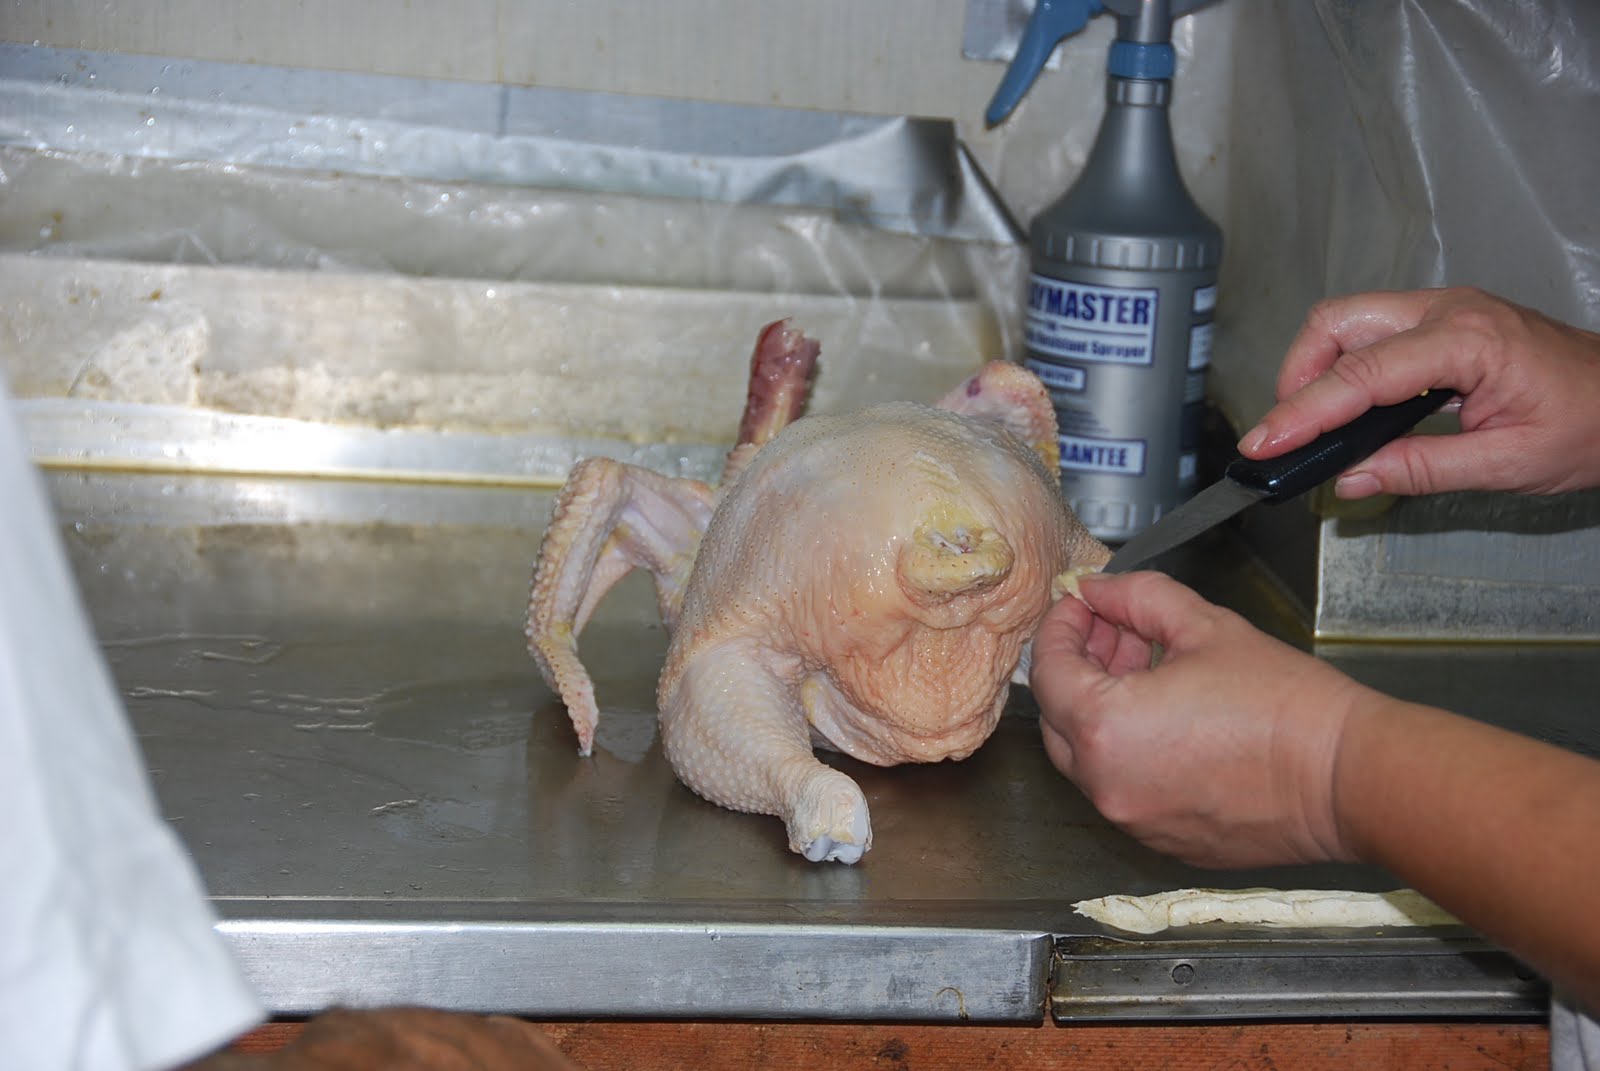 Next, the bird is flipped onto it’s back and a small cut is made by the neck. Work your fingers into the bird and loosed up the windpipe. The pipe feels like it has little ribs on it. This part takes some practice, but isn’t that complicated.
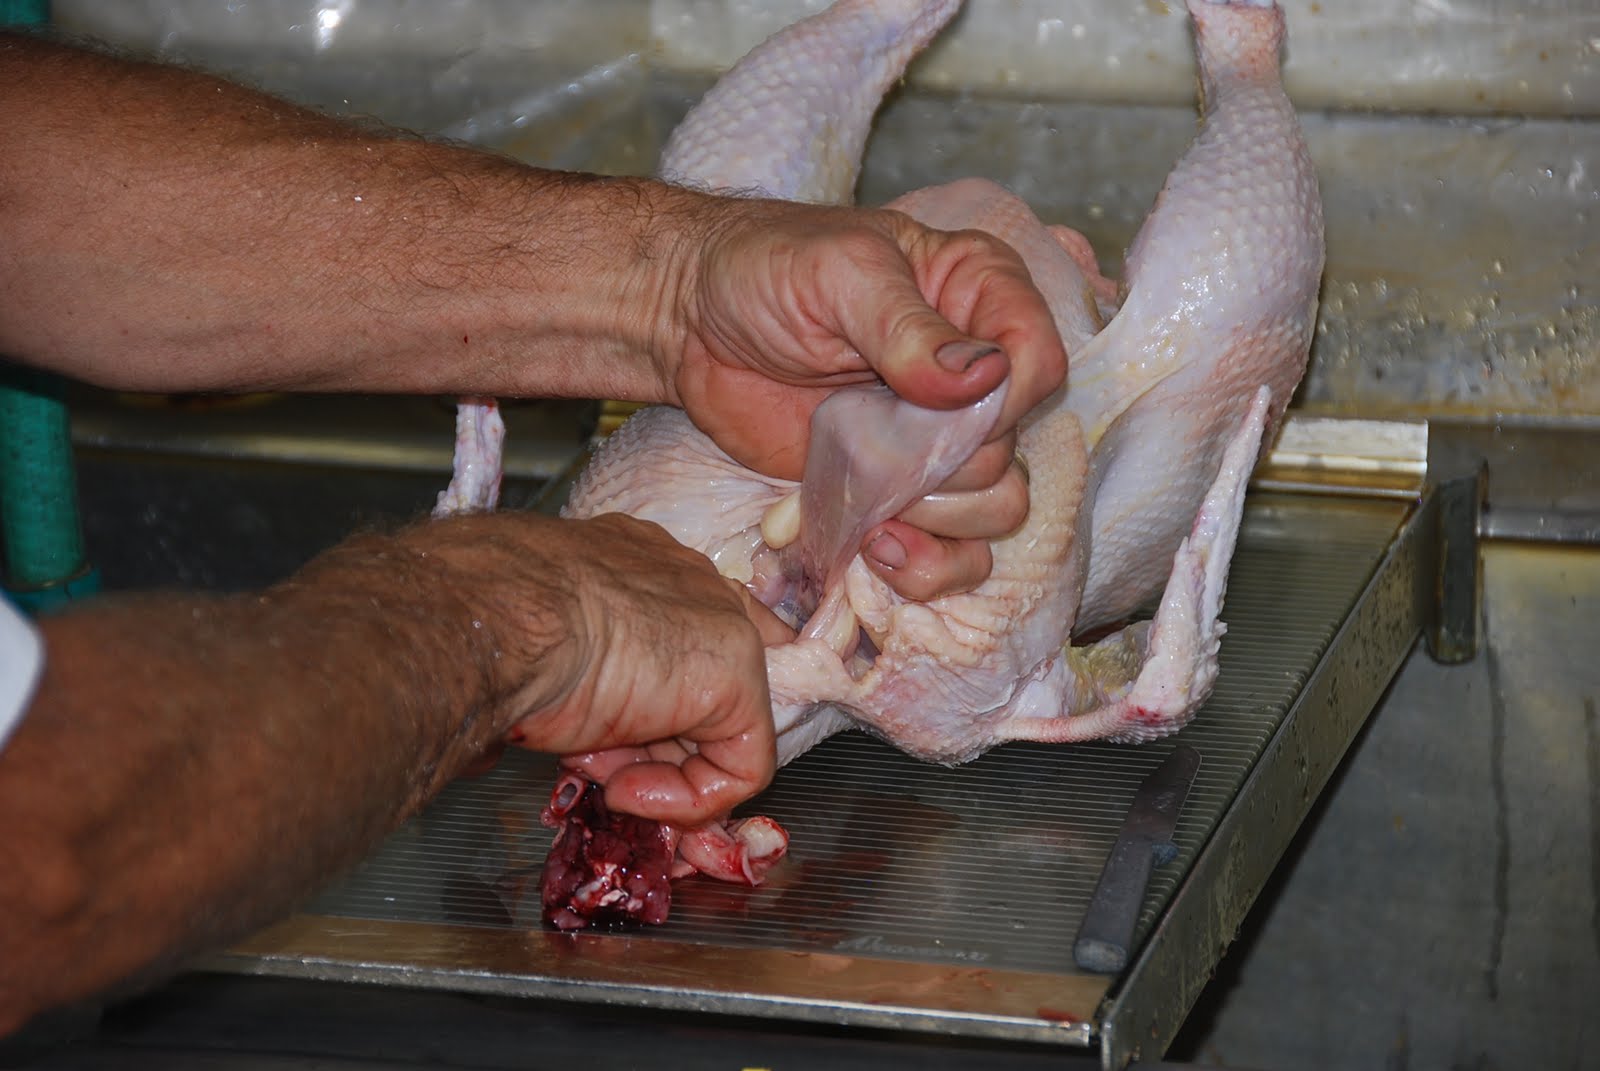 From there, cut right underneath the ribs near the anus, and make small cuts until a small ways above the anus. Reach your hand into the cavity made, and remove first off a small chunk of fat. Take out the gizzard, liver, and heart (Barney and Suzanne keep these to feed to dogs, etc.). At this stage also take out all other entrails and put them in the gut buckets.
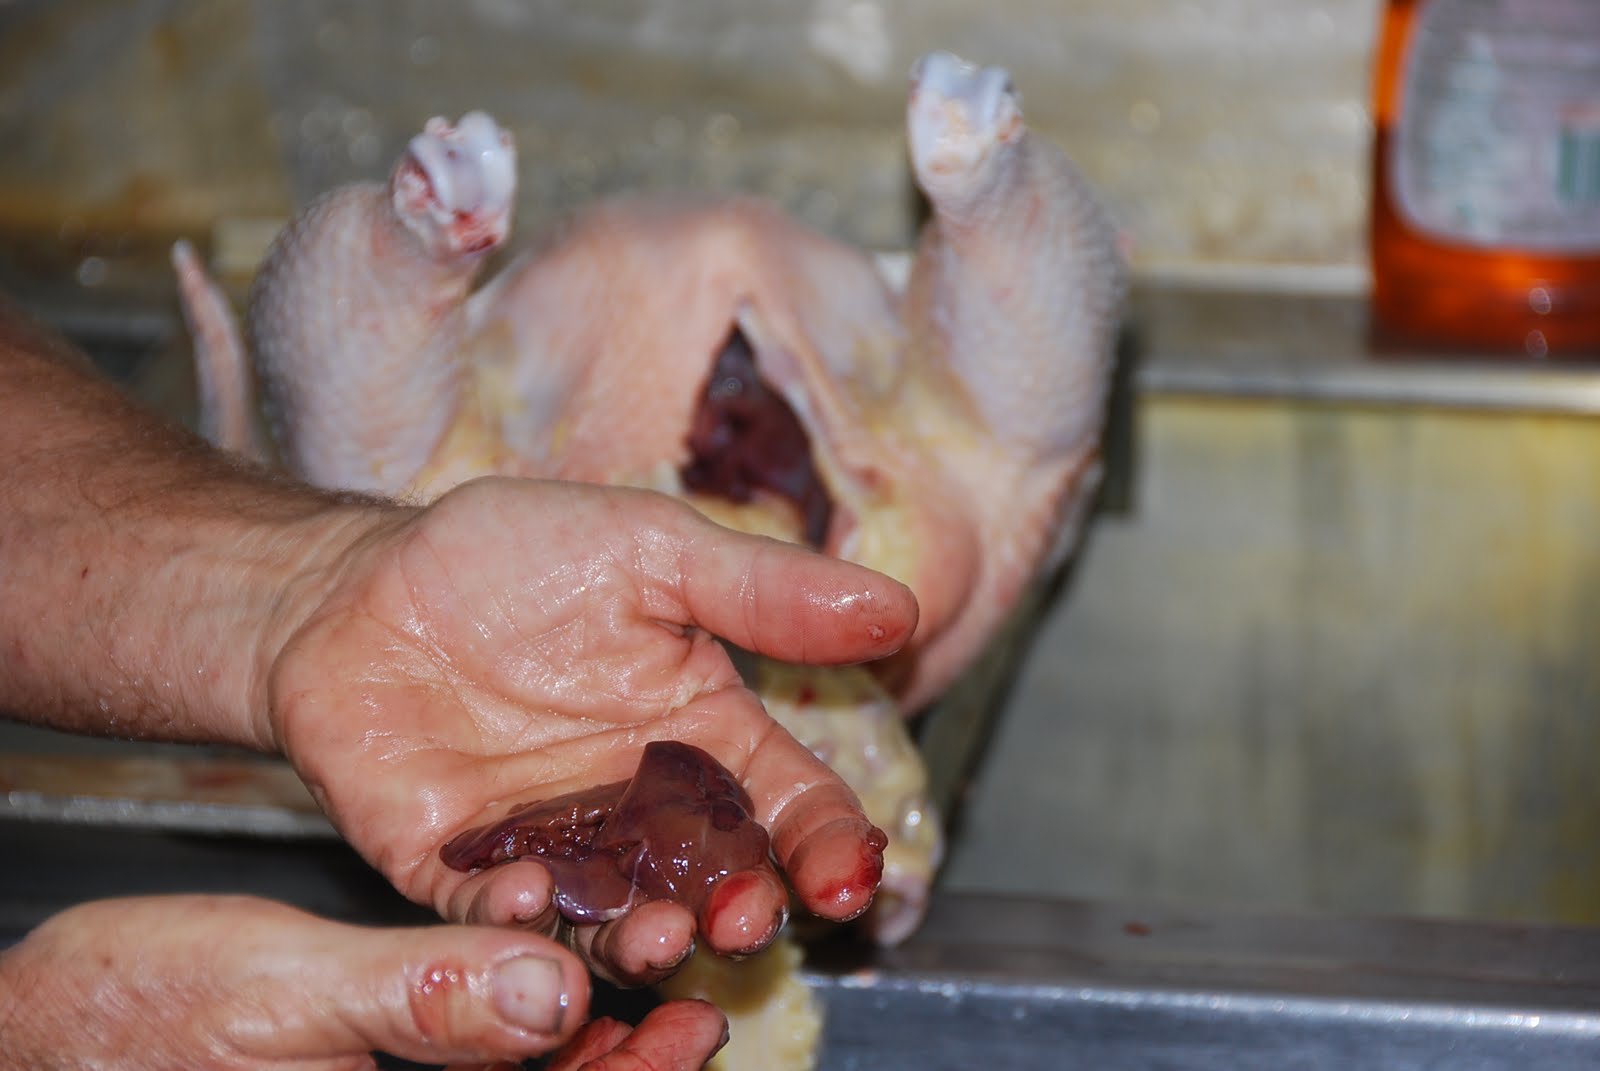 Next put your hand inside the bird’s cavity, cup your hand and scoop right next to the ribs on both sides of the bird. You are attempting to remove the lungs from both sides. It is difficult to explain, but very obvious to see once they are removed.
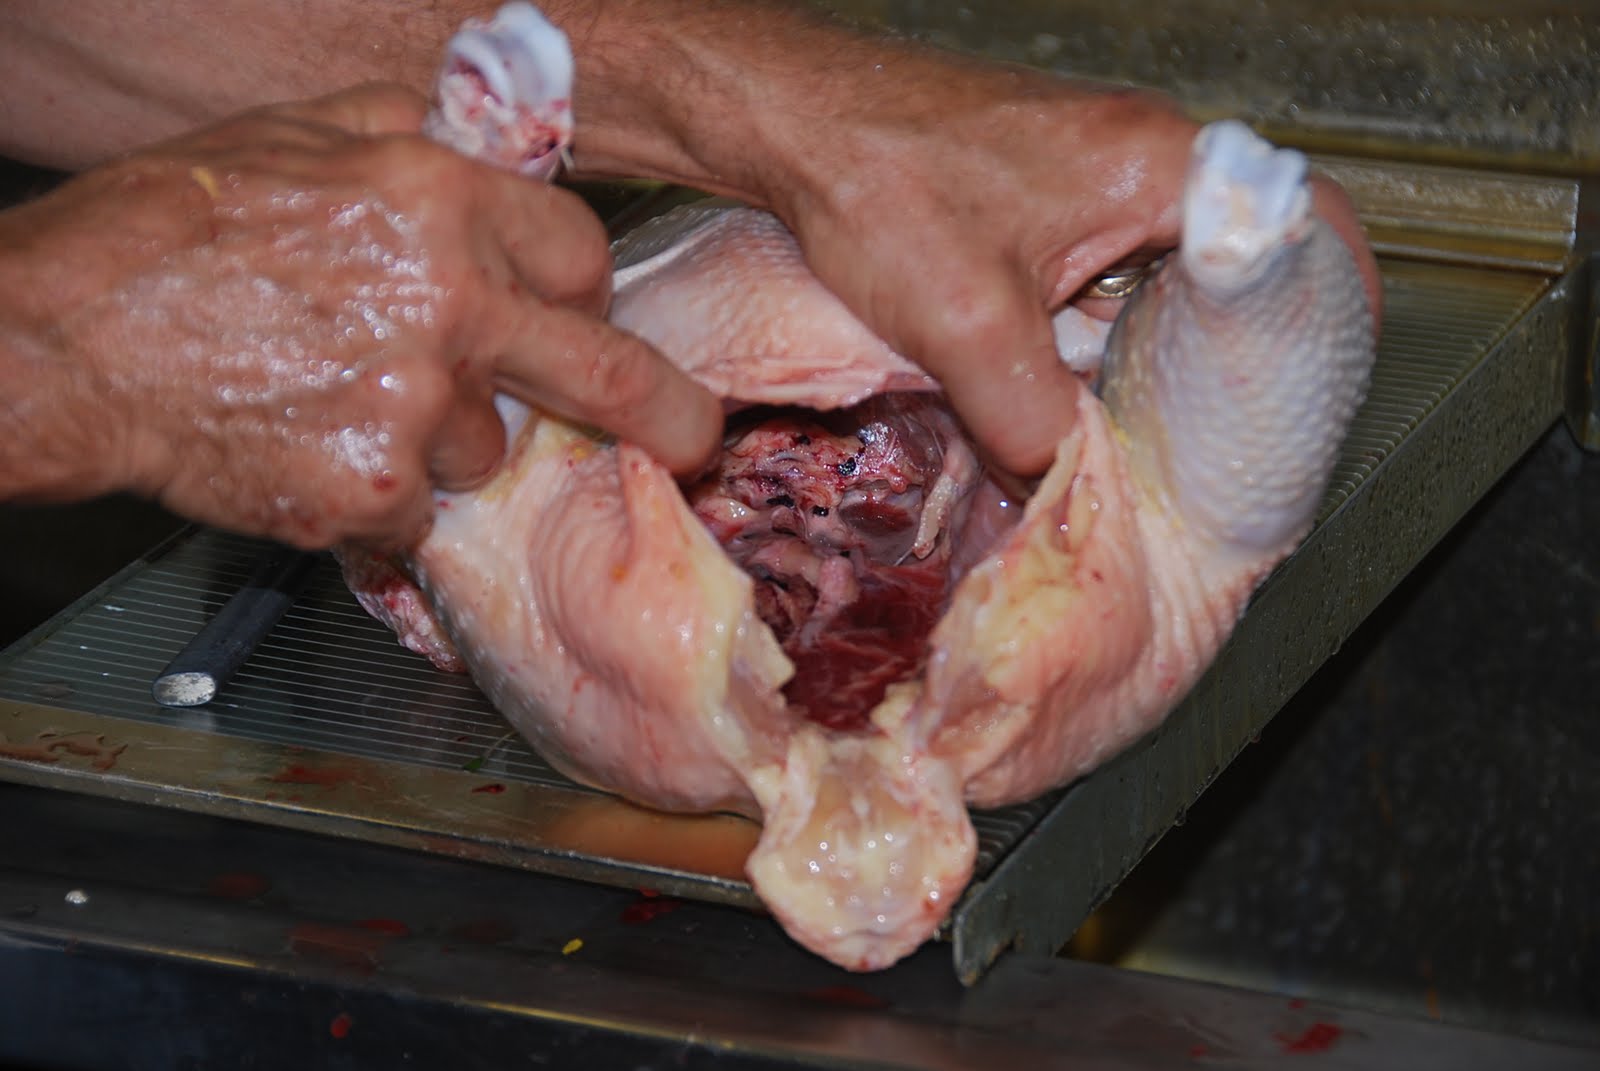 From here you will want to double check that you have removed everything that could possibly look like guts on the inside of the chicken. Check along the backbone, along the ribs, and get everything out of the cavity. Then rinse the bird out with water and make sure it is all cleaned out.
The bird then goes into a vat with ice water and there it stays until the customer comes to buy it. Barney and Suzanne have their customers come out directly to the farm on processing day. The customer gets their birds and puts them in their own bags and coolers and takes their chicken home. Barney and Suzanne do no freezing, all of the birds that are sold are sold that day off the farm. The birds are sold at a certain price per pound .
It was a very wet day, but everyone was interesting in learning and those that wanted to slaughter got to learn hands on. What a great opportunity! If you have any questions or would like to learn hands on and didn’t get an opportunity to go to the field day, Barney and Suzanne often hire labor to help with their processing days. If you would like to get ahold of them please contact the PFI office (suzi@practicalfarmers.org, 515-232-5661 ask for Suzi) and we can pass on their contact info.