Building High-Tensile Fence
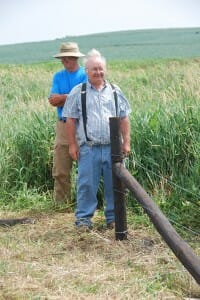
Vic and Cindy Madsen hosted a high-tensile fence building workshop with professional fence builder Jason Schmidt on Saturday, July 9th. If you weren’t able to come, here is a step-by-step guide on how to build this style of fence.
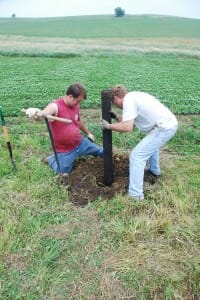
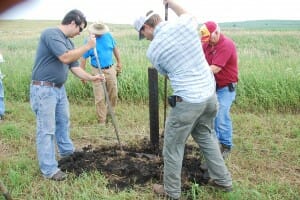
Step 1. Dig holes for the corner posts.

Be sure to dig the hole deep enough. For this fence, seven-foot long four-inch diameter posts were used (around $15 each), and the posts were put about three feet into the ground.
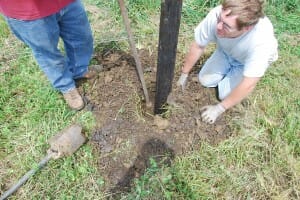
Step 2. Set corner posts.
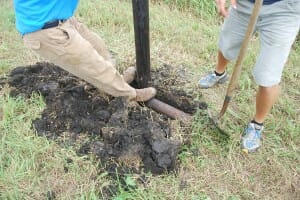
To prevent the post from pulling out of the ground, fencing staples can be put in on the bottom of the post, angled upward. If the post is being put in a wet or soft spot, a board (probably treated wood) can be put underneath the post to keep it from sinking. For ease of pulling the post later, a fencing staple can be put into the bottom of the board and a wire run through it and attached to the post above the soil surface, so the board can be detached from the post simply by cutting the wire.
Be sure to tamp the soil well as you add it back to the hole. Also make sure your post is straight and plumb.
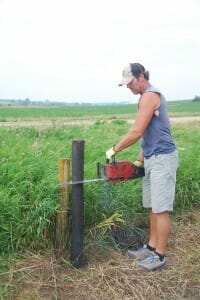
Step 3. Build braces.
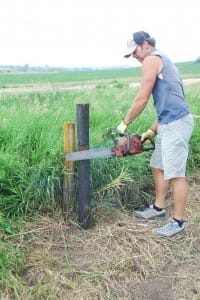
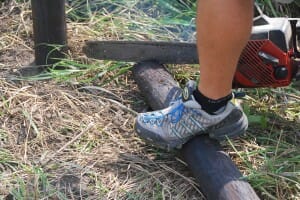
Cut a notch in the post about 2/3 up the post.
Make sure the notch lines up with the direction the fence will go.
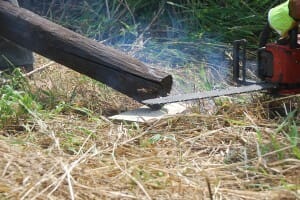
Cut the angle on your brace post. Mark the angle with a nail or pocket knife, using the notch you already cut as a guide, before cutting.
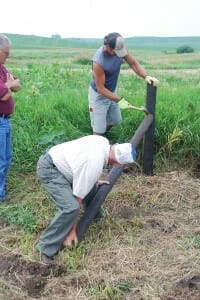
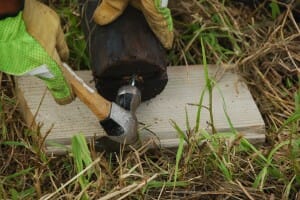
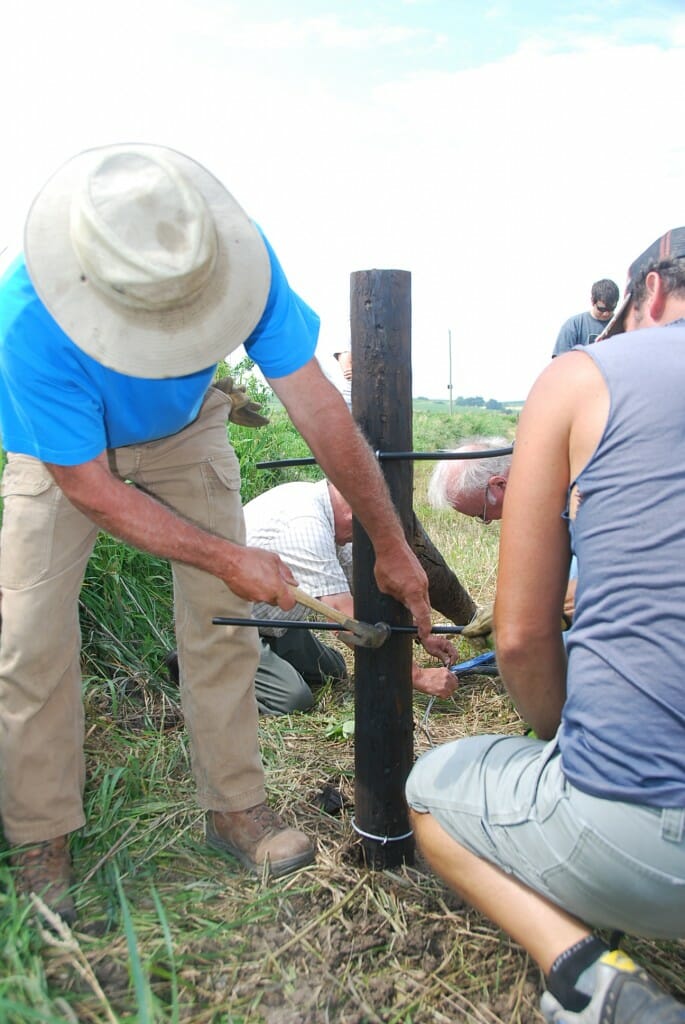
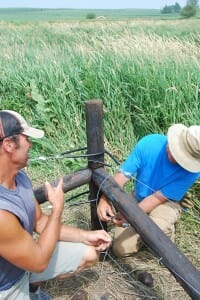
Attach the brace to your corner post using a brace pin. In this case, we used a piece cut from a cattle panel for the brace pin. These will hammer in just like a nail. Another option is to use Torx screws. Having an extra set of hands to hold the brace in place while you hammer is very helpful as well!
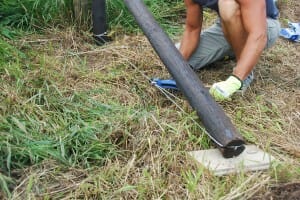
Set a treated wood plate, ceramic paver, or whatever else you have underneath the end of the brace so it does not sink into the ground.
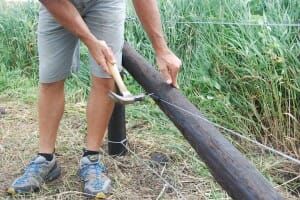
Cut a groove in the end of the brace for the brace cable.
Insert a fencing staple in the end of the brace (straddling the groove) and another on the bottom of the upright post (opposite side as the brace) to run your cable through.
Jason uses Class III galvanized double barb fencing staples (not sure of brand or price).
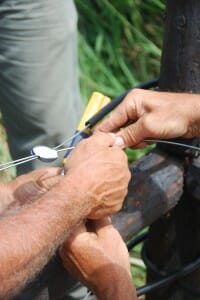
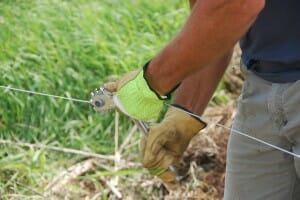
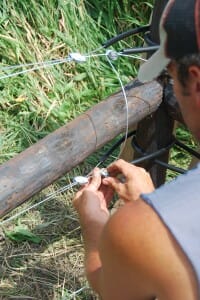
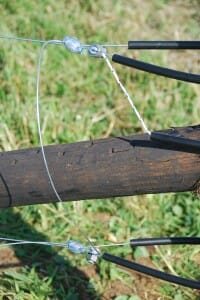
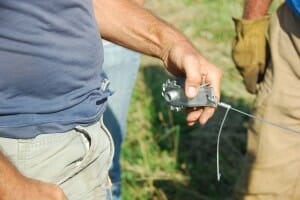
Run the brace cable through the staples and attach using a Gripple, then tighten using a Gripple tool (shown) or by hand. Make sure the Gripple is not too close to the post, so you have room to pull the cable tight. The cable and Gripple come together in a brace kit. Alternatively, one could use wire and a strainer (see picture of a strainer later in this post).
Step 3. Attach insulator tubes to corner post.
Secure each tube with a fencing staple at the correct height. This fence had the top wire at about 30 inches and the bottom wire at about 18 inches.
Step 5. Unroll the wire.
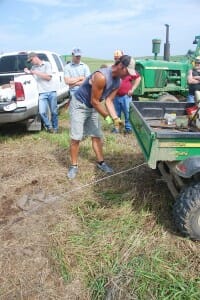
We attached the two wires to the back of an ATV to pull the wire out.
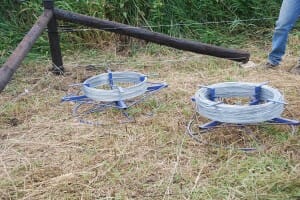
These unrollers were used. The nut on the unroller should be tight enough (provides drag) that the unroller stops spinning when you stop pulling on the wire, otherwise you will end up with a tangle. Do not cut the cable off of the rolls of wire until after it is mounted on the unroller!
To do more than two strands, the unrollers can just be lined up side by side, far enough apart to not tangle the wires.
Step 6. Lay out line posts.
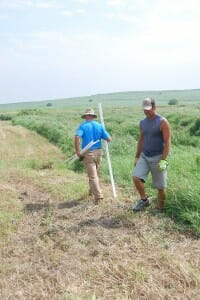
The post spacing on this fence was 30 feet; Jason recommends 30-40 foot spacing for this style of fence. If the posts are too close together, they are more likely to get pulled out or break when an animal (such as a deer) hits the fence.
Step 7. Attach the insulator tubes and wire on the second corner, before you walk (or drive) back to the first corner. See instructions on attaching wire below.
Step 8. Cut and attach wire on the first corner.
Always overestimate the amount of wire you will need, as it is a lot easier to cut than to splice. Always keep track of where the end of the wire on your spool is by bending it around something, so it does not get tangled and cause problems later.
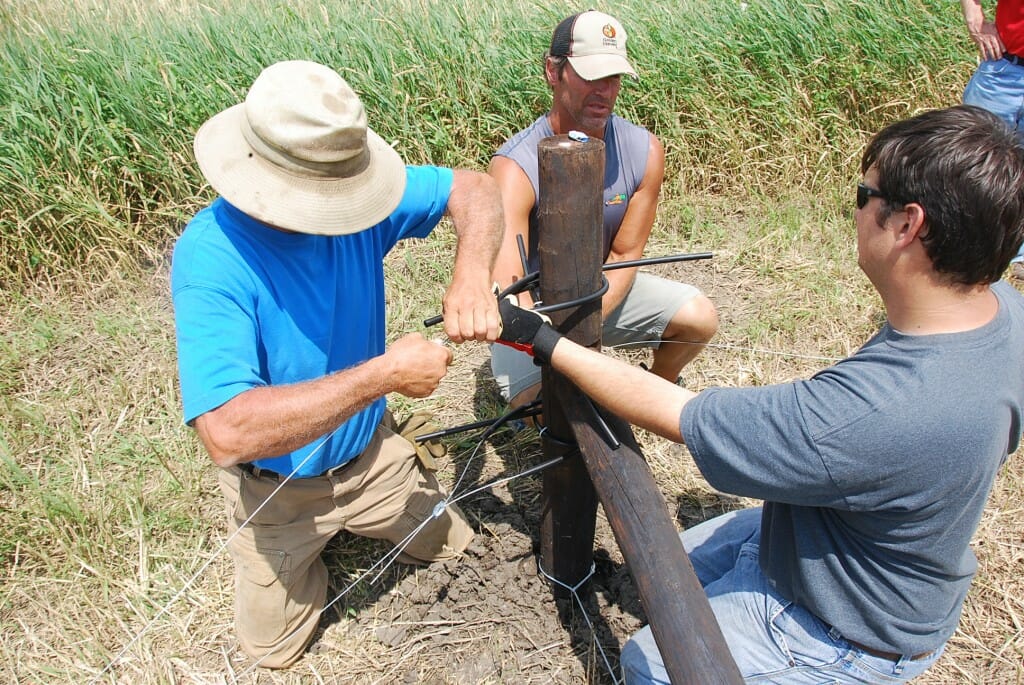
Before you run the wire through your insulator tubes (should already be on the post), put a strainer and a Gripple on, plus a short insulator tube for the bottom wire (to insulate where it runs against the brace post). Then run it through the other side of the Gripple, and it is attached! If there are additional wood posts on this run of fence, you will want to run insulator tubes along the wire (from whichever side is closest) to insulate each post.
Step 9. Tighten bottom wire and make sure the wire is running straight.
It is easiest to see the wire if you are looking into the sun, as it will reflect off of the wire.
Step 10. Pound in the line posts.
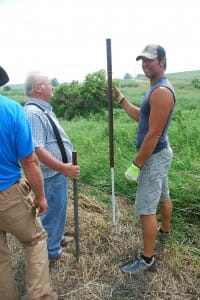
These fiberglass posts (7/8-inch Sunguard II from Geotek) can be pounded in using a post pounder. Jason had custom-made narrow post pounders, but that is probably not necessary. If you stand straddling the wire while you start, it is easier to get the post in the ground straight.
Having lots of people does not necessarily help make this step go faster…
Step 11. Attach the wire to the line posts.
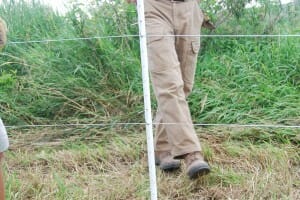
We used pre-made U-clips (stiffer than wire) to attach the wire, but high-tensile wire could also be used. These posts come with holes pre-drilled. The clips are simply inserted through two holes around the wire and the two ends are bent in opposite directions.
Step 12. Tighten the top wire and loosen the bottom wire if necessary.
These strainers from Powerflex can be tightened using a ratchet or a wrench. Jason recommends 150-200 pounds of tension on the wire, which is enough that the fence will have give if a deer hits it (you should see waves when the fence gets bumped). If you put too much tension on the wires, your corner posts could get pulled out, and you are more likely to get breaks in the fence.
Jason recommends putting the strainers on an end of the fence (or both ends), not the middle (ideally the end you can access the best) so you don’t have to go to the middle of the fence to tighten it. He also prefers to stagger them, rather than lining them up vertically, for a more professional look.
Step 13. Install the next section of fence in the same manner. Jason recommends keeping each section of fence tied off separately instead of one continuous loop, so that if something breaks in a section, the wire will not be loose on the whole fence.
Step 14. Put in connectors between the sections for the power to run through.
Connect the top and bottom wire.
And connect around the corner. We used joint clamps from Stafix that fit around the wire with a nut that tightens down on up to three connecting wires.
Step 15. Install any gates.
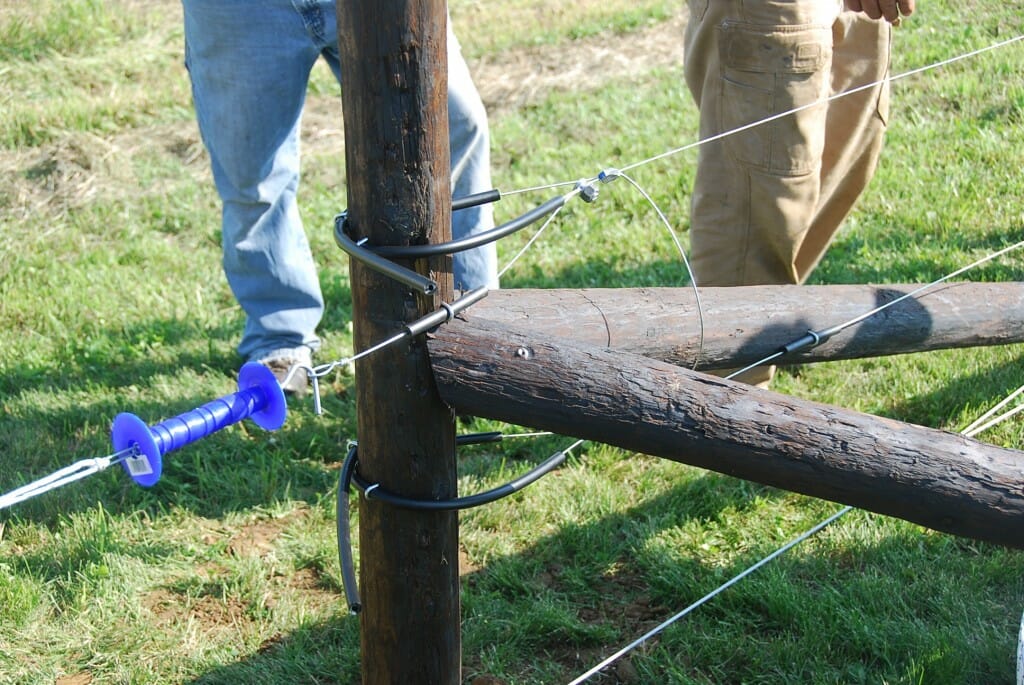
This gate between paddocks was made using polywire (braided not twisted). In the photo above you can see that it was connected using a joint clamp and run around the post using an insulator tube (fixed at the desired height using a fencing staple).
On the other side of the gate, a loop was made using high-tensile wire to hook the gate handle into.
Additional steps and pointers.
Strainers can also be used to splice together two wires. This strainer had to be re-done because the wire broke when we initially tried to tighten it. Jason said this can happen if the wire is already tight when you start tightening the strainer. You want to have a few feet of wire rolled onto the strainer (this helps if the wire breaks and you need extra wire length too).
For an angle greater than 90 degrees (or a slight curve), a “deadman brace” can be put in. A trench was dug just in front of the post, and a half-length post was put in. A regular corner brace will not help with a wide angle, as the pressure is inward, not in the direction of the fence.
Be sure to tamp the soil well on the inside edge of the deadman as you fill it back in.
Cost and Materials
7-foot long 4-inch diameter treated wood posts – $15 each
7/8″ Sunguard II fiberglass posts (Geotek) – $9.40 each
High-tensile wire – $120 for 4,000 feet
Brace and anchor kit with cable and Gripple (Gripple) – $18
Fencing staples – $1.50/lb. (approximately 350/lb., or $0.0042 each)
Insulator tubes – $2.00/4-foot piece (two feet used per wire per post)
Gripples (Gripple)- $1.50 each
Strainers (Powerflex) – $3.00 each
U-Clip (from Geotek, to affix wire on line posts) – $.16/each
Joint clamps (Stafix, Trutest, Powerflex) – $1.00 each
Polywire (braided not twisted)- $75/1/4 mile ($0.057/foot)
Gate handle – $5 each
Each corner (three posts, four insulator tubes, two brace kits, six staples, four Gripples, four joint clamps) costs $85.03 if it goes both directions or $53.02 if it just has wire going in one direction (two posts, two insulator tubes, one brace kit, four staples, two Gripples).
Each gate of this design (1 post and brace, 30 feet of polywire, one joint clamp, two insulator tubes, two staples) costs $56.75
Each 1/4 mile of fence, excluding the corners, (Jason recommends keeping your fence in 1/4 mile sections in case of breakage) (43 line posts, 2,640 feet of wire, 86 U-clips, two strainers) costs $503.16. Adding one more wire would cost $46.48 per quarter mile of fence (wire and U-clips).
This fence costs (same assumptions as above) $0.38 per linear foot of fence plus the cost of corners and gates.
For example, to fence the perimeter of a 40-acre square parcel (1/4 mile on each side), you would have four corners, one gate (placed at a corner), and four 1/4-mile sections of line fence, for a total of $2377.50.
Of course, most pastures are not square, need more gates, may need more wires, etc., but this should give you an idea.
For further fence building instructions and to see pictures from a 2015 fence building field day, click here.

