Two-Wheel Tractors with Jill Beebout and Jeff Lauber
Jill likes the two-wheel tractors for their size – they’re right for her farm, and for her. “I’m not a very large human being,” she says. “If a piece of equipment is going to fight me, I don’t have time for it. These machines are not intimidating; if you can run a lawnmower, you can run one of these.” On her six acres of vegetables (and one acre of asparagus), the two-wheel tractors are easy to maneuver and fit the confines of her 3-ft wide permanent bed system in her older fields.
Both Jill and Jeff are insistent that these vintage tools are the path ahead for market farmers. After leaving his family’s 500 acre farm, Jeff raised vegetables on 12 acres for 10 years – he only every used a two-wheel tractor. He now has over 100 two-wheel tractors and countless garden tractors (four-wheel tractors that weren’t made for lawnmower decks) – but that’s due to his passion for collecting and restoring – not the needs of his farm.
According to Jeff, any of the tractors at the field day would be perfect for 6-10 acres of produce. The trick is to have your implements set up properly so you can just hook-up and go.
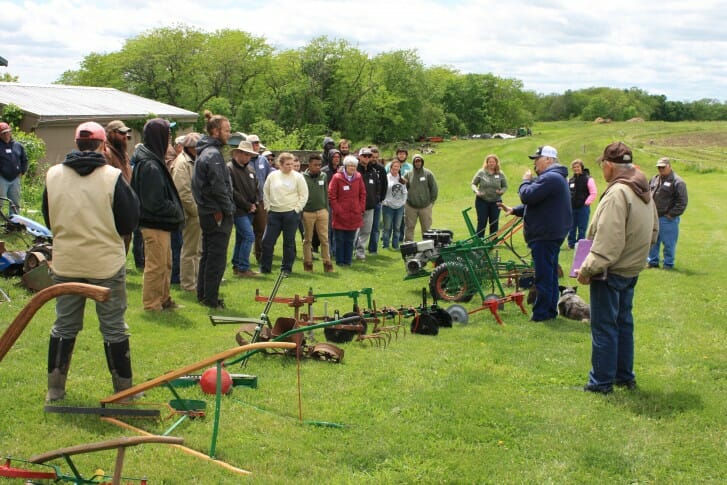
Below are a series of photos with some notes about the equipment shown. If the machine is freshly painted, it’s Jeff’s; otherwise it’s Jill’s. Says Jeff: “The worst thing that usually happens with these old tractors is that the engines wear out, then the tires, and sometimes the bushings go. You don’t have to paint them to make them work – you just have to make them mechanically sound. An engine is $128. Tires are $60 each and you’ll never wear them out. And don’t be afraid of old tires with some cracks – you’re not speeding down the road, you’re going 1/2 mph in the field. You can spend a lot of money on these… but the trick is not to.”
For more resources on two-wheel tractors, both Jill and Jeff suggest joining facebook groups (like Vintage Tractor and Garden Equipment or Bolens Walkbehind Tractors) or other online forums. As Jeff says, “You can’t learn anything if you don’t participate.” You can also check out “The Practical Collector” video series, featuring Jeff Lauber walking through his collection of tractor and implements, on PFI’s Youtube channel.
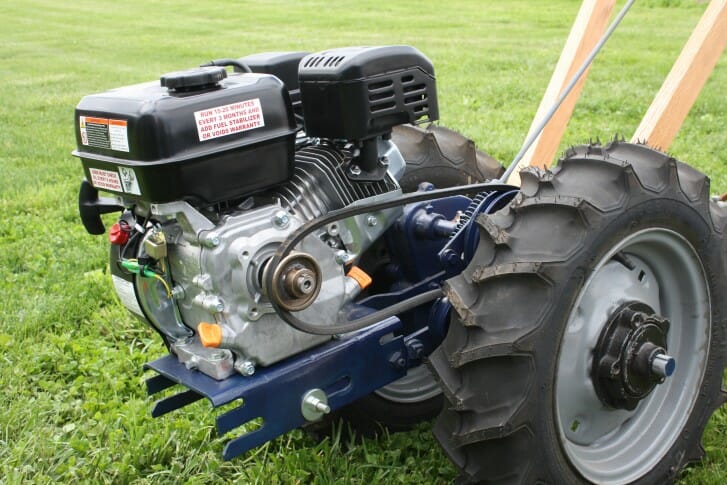
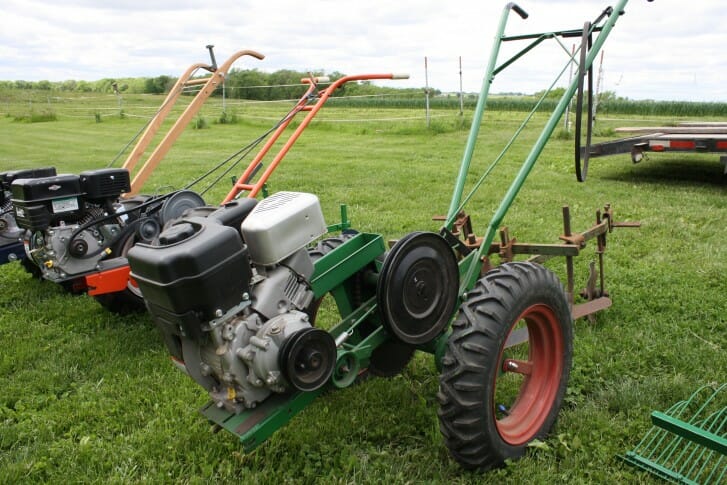
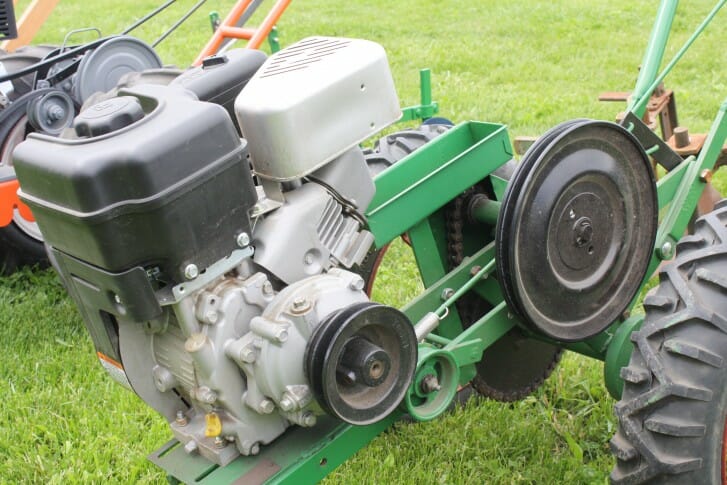
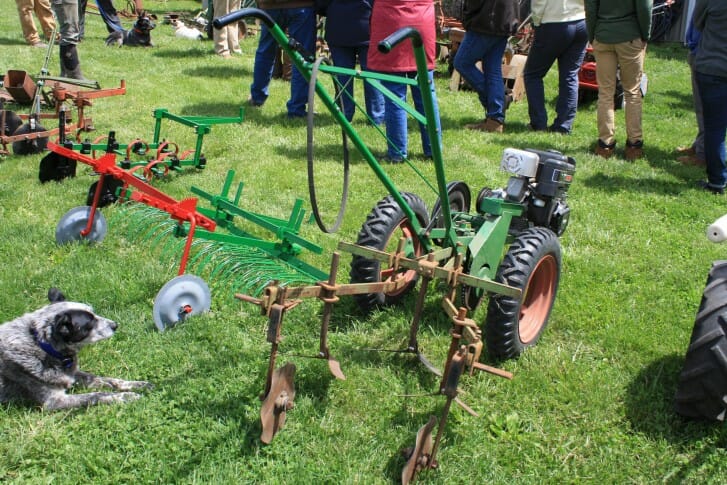
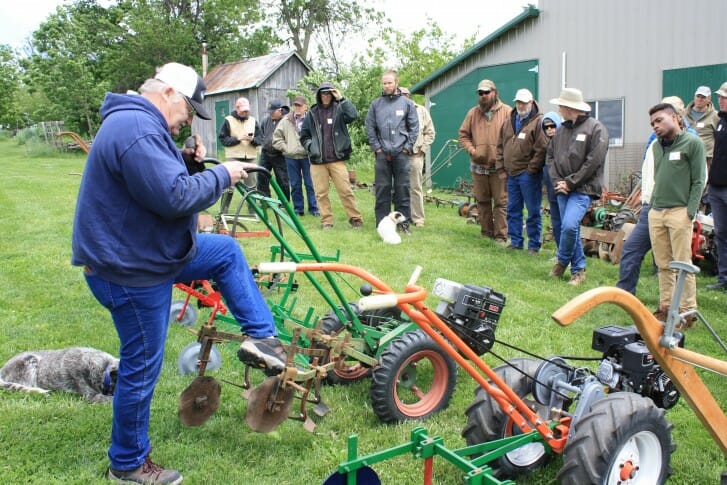
The tractor below was only the transaxle when Jeff bought it. and it’s now a Franken-tractor, representing ~10 different brands. Copying the Planet Jr. walk-behind system, Jeff used a motor mount from a David Bradley. He added a new engine from Harbor Freight, new tires, and plow handlebars. The total assembly cost less than $600. Jeff added a lift to the cultivator so you don’t have to hop the cultivator around to turn at the end of the row.
Jeff demonstrated the ease of navigating the tractor, while the cultivator stayed in place. “You don’t want to have to move the cultivator,” he said, “you want the cultivator to stay put and the tractor to guide it. You want to guide the cultivator, not move it.”
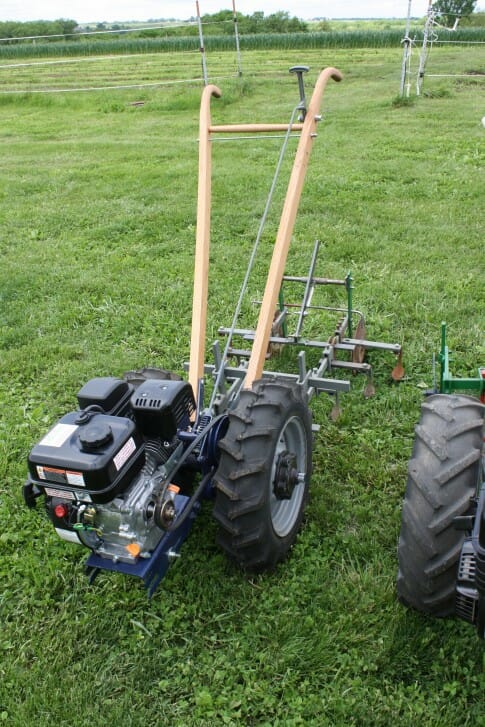
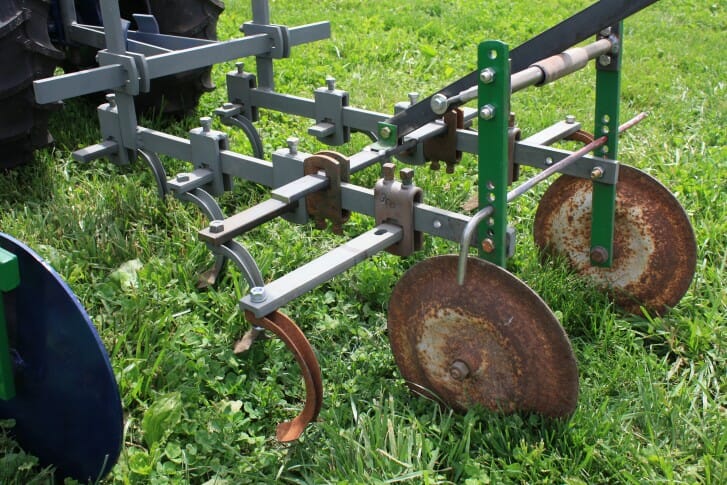
Cultivator with lift, hooked up behind the Franken-tractor.
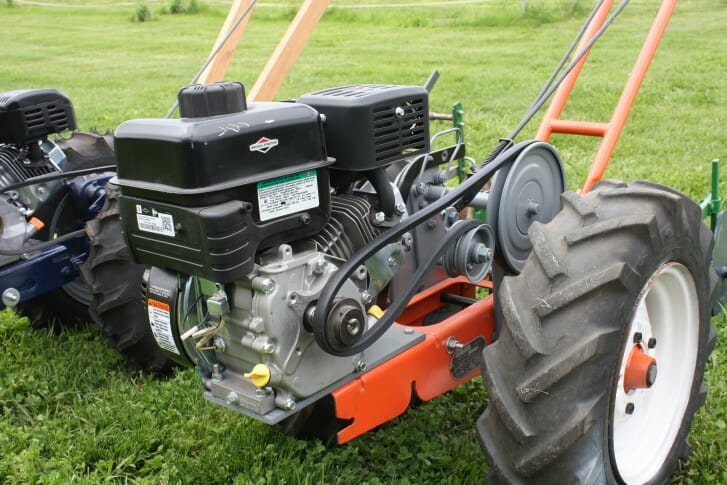
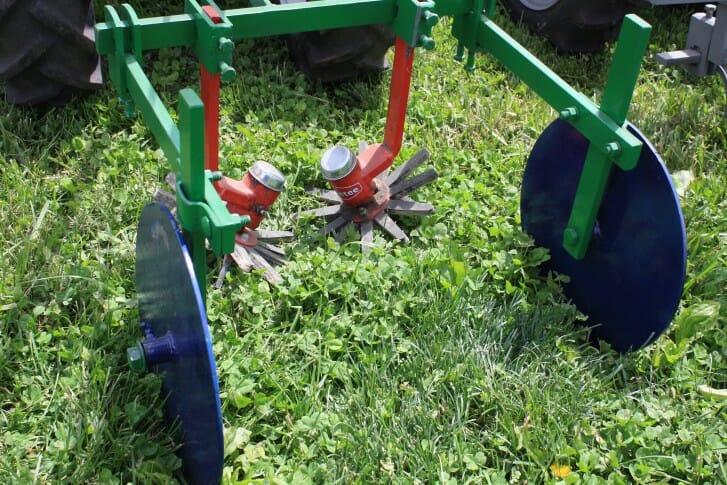
The tractor on the left in the photo below is the first garden tractor Jeff bought 35 years ago, a Simplicity with a Briggs & Stratton engine. This is his only tractor with a gear in it – it has reverse. A finger-weeder implement is mounted on the tractor. They’re very flexible pieces of rubber; they also make them with nylon brushes. Says Jeff, ““You can run it through beans, peas, numerous things… and probably some crops that I don’t grow. But not through lettuce. Don’t ask me how I know that. “
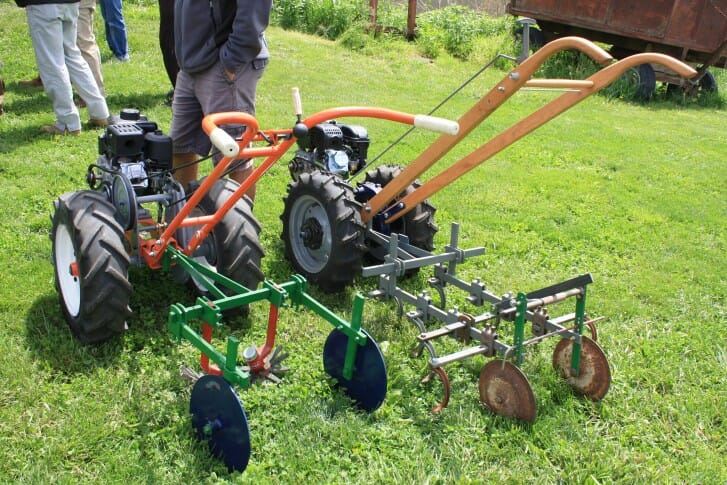
The tractor on the right in the photo below is a Planet Jr frame, but a lot of the tooling is from a David Bradley tractor. According to Jeff, much of the tooling is interchangeable; most brands use a 1 1/4 in. tool bar, you just have to make sure you have the right clamp and shank to match it all up. The implement attached to this Planet Jr. can go between rows or over the row; you can, for example, take off the right side and flip it around to go between the rows, or pull up the center shank and go over the top of a row. It also has quick-adjust gauge wheels to easily raise and lower the shanks.
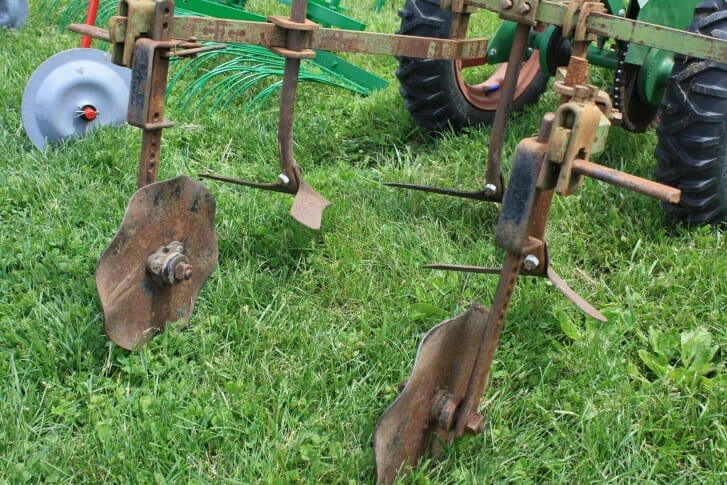
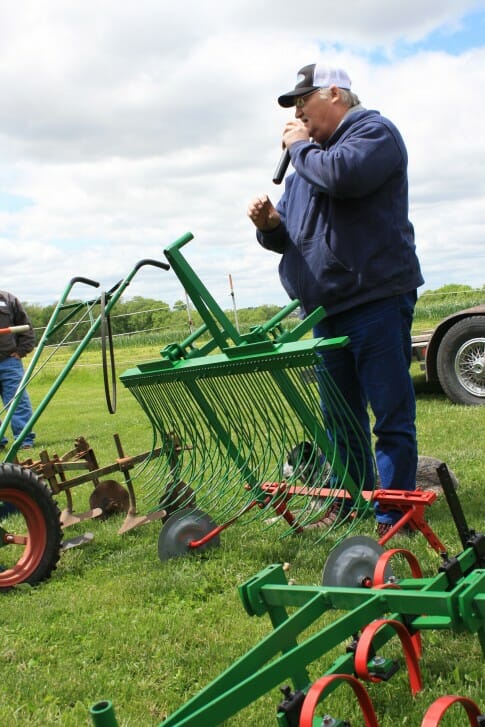
Below, Jeff is showing a wire tine weeder. Planet Jr only place that ever made these. Jeff sets up this implement to work the top inch of ground to get the white head of weeds. You can go through your standing crop with these; it just shakes the ground and dislodges the tiny weeds. But anything over an inch it won’t take. This weeder gets the weeds when they’re practically invisible.
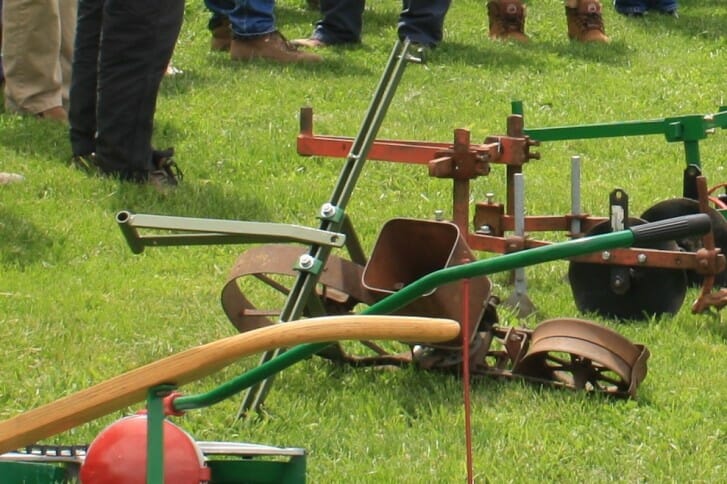
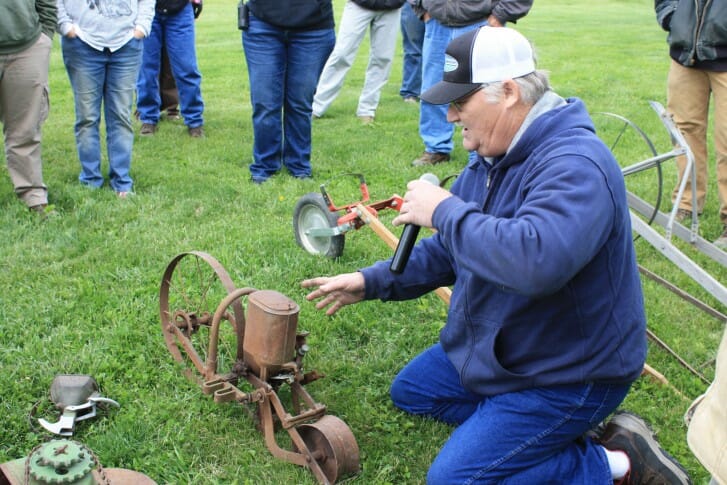
The seeder in the photo below is Jeff’s favorite, the Planet Jr. “This seeder made from 1914-1932. It comes in about 10 different configurationss in two different sizes of seeders. If you can get one these, you’ll throw away your Earthway in a heartbeat,” says Jeff.
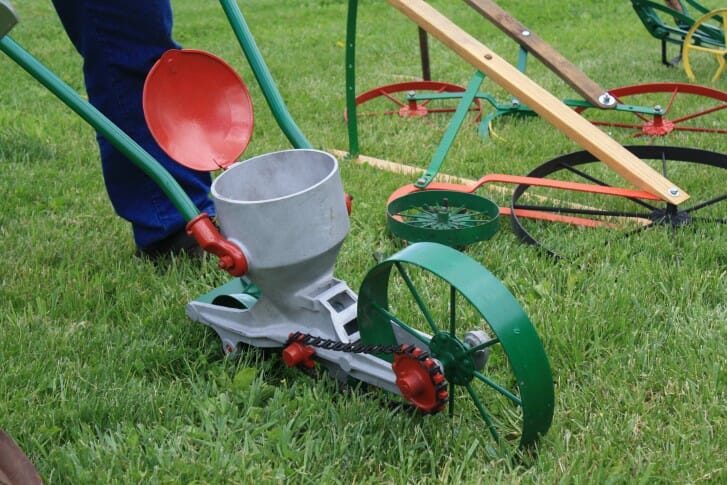
Below, the Lynchfield seeder, made in Minnesota, uses discs for different seed sizes. Made up in Minnesota.This seeder is made out of aluminum and virtually weighs nothing. According to Jeff, there’s lot of them around. You just need to take them apart and clean them up.
After Jeff’s show and tell, we moved on to Jill’s equipment. Jill admits her’s isn’t as pretty as Jeffs… “not because he doesn’t use his, I just don’t clean mine,” she says. But both Jeff and Jill agree the tool doesn’t need to be pretty to do the job.
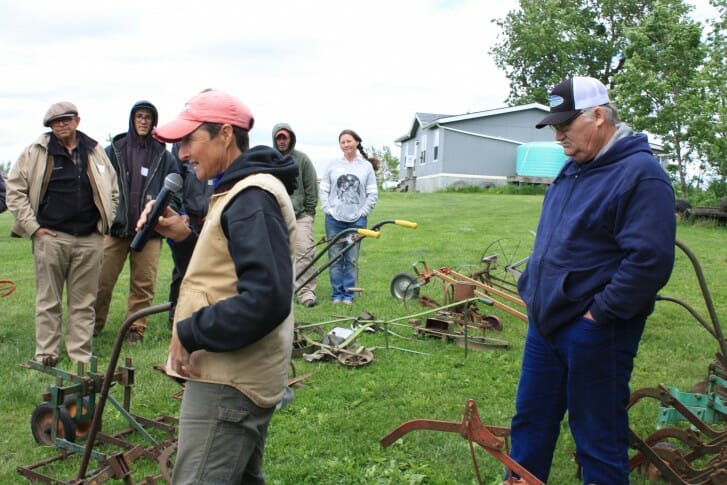
Jill began with her Bolens tractor – the first one she got – without an engine but with lots of useful implements. The Bolens swings quite a bit, so she’s concerned about using it for in-field cultivation, but it’s excellent for bed prep. ‘We were really wet and had about 2-ft chickweed to fight all over one plot. We mowed it, then I came through with the duck feet on the Bolens and cleared just below the root line of the chickweed and then pulled it away from the bed. This was excellent. Now our soil can dry out, then we’ll go through with shanks on, open the soil up, and till. I don’t know what we would have done without it.”
About getting a motor: “check out what kind of motor you need – you have to study the bolt patterns, the alignment of your engine to the body and if you need a reduction motor. Manuals are available online – use them and ask knowledgeable people,” says Jill.
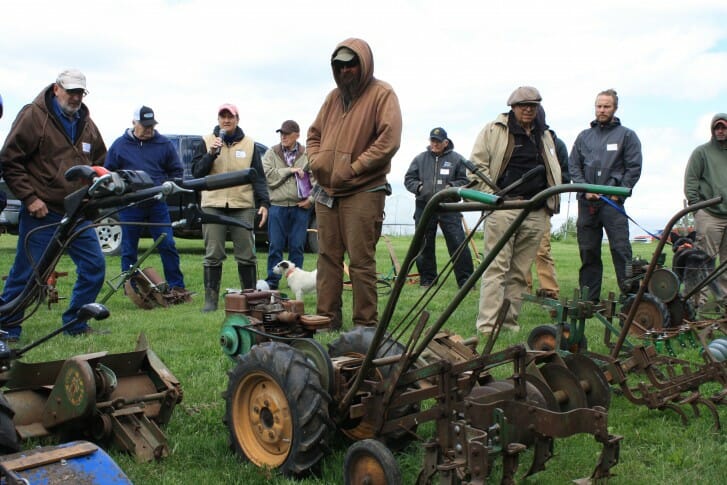
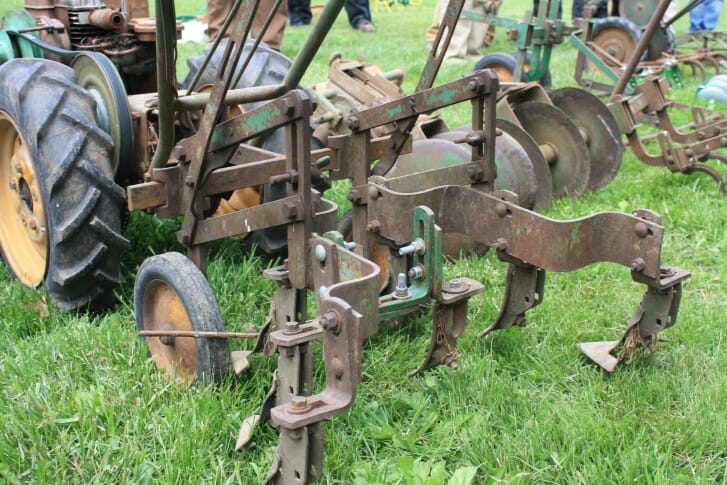
Jill also has a BCS. Says Jeff, “the BCS is a great roto-tiller, but it isn’t a cultivator. It doesn’t have enough ground clearance and the configuration on the cultivators isn’t great. The BCS is great for primary tillage, but after that you need to repeatedly cultivate, not deeper than 2 inches. Don’t keep bringing the weeds up.” A question was asked about the implements for BCS. Jill replied, “The angle of mount on the BCS isn’t right for a lot of our implements; we have used the hiller/furrower some, but with very limited use.”
“When we got the Bolens, we also got the Super Tuffy by Planet Junior (pictured below, on the left). This is like a wheel hoe with power assist. It’s ridiculously fun to drive and I laugh like a loon when I use it. It’s great inside the high tunnel because it’s easy to maneuver in tight spaces. I tooled a little tool bar with new stirrup hoes. It’s a little over-tooled like this, but it’s great for light-weight cultivation.”
Also pictured below (in front of Jill) is her Planet Jr. seeder. “Before this seeder I was running a Johnny’s European push-seeder. I do still use the 6-row seeder from Johnny’s, too. This thing is crazy heavy – great in certain conditions. If I over-prepare the bed and pushing uphill… it’s like farm-gym – it will sink 4 inches in. What I love about this is that the whole seed hopper comes out. There’s no vaccuming or swinging the whole thing upside down.”
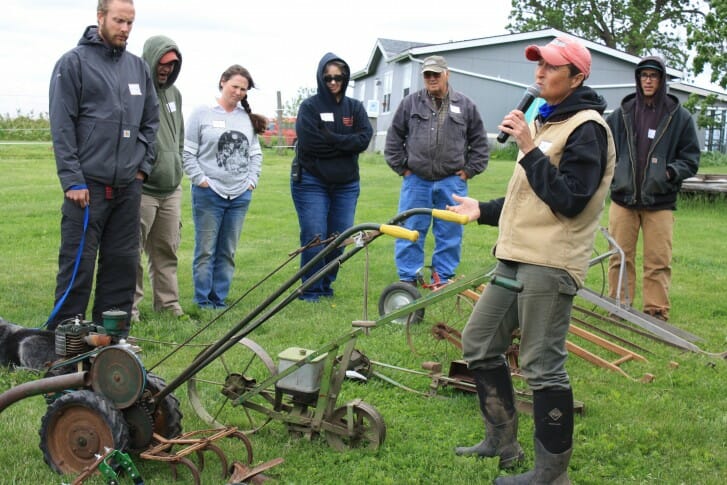
This Iron Age seeder of Jill’s is missing a few important parts like handles and chains. Jeff explained that the loops are where you put duck bills on, so it becomes a wheel hoe of sorts. This model was a combination unit with a split axle, so it could attach to another and be a double wheel hoe. Lying on it’s side next to the iron age is a Midget seeder, which Jill is excited to use: “Jeff shared some new tooling for it. I’m very excited to use it. I’ve been told that people put it on a wheel hoe or put it on a broomstick. There isn’t a chance in the world I could plant a straight row with a broomstick… so we’ll put it on a wheel hoe.”
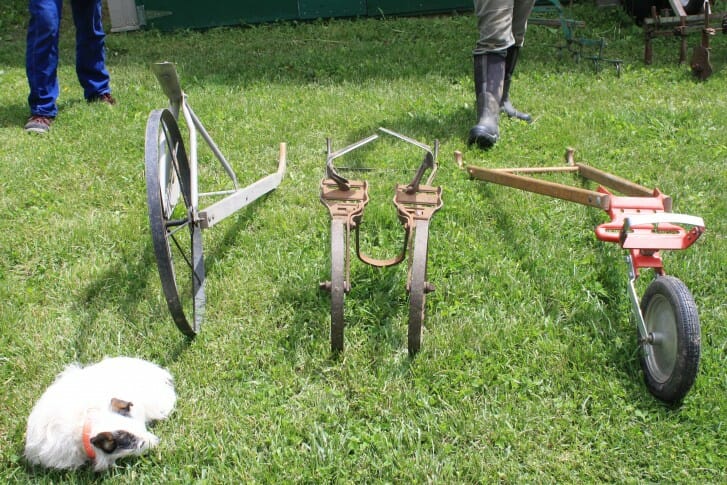
Jill also brought out a selection of wheel hoes. On the right is a modern Glaser wheel hoe with a stirrup tool, which was the first walk-behind tool Jill had and one she frequently uses. In the middle is a double wheel hoe. Jill said, “Experts tell me it’s a copy-cat planet Jr., maybe in the Jupiter series. It does have Planet Jr. tooling, and I have many different tools for it. Haas tooling also works on here – there’s a lot of changeability. We can set it up to run between rows or over rows.
Once we prepped a tomato bed, laid the irrigation, then got rain and a flush of weeds before I could get the ground cover on. I put the irrigation line through [the knives] and ran down the row… and it was slick! That wouldn’t have been possible with the stirrup.”
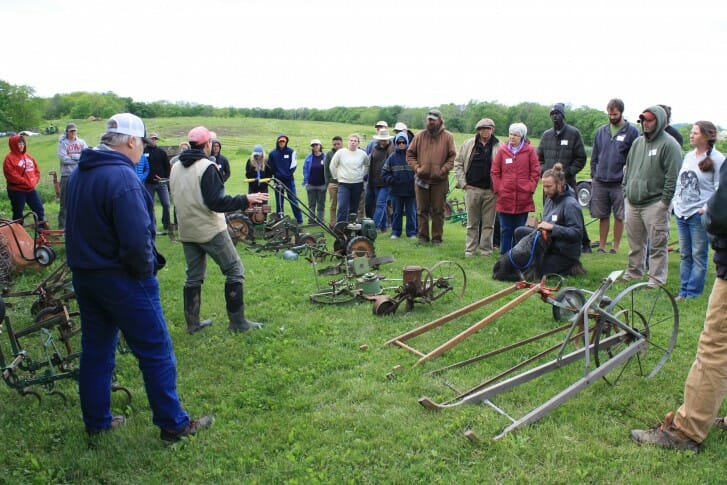
Jill’s rows of tractors and tools.
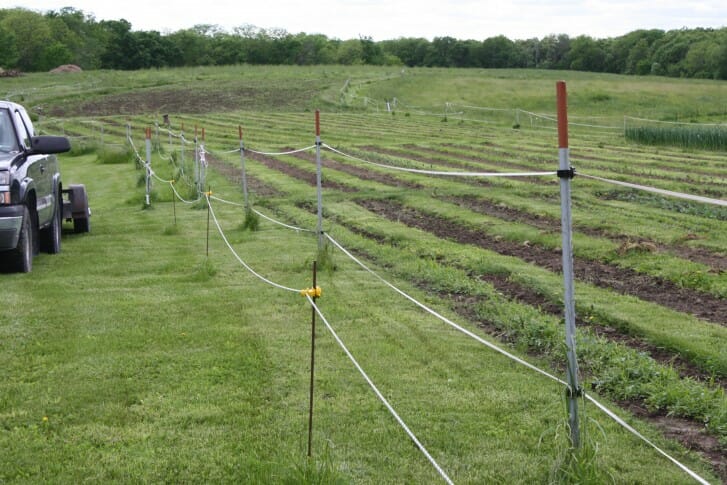
Jill’s older production fields are 3 ft wide with grass walk-ways. Though many people think they would like grassed walkways like this, Jill now finds them a bit cumbersome; the farm requires a lot of mowing, and the creeping edges can snag implements. Her new production area is an open field. Jill also uses 3-D electric fencing to deter deer from their vegetable beds. Though deer could easily jump the height, they are confused by the visual depth of the barrier.
Below, Jill hangs shelves from the hip boards on her high tunnel for her starts. The edges of the high tunnel are hard to manage – this solution adds great value to a problematic area!
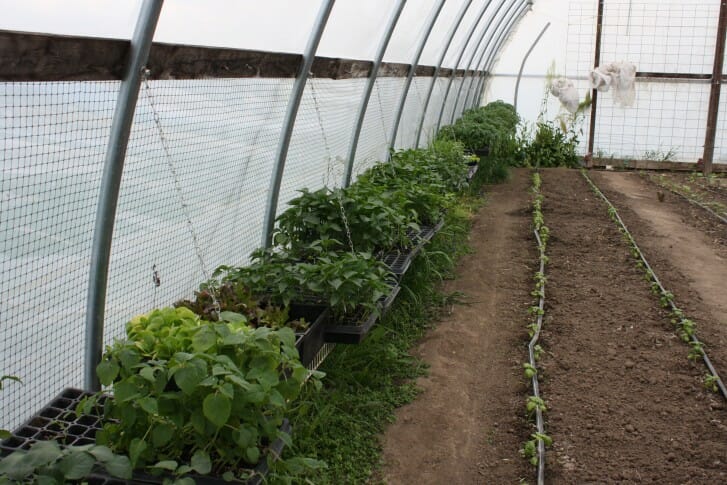
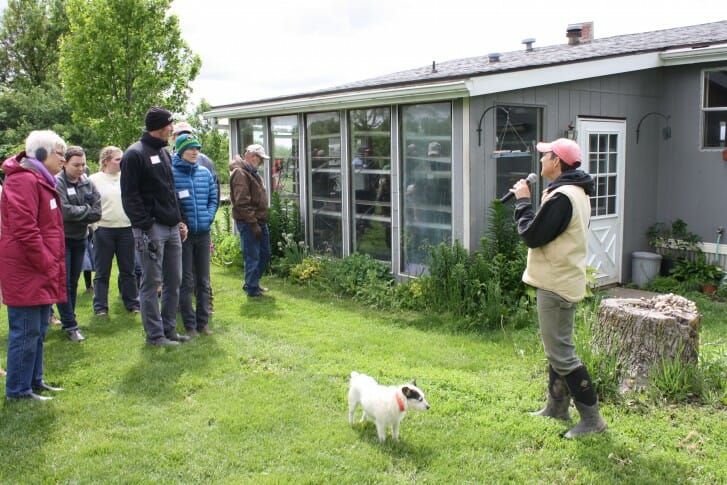
Jill shows attendees the germination room, which is attached to the south side of Jill and Sean’s house, with interior and exterior doors.
