Field Day Recap: Seed Saving and Weed Management at Iowana Farm
Terry first learned to save seeds from her mother. Her mother would remove the seeds from the pulp, put the seeds in a glass with some water, and see if they sank. The ones that didn’t sink, she would pour off. The good seeds she would dry on a paper bag on top of the refrigerator. When Terry started farming, that’s how she saved seeds. But when Terry attended a seed-saving workshop with Nathan and Beth Korymb through the NSAS, she decided to save seed commercially. Beth and Nathan visited and inspected Terry’s farm, and they recommended her to High Mowing Mix, making it possible for Terry to get a contract.
Tom Stearns, the founder of High Mowing, gave her some additional advice that she passed along. “You want to make money. It’s easy to not make money at this. Do the minimum for these tomato plants. Do not trellis these. Do not weed them.” Taking this advice, Terry’s seed tomatoes are the last seeds she starts and the last tomatoes she harvests. She does use paper mulch on them to keep the weeds down, and “herds” the plants into the bed to keep the edges tidy.
“I had the most confidence in saving tomato seeds,” Terry says. “High Mowing buys seed by the pound; certified organic heirloom seed is bought for $350/lb, if you have an 80% germination rate. Every 5% of additional germination rate, I get another $50/lb. If you get germination into the high 90s, that can be $450/lb. It’s emotional to throw seed away, but like my Mom did – let the floaters go – they don’t have the germ in them. With the yield I had, I made three times more selling tomatoes retail than I did saving and selling the seed… but – saving and selling seed is a very laid-back thing.”
“The tomatoes have got to be very ripe. The seed does not pulp up and create a germ until it’s ripe. The seed pockets are all there in the bottom of the tomato flower, and you’ll learn what the seed pockets look like in different kinds of tomatoes when you start doing this. You’ll develop strategies for what’s the quickest way to get the seeds out of the tomato. A 5-gallon bucket of ripe tomatoes will yield 2 oz. of seed; it takes 8 5-gallon buckets of tomatoes to save 1 lb of seed. It takes about 120 plants for 1 lb of seed.”
“In my first year I grew 2 different varieties – Crimson Sprinter and Green Zebra. One pound of one, two pounds of the other. I overgrew – saved too much – and they bought it all. The varieties need to be separated by 100 feet, though this year my contract says only 50 feet separation is required. I can only save two varieties of tomato, because I don’t have enough isolation for more. We don’t need a few people saving a lot of seed, we need a lot of people saving one or two varieties. We need you. We need you to save one variety of heirloom seed. ”
Terry always wears gloves when working with the tomatoes she’s saving for seed, including during harvest, because any disease on the seed renders it unsalable – contract off, try again next year. Tobacco mosaic virus is particularly troublesome, as anyone who smokes can have it on their fingers. Even if you drive a car or handle a tool after a person who has handled a cigarette, you can contaminate the tomato seeds.
High Mowing Mix tests a vegetative sample of the tomato plant for disease, and later tests the seed itself for disease (the testing is done at Iowa State). Terry’s seeds did test positive for tobacco mosaic virus her first year, but further testing revealed the virus was dead, thanks to the fermentation process she used when preparing her seeds. Because the virus was dead, her seed was accepted. High Mowing said it was not uncommon for tobacco mosaic virus to show up in seed because it spread so easily this way, even if you’ve never seen it in your plants, which Terry hadn’t. High Mowing, in fact, does not allow any smoking on the premises, and Terry recommended that if you smoke, you probably shouldn’t save nightshade seeds.
Seed Saving Process
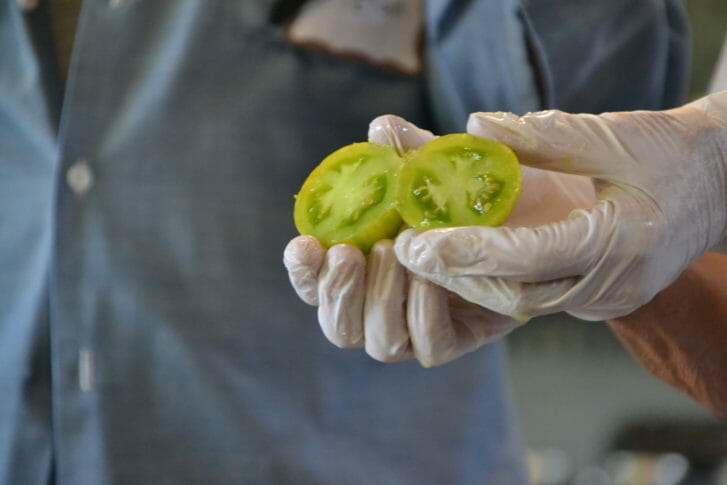
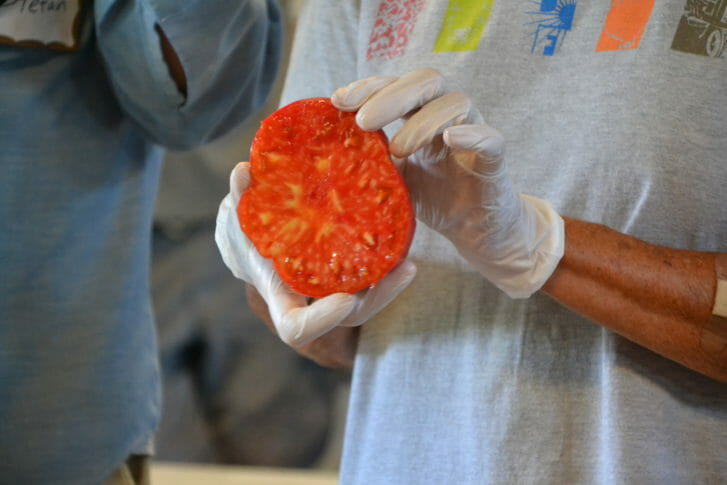
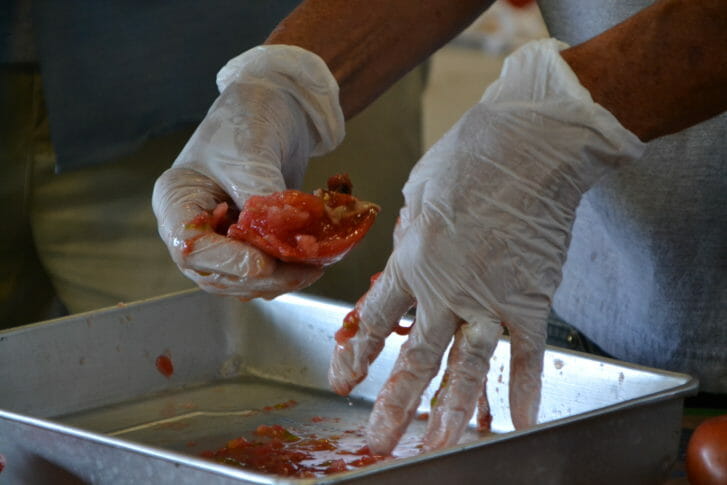
1. Pick the tomatoes when they’re very ripe. Terry likes them not to be actively molding, because some of the seeds will be spoiled, and there might be maggot eggs hiding within. They can have deer teeth marks, worm holes – seed tomatoes don’t need to be good for much else. Different types of tomatoes will have different numbers of seed pockets, as seen in the photos below. You can find the seed pockets by running your finger around the outside.
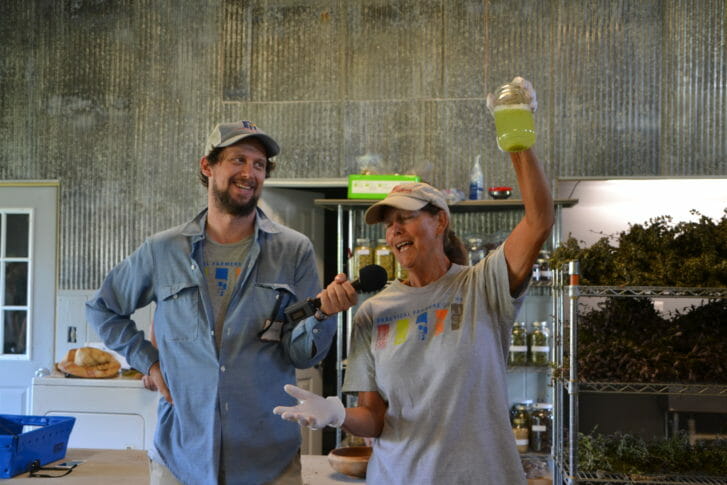
2. To remove the seed, Terry finds the seed pocket, then runs her thumb through it to remove every single seed and gel surrounding it. Terry likes to do this work with a 5-gallon bucket, in the shade during the afternoon, with a “book in her ear.” (For the demonstration she used a tray and a mason jar). Terry composts the rest of the tomato – “You start out thinking you’re going to make sauce with it, but I just compost it.” Larger producers will use food mills to extract the seeds, but Terry doesn’t mind the hand-work, and feels she loses fewer seeds – thus has better seed yield and higher germination rates.
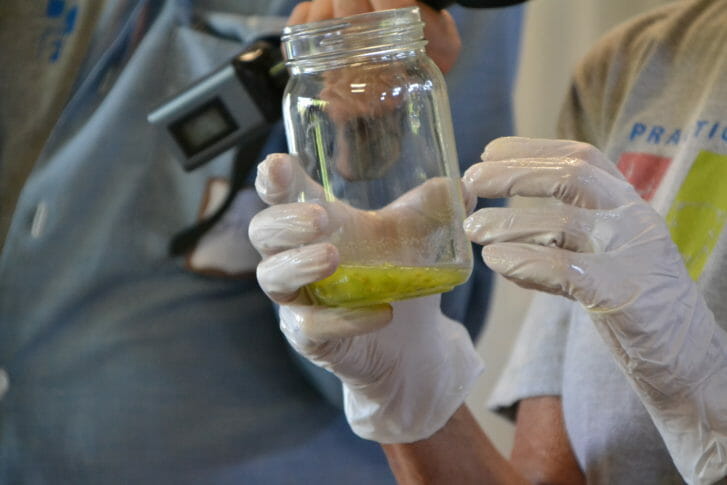
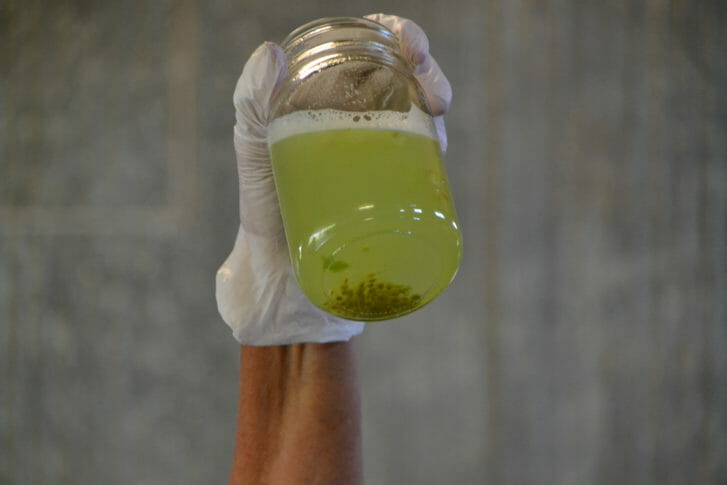
3. If the tomatoes are plenty ripe, there should be a lot of juice. The juice and gel are usually enough liquid for the fermentation process, but Terry often adds water to make sure there is plenty of coverage. Below, Green Zebra seeds are in a mason jar with their juice. Terry usually adds water to the bucket to ensure no air reaches the seeds – typically to a little less than double the original volume.
4. Terry then covers the bucket (now labeled) with a cloth. Each day gives the contents a stir with a slotted spoon as a white mold forms over the top. “You have to stir it. If you’ve got rotting food, you have to stir it as you build up that white mold. I’ve had the experience of uncovering a bucket and having maggots in there, and… it’s not a pretty site. They float and aren’t hard to get rid of, but it’s unpleasant. Also, the good seeds drop to the bottom, and you have to stir it to get that white mold to coat the seeds.”
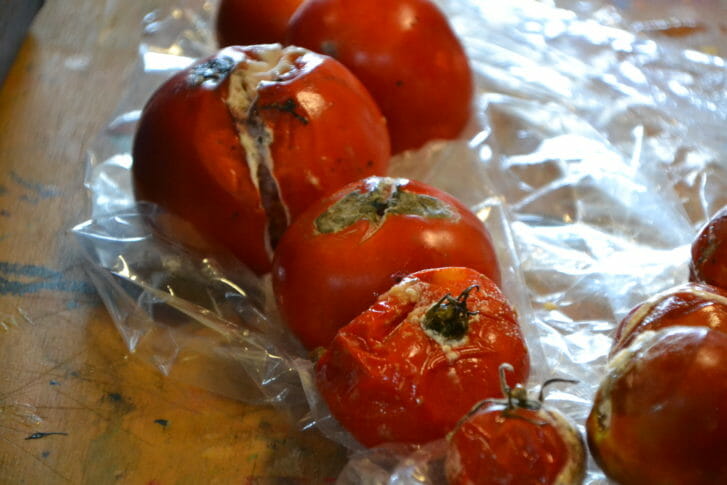
5. The overripe tomatoes in the photo below would be fine for saving seed, but more unpleasant to work with. The white mold they are showing is what you’re looking for to form across the top of the bucket. “It starts to grow fast. A few days and you’re done. It’s covered the bucket in one day, but I’m not a risk-taker, so I let it go a couple days. But really, as soon as the mold covers all the way across the top, you’re done fermenting.”
“The worst thing that can happen, is that it will be too warm, and the seeds will start to germinate – they’ll send out a little radical. So keep them cool, and out of direct sunlight. If they start to germinate, you’ve lost it.” Terry keeps the fermenting seeds in her kitchen. “You can smell them,” said her sister, who has a more sensitive nose, “but it’s nothing like what you’d think it would be.”
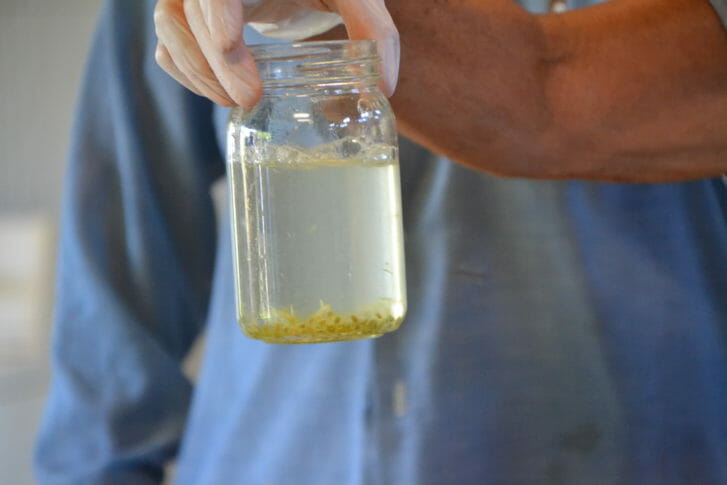
6. Seeds that sink are the “good” seeds. If they float, Terry pours them off as she’s rinsing them. Here, Terry has filled the jar with water to begin rinsing the seeds, and to show that they sink.
7. The seeds have been further rinsed. Terry typically does these multiple rinses outside, pouring off the water with each rinse. The good, healthy seeds fall to the bottom.
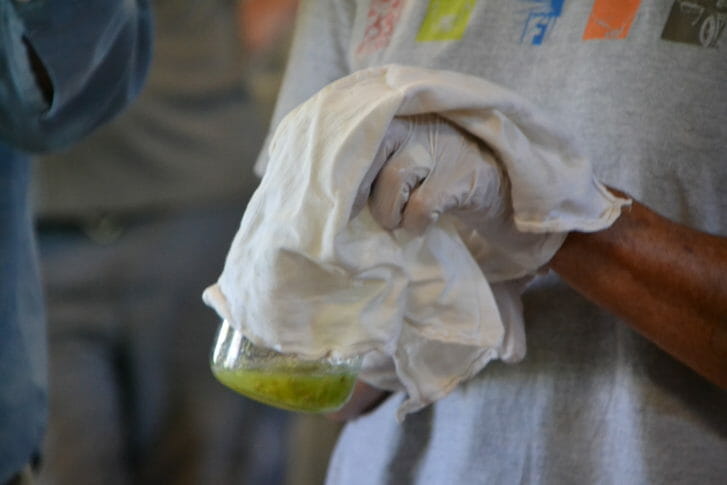
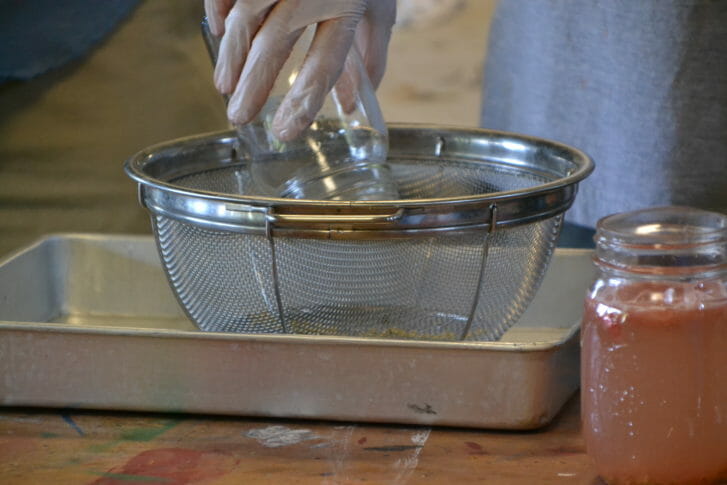
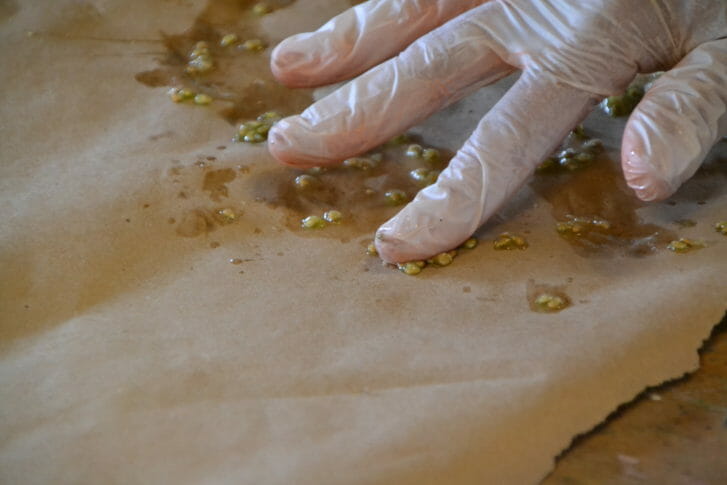
8. Finally, the seeds are strained out in a mesh colander, and spread on a sheet of brown paper to dry.
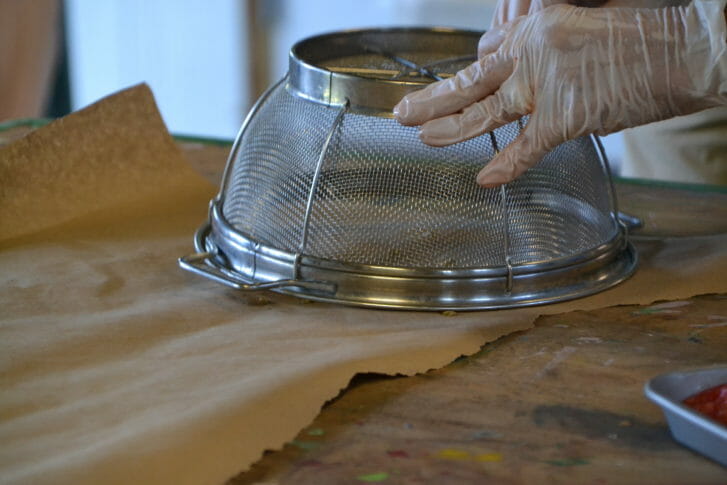
The paper is labeled with the variety, harvest date, and employee’s initials.
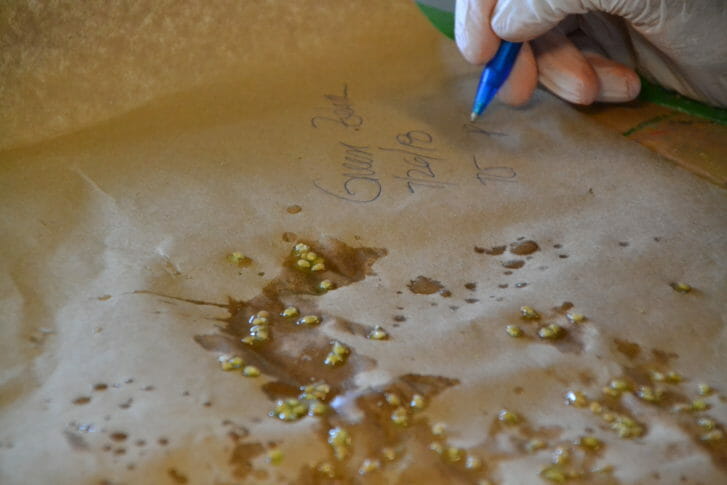
The paper is folded over to better keep the light off while the seeds are drying.
Weed Management
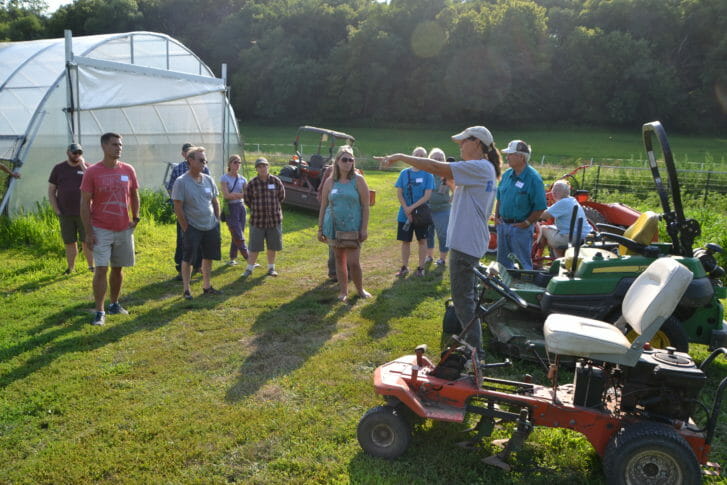
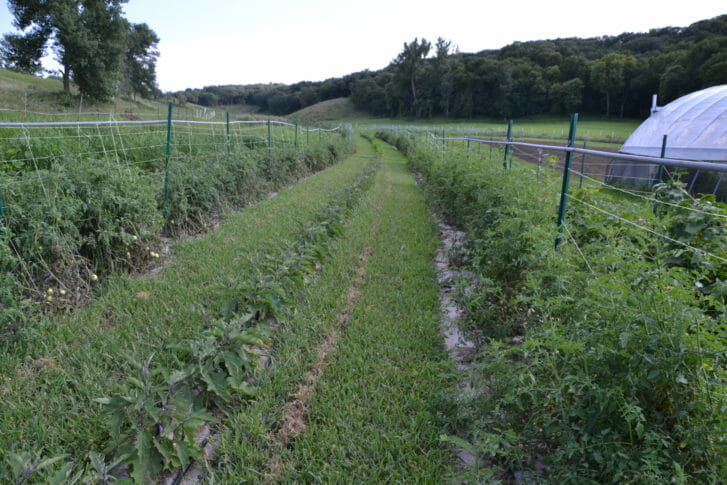
Terry pretty much farms solo, but has 9 volunteers that come 4 hours a day. “They’re all way-over qualified for what they’re doing, but they’re here because they want to get dirty and they want to eat well.” Terry likes using paper mulch, and recently has been using mowed grass pathways between the beds, rather than open dirt. Below, tomatoes and eggplant are planted into paper mulch.
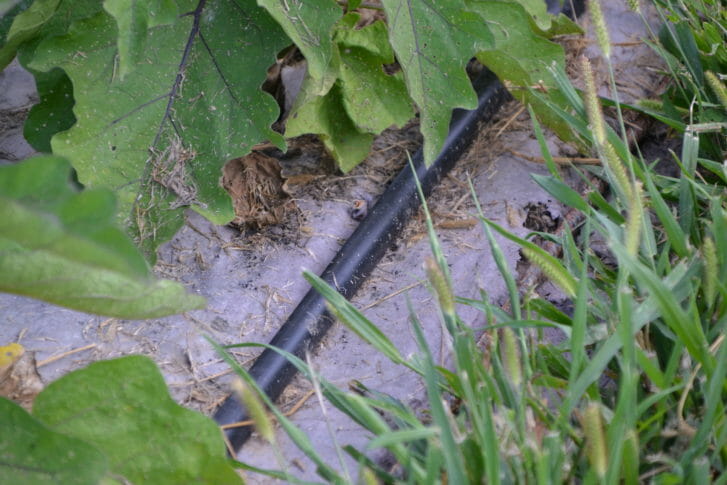
The paper mulch is held down with 20-ft sections of 3/8 in. rebar on each side of the paper, with the rebar running end-to-end. (Seen in the photo below, next to the drip tape.) Terry gives herself a budget of $200 to buy more rebar every year for this purpose. She puts the rebar out by hand and picks it up each year. She also lays the paper mulch by hand, starting at the top of the field and kicking it down the row. “I’ve had bad experiences not using the rebar with the paper. The soil on the edge isn’t enough to hold the paper down if you get a big rain that washes some of the soil off. You get paper much flying 15 feet in the air.”
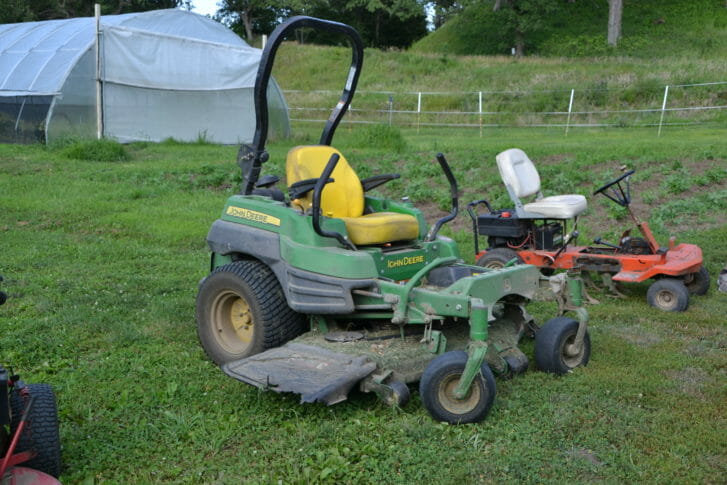
Terry sets her mower blade at 6 in. high so it clears the irrigation lines. “This John Deere mower is the single most important piece of equipment I have. I used to really go through mowers until I got this. It’s a used, commercial grade zero-turn mower – it’s really fun to drive, so I don’t have a problem finding people who want to mow for me – we just have to set some boundaries, first. Being able to keep the grass mowed is an important part of keeping the weed seed-bed down.”
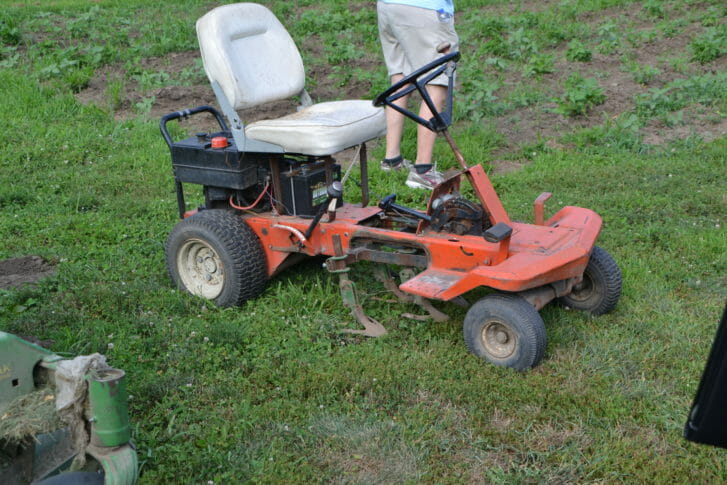
Terry uses her Allis Chalmers G on her direct seeded crop. She likes to get in 2 weeks after planting, so the lapping of the shoes against small weeds is effective.
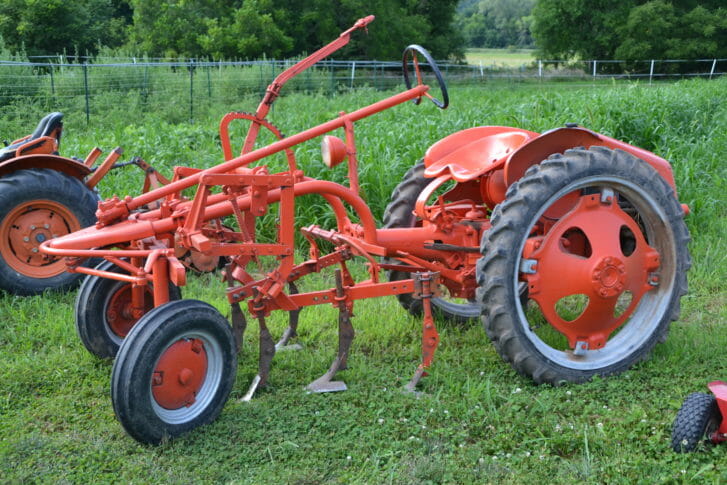
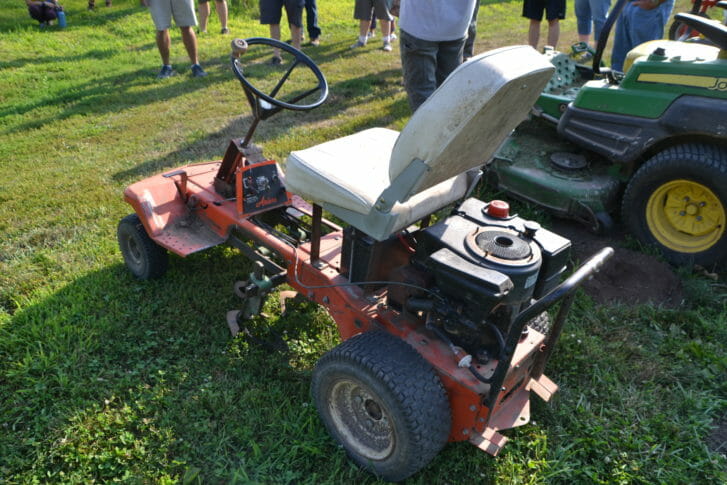
“This little tractor, the Superweapon, is a blast. You’ve got to go at a really good clip to use it. If you have something like sweet corn that is too tall to cultivate with the G, the Superweapon is 18 in.-wide, and you can go between the rows.” Terry’s late husband, Chuck, built this Superweapon with their neighbor, Merle Osborn, by taking the mower deck off and belly-mounting cultivating shoes. You can read more about Merle and the Superweapon on the PFI blog recap of Terry’s 2014 field day.
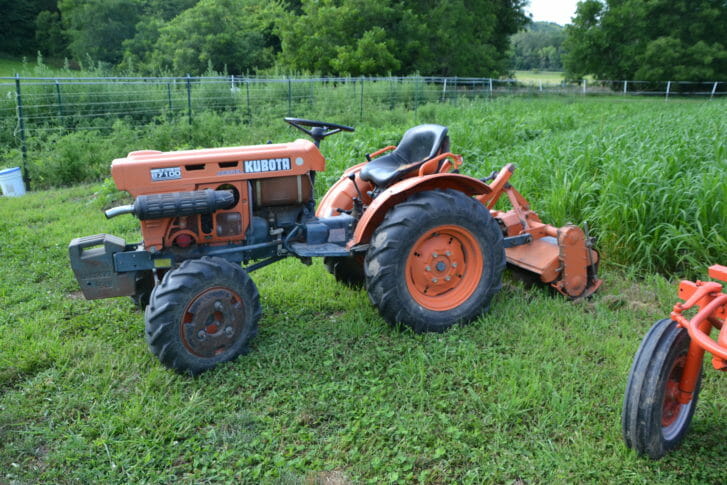
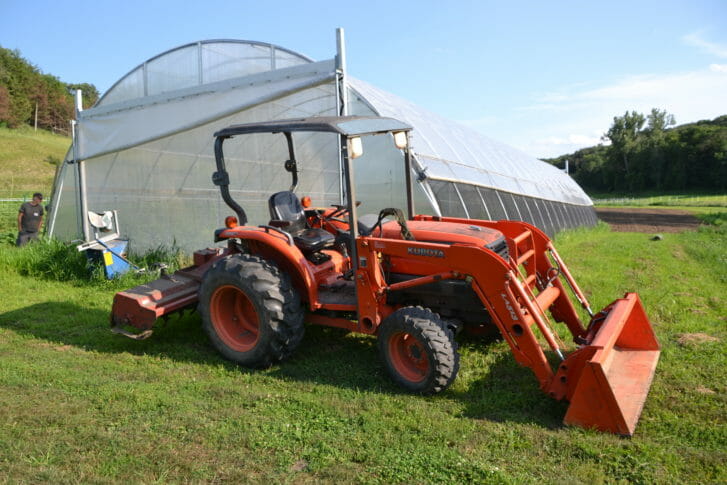
Terry tills her beds about 2-inches deep using the Kubotas in the photo below. In the fall, she tills again and then follows with a cover crop, either with a whirly broadcast seed spreader or a drill.
Many thanks to the Organic Crop Improvement Association, Chapter 1 of Iowa for their sponsorship of this field day.