
Field Day Recap: Small Grains Combine Clinic
One of the keys to profitably integrating small grains into a corn and soybean rotation is keeping input costs low in the small grains year. While input costs such as fertilizer and herbicides are significant, perhaps one of the most substantial production costs, aside from land, is the equipment used to plant and harvest the crop. It is possible to use existing soybean combine equipment to harvest small grains, thereby keeping new equipment costs low, but some particular adjustments to the combine set up and a few key parts are needed to harvest small grains while minimizing grain loss. PFI lifetime member Wade Dooley wanted the low-down on how to set up his combine to harvest his cereal rye. So, we organized a combine clinic for small grains at Titan Machinery in Grundy Center where we looked at both Wade’s smaller straw-walker-type combine and some big rotor-type combine machines.
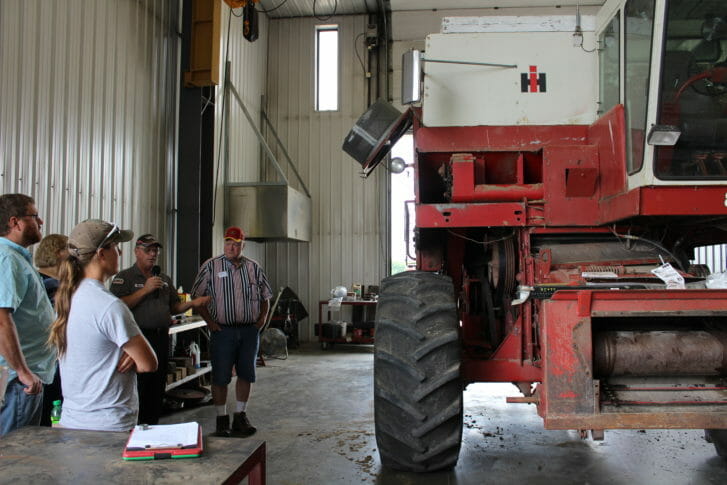
Clinic attendees gather around Wade Dooley’s straw-walker-type combine to hear David Freeseman (holding mic) walk through the combine settings and adjustments for harvesting small grains.
“First things first,” area product manager Brandon Maxwell says, “Your general maintenance checks on the combine are the same as setting up for corn and soybeans. Don’t skip this step as it’ll keep you running smooth through the whole harvest.” You can read through all of these routine checks here.

Once these routine checks are completed according to your combine manual, the only additional parts you should need to purchase for the combine are concaves and sieves that are designed to handle small grains. “The small wire concaves and short finger sieves clean the grain up nicely without cracking heads or kernels,” service technician David Freeseman told us in the shop. “Using your soybean parts will affect grain quality by cracking more heads and allowing more chaff to pass through into the grain collection.” If you are not in a position to buy a new concave, you should install the cover plate over the first section of the concave to help it thresh the grain more gradually. “This will keep the straw in the rotor as long as possible,” David says. “You can also loosen the bolts and adjust the vanes to the slow position on the rotor grate to keep straw in the thresher for one more rotation.”
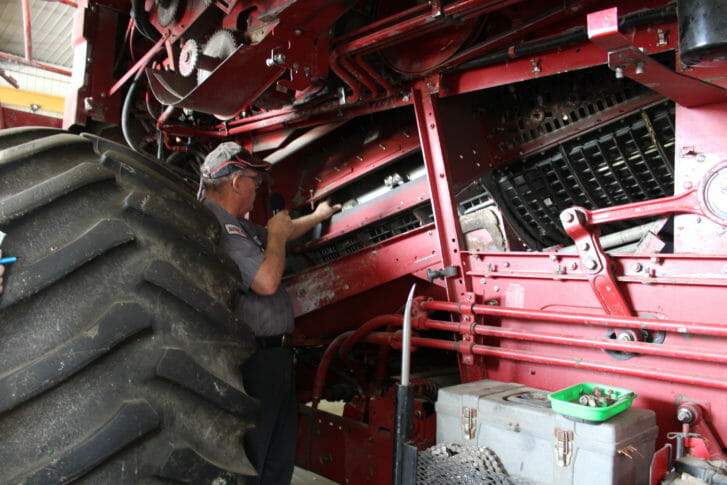
Technician David Freeseman points to the first section of the concave where a cover plate can be installed to thresh grain more gradually if you are not able to buy the small wire module concave designed for threshing small grains. If possible a small grains concave should be purchased and installed to maintain grain quality during the threshing process.
In adjusting the settings before beginning to combine, it is important to calibrate the “zero” adjustment on the concave and sieves and set the rotor and fan speed according to the manual for your machine. If you can’t find this information in your manual, you should also be able to go online or call your equipment dealer to get this information. Your equipment dealer will also know what model of sieve you should need. For wheat the recommended sieve is 1 1/8” or a 1 5/8” Close sieve for high yielding wheat crops.
Your end market for your grain will determine the amount of foreign material that you can have mixed in with the grain, so checking in with your buyer can help fine tune the settings to their specifications. If you’re growing for seed, for example, the most important goal when combining is just to catch as much grain as possible. Since it will be run through a seed cleaner anyway before it is put back out in the field, foreign material coming through the combine isn’t as much of a concern.

This is an example of a rotor settings chart for several Case IH combine models.
“How do you troubleshoot if you’re plugging up your tailings return elevator with straw?” attendee Sam Bennett asked. “This is a result of over threshing in the rotor,” David responded. “Don’t run the rotor too slow, that will put more horsepower into the rotor, which threshes the grain harder.” Additional issues to check would be if the sieve isn’t set properly it could be dropping more grain into the tailings section at the back or that the fan isn’t getting adequate air into the sieve. “If you’re not getting adequate air to blow the chaff off the sieve,” David says, “don’t be afraid to leave the bottom sieve open, and even the top one too for air flow.”
When attaching the head to the combine, you’ll want to make a few quick checks and adjustments there too. Always make sure that your u-bolts connecting the head to the combine feeder are nice and tight. “A loose head leads to crop loss,” Brandon says. If you have a flex auger head, set it to rigid (install locking pin on suspension arm) to make sure that it can’t bend as you’re moving through the grain. If you are using a draper head, lock all of it up. The draper head will be the most effective option if you have a lodged stand of small grains because it will gently pick up the crop from the ground. Lastly, make sure that the feeder front drum stop run is set to run low for small grains. For corn and soybeans this part is usually set to run high.
These u-bolts where the head connects to the feeder on the combine should be tightened down to avoid grain loss as the grain passes from the head into the feeder.
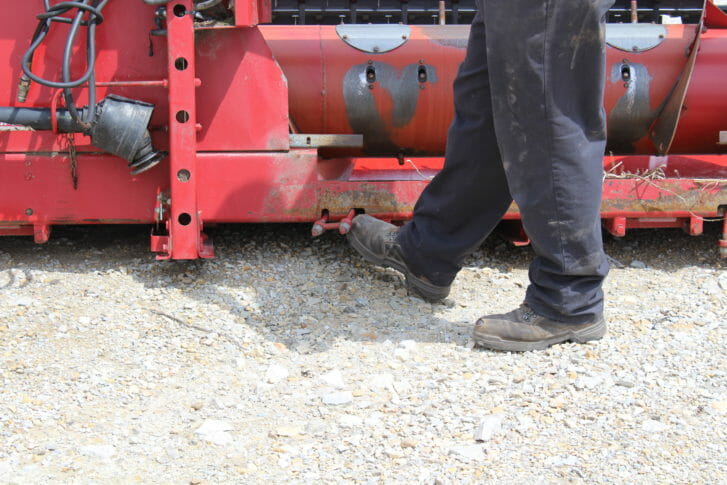
The feeder drum on the combine should be set low for small grains, so the chain runs closer to the floor.
Chopper knives for distributing straw back onto the field after it has passed through the combine should be set to upper position engaged, as it would be for soybeans.
“Once you get out into the field combine a bit and check your grain quality,” David says. “You may need to adjust the air flow to match the density of the crop you’re harvesting. Density of barley, rye, triticale etc. are all different so you may need to change your fan speed. Some small grains just have different toughness too. Rye and wheat are different; rye needs a lot of pressure to thresh.” Getting off the combine and checking the combine’s performance after a small test swatch can save both grain quality and quantity before you set out to harvest the whole field. Even within one type of small grains, varieties can thresh differently so checking in on what’s coming out of the combine is crucial.
If you’re interested in learning more about the swathing method of harvesting small grains, check out this blog of our July 2018 shared learning call with Earl Canfield.